The title circulating online about 3 Newton-meters of torque causing chainring drops is misleading—and that’s exactly what cyclists need to understand. Standard chainring bolt torque specifications range from 8 to 14 Nm, with most manufacturers recommending 8–12 Nm, making 3 Nm far too low for these critical fasteners. A cyclist who applies only 3 Nm to chainring bolts—perhaps confusing the specification with smaller fasteners like spoke nipples—risks an under-torqued connection that could shift, slip, or fail during hard acceleration or climbing.
The real danger isn’t about a single mysterious torque value; it’s that many riders simply don’t know the correct specification and guess incorrectly, potentially installing their crankset with inadequate clamping force. The stakes are real. A loose or progressively loosening chainring doesn’t just derail your chain during a casual ride—it can cause sudden loss of pedaling power mid-descent, force you to bail in traffic, or damage your crankset permanently. This article cuts through the confusion by explaining what manufacturers actually specify, why the numbers matter, and how to install chainrings safely.
Table of Contents
- What Is the Correct Chainring Bolt Torque Standard?
- Why Chainring Loosening Happens in Real Riding Conditions
- What Happens When a Chainring Drops Mid-Ride
- Tools and Methods for Proper Chainring Installation
- Common Mistakes and Why 3 Nm Falls Short
- Checking Chainring Bolts During Routine Maintenance
- Future Outlook for Chainring Design and Standards
- Conclusion
What Is the Correct Chainring Bolt Torque Standard?
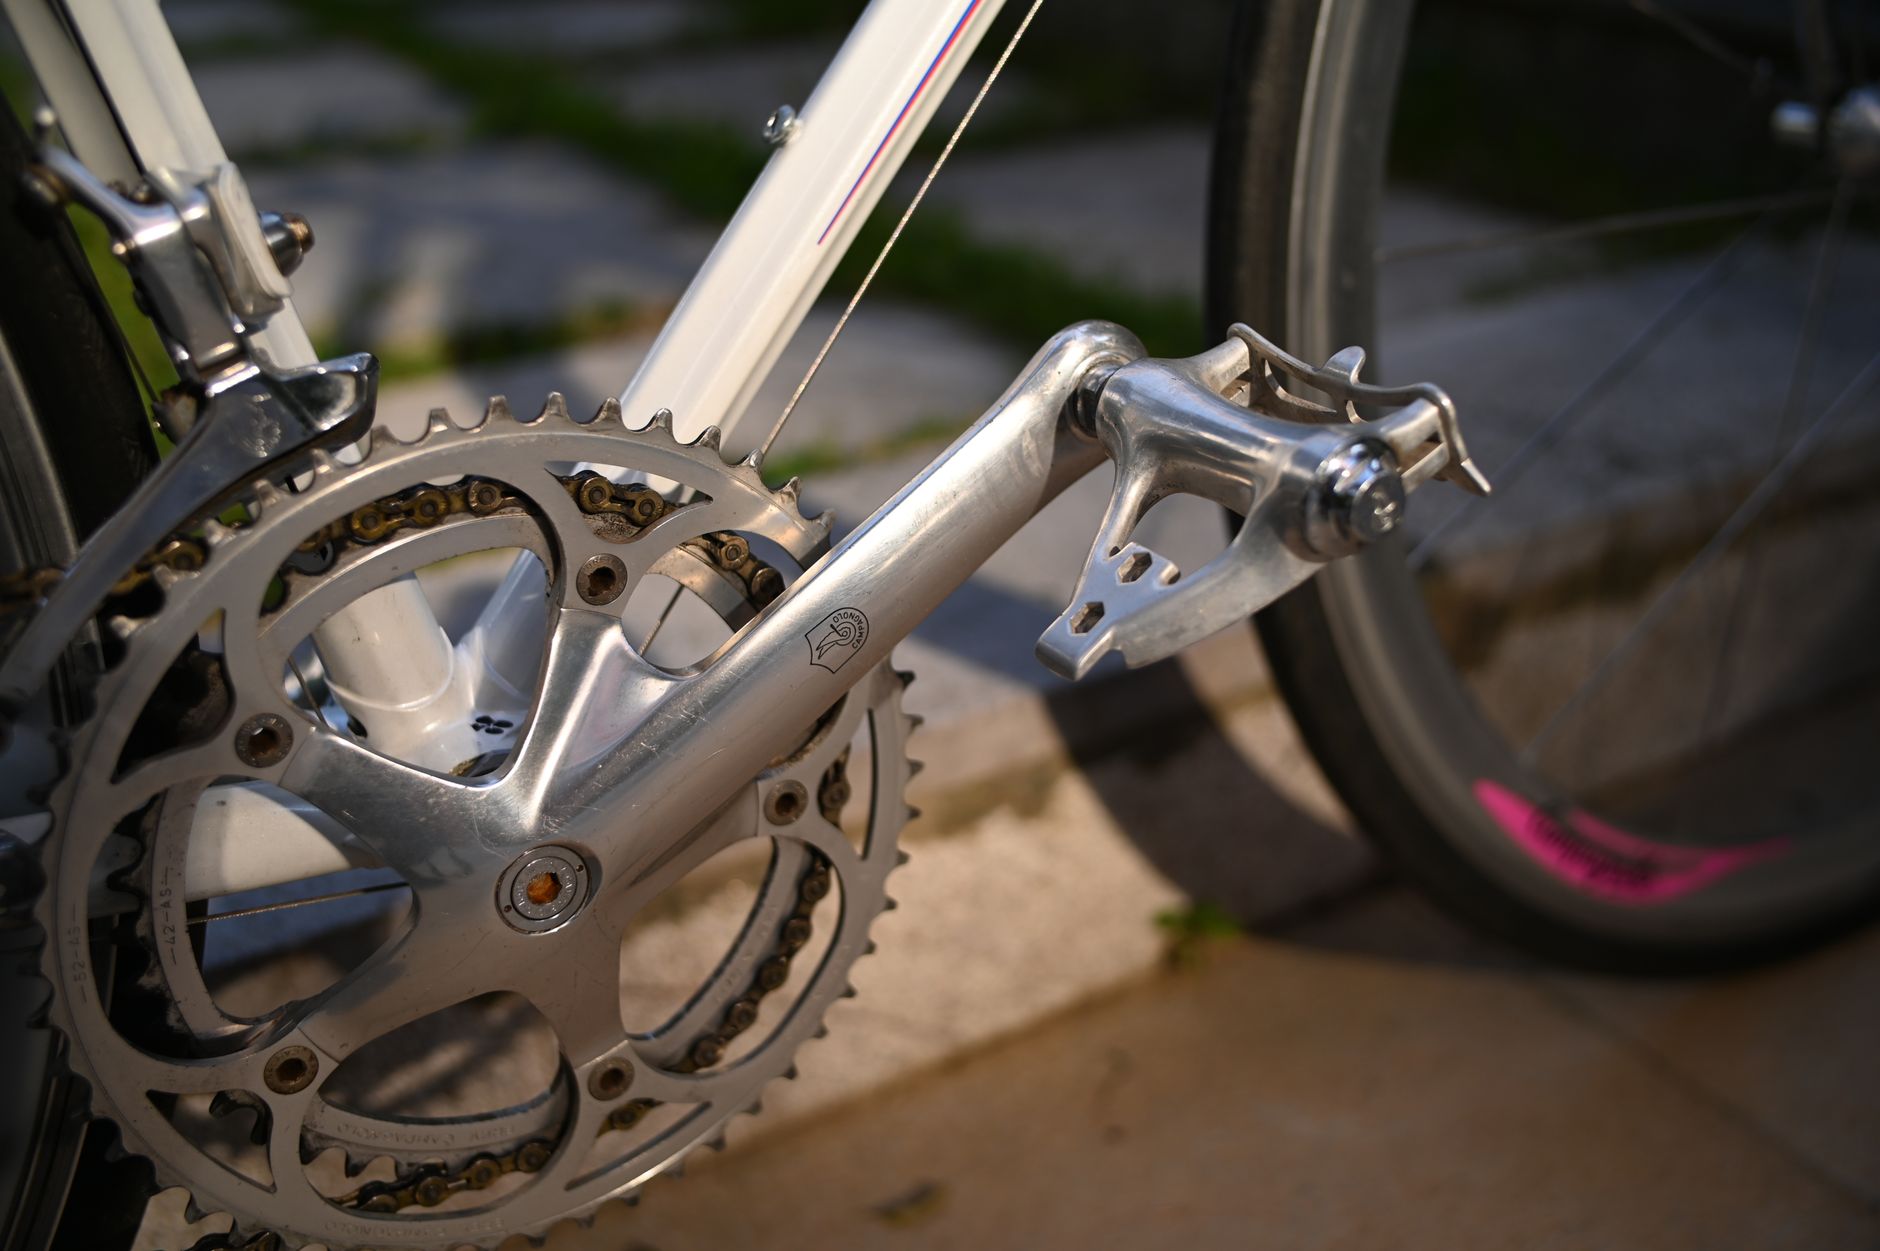
Industry standards for chainring bolts are well-established, even if not universally known. Park Tool, the authoritative source for bike mechanics, along with dedicated torque specification guides from sources like BikeRide and Dedham Bike, consistently document that chainring bolts should be torqued to 8–14 Nm, with 8–12 Nm being the most common recommendation across major manufacturers. This torque value ensures the bolts clamp the chainring to the crank arms firmly enough that the ring cannot shift under load, yet not so tight that you risk stripping aluminum threads or cracking the chainring. For comparison, smaller fasteners like spoke nipples are typically torqued to 1–2 Nm, which is where the confusion with “3 Nm” likely originates—someone grabbed the wrong specification and applied it to the wrong part.
The reason torque matters more than simply “tightening until it feels snug” is that torque accounts for the geometry of the bolt, the material being clamped, and the friction between surfaces. A 6mm bolt on a crankset needs enough force to prevent rotation, but aluminum is forgiving only to a point. Under-torque (say, 3–5 Nm), and the chainring slips relative to the crank arm, creating play and eventual loosening. Over-torque, and you risk pulling threads or snapping the bolt entirely. The sweet spot—8–12 Nm for most chainrings—balances clamping force with safety margins.
Why Chainring Loosening Happens in Real Riding Conditions
Chainring bolts don’t fail overnight; they loosen progressively through a combination of vibration, pedaling loads, and thermal cycling. Every time you accelerate hard, the sudden spike in torque creates micro-movements between the chainring and crank. If the bolts aren’t torqued to spec, these micro-movements accumulate, and the bolt begins to back out. Thermal changes make it worse—aluminum and steel expand and contract at different rates, creating additional stress on the joint.
A rider who installs chainring bolts at 3 Nm, 5 Nm, or even 7 Nm accelerates this loosening process dramatically, sometimes losing clamp within the first handful of hard rides. The limitation of torque-only tightening is that it doesn’t guarantee the bolt will *stay* tight over time without periodic checking. Manufacturers sometimes apply threadlocker (Loctite) to chainring bolts before assembly, and consumer installations without threadlocker are more prone to loosening, especially on bikes that see frequent intensity changes or vibration from gravel riding. Even with proper 8–12 Nm torque, it’s wise to recheck chainring bolts after 20–30 miles of new installation, then periodically after that.
What Happens When a Chainring Drops Mid-Ride
A chainring that loosens enough to slip or drop represents a genuine mechanical failure with serious consequences. The chain loses contact with the ring, usually on the side toward the frame, and you suddenly lose all pedaling power while your legs continue pushing. This is especially dangerous on descents, in traffic, or during efforts where you’re committed to a hard effort. Some riders report the chainring slipping sideways and jamming in the frame, damaging both the ring and the crank.
Others experience a dropped chain that wraps around the crankset, jamming the pedals entirely and potentially throwing the rider over the bars. While general bicycle death statistics show that fatalities have increased 37% over the past decade (from 1,015 in 2015 to 1,392 in 2024), there is no dedicated database tracking chainring-drop incidents separately. This doesn’t mean the risk is negligible—it means riders and manufacturers take chainring maintenance seriously enough that catastrophic failures are rare. Most issues are caught during routine maintenance or pre-ride checks, preventing accidents before they occur.
Tools and Methods for Proper Chainring Installation
Installing chainring bolts correctly requires two things: a torque wrench and the manufacturer’s specification. A basic click-type torque wrench (often digital or beam-style) costs $30–$80 and is one of the best investments a home mechanic can make. Set it to 10 Nm (a safe middle-ground for most chainrings), position each bolt, and tighten in a star pattern to ensure even clamping.
Tighten opposite bolts in sequence—if there are four bolts, do 1, then 3, then 2, then 4—so pressure distributes evenly and the ring sits flush against the crank arms. The tradeoff of using a torque wrench is precision versus convenience—yes, it takes an extra 30 seconds per chainring, but it eliminates guesswork and prevents the far costlier mistakes of under-torquing (loose rings) or over-torquing (stripped threads, cracked rings). Many shops offer chainring installation for $15–$30, making professional installation a reasonable option if you don’t own a torque wrench and plan to change rings infrequently. Always consult your crank manufacturer’s documentation, as some boutique or mountain-specific cranks may specify non-standard torques (occasionally 6 Nm for lightweight rings, rarely up to 15 Nm for heavier setups).
Common Mistakes and Why 3 Nm Falls Short
The most common installation error is eyeballing or guessing torque, which leads to one of two outcomes: bolts that are too loose (under 6 Nm) or bolts that are too tight (over 15 Nm). A cyclist who reads “3 Nm” from an incorrect or misapplied source and applies it to chainring bolts is creating a failure waiting to happen. At 3 Nm, the clamping force is insufficient to overcome the vibration and pedaling loads of actual riding. Within hours of hard riding—or even minutes of intense acceleration—the ring will shift slightly, the bolts will slip further, and the connection will degrade rapidly.
Another warning: some riders apply threadlocker to chainring bolts thinking it will solve loosening problems. Threadlocker (Loctite) does help prevent loosening due to vibration, but it doesn’t replace proper torque. In fact, applying threadlocker can mask an initially loose installation; the bolt might feel secure initially, then fail suddenly if the initial clamp force was inadequate. Always torque to spec first, then apply threadlocker if desired—never use threadlocker to compensate for incorrect torque.
Checking Chainring Bolts During Routine Maintenance
A quick chainring bolt check should be part of regular bike maintenance, especially before long rides, races, or after any session where you’ve pushed hard. Place an Allen wrench on each bolt and gently apply pressure—the bolt should be snug with no give. If any bolt turns at all, it’s loose and needs attention.
Use your torque wrench to bring it back to spec. If you notice a bolt loosening repeatedly (needing retightening every few rides), consider applying medium-strength threadlocker (Loctite 243) to the bolt threads, then reinstall at proper torque. Some riders also apply a small dab of grease under the bolt head to smooth clamping pressure and reduce stress concentration on the threads.
Future Outlook for Chainring Design and Standards
Chainring design is slowly evolving toward integrated solutions that reduce the number of loose bolts. Some modern cranks use hollow-core construction that incorporates the chainring more directly into the crank arm, reducing reliance on external bolts. Manufacturers are also increasingly pre-assembling and pre-torquing chainrings at the factory, then using tamper-evident markings or threadlocker to indicate whether a ring has been removed.
These changes reduce the burden on riders to get installation right, though traditional bolt-on rings remain the standard for most drivetrain options. As cycling becomes more performance-focused and components lighter, precision installation becomes even more critical. Lightweight chainrings operate with tighter tolerances and less material to absorb micro-movements, making proper torque specifications even more important. Riders who understand the difference between 3 Nm and 10 Nm, and who take the 60 seconds to torque correctly, enjoy reliability and safety that casual riders often miss.
Conclusion
The confusion around “3 Nm and chainring drops” stems from a misapplication of fastener specifications and a gap in how many cyclists approach mechanical maintenance. The truth is straightforward: standard chainring bolts require 8–14 Nm of torque, not 3 Nm. A proper torque wrench and five minutes per chainring installation eliminate the risk entirely.
What cyclists need to know isn’t a scary headline about mysterious torque values—it’s that a small investment in the right tool and a willingness to check your work prevents one of the few mechanical failures that can genuinely derail your ride. The next time you install or replace a chainring, don’t guess. Look up your manufacturer’s specification, get a torque wrench if you don’t own one, and tighten those bolts to spec. Your drivetrain will thank you, and you’ll ride with the confidence that comes from knowing your bike is mechanically sound.


