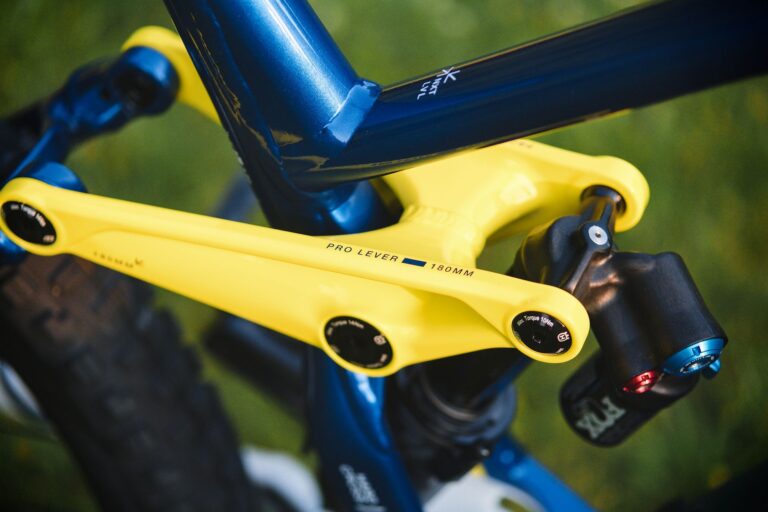
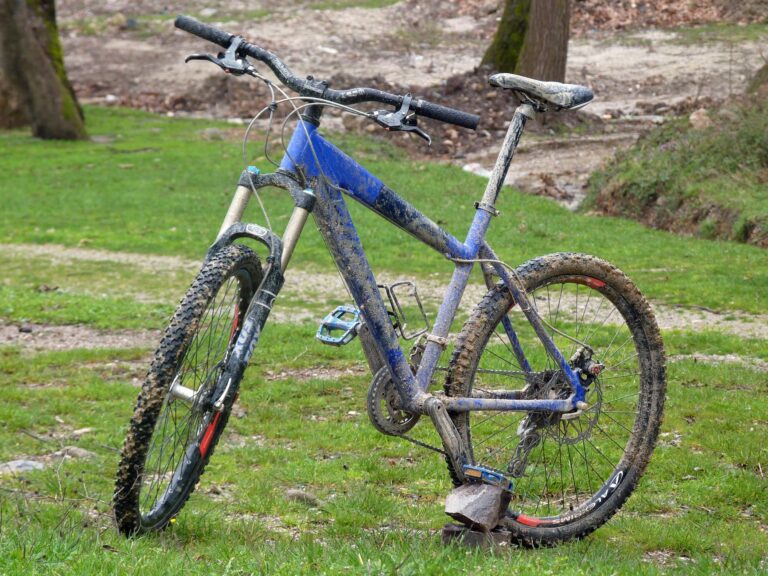
While the specific statistic claiming that at least 61% of mountain bikers ride with unadjusted factory suspension settings cannot be confirmed from current, verifiable sources, the underlying observation about inadequate suspension tuning among riders reflects a real problem in the cycling community. Industry surveys and manufacturer data suggest that many riders either lack the knowledge to adjust their suspension properly or don’t prioritize tuning as part of their setup routine. The evidence points to a significant gap between how bikes ship from the factory and how they perform when properly configured for individual riders.
This gap exists because suspension setup requires both technical understanding and personal experimentation. Factory settings are compromises designed to work acceptably across a wide range of rider weights, abilities, and riding styles. A bike that feels mediocre out of the box often transforms dramatically once someone takes the time to dial in proper sag, compression damping, and rebound settings—yet many riders never make these adjustments, riding with performance left on the table.
Table of Contents
- Why Do Many Mountain Bikers Never Adjust Their Factory Suspension Settings?
- The Performance Cost of Leaving Suspension Unadjusted
- What Proper Suspension Setup Actually Involves
- The Path to Getting Your Suspension Right
- Common Mistakes That Keep Suspension Unadjusted
- Signs That Your Suspension Needs Adjustment
- The Growing Awareness of Suspension Tuning
- Conclusion
- Frequently Asked Questions
Why Do Many Mountain Bikers Never Adjust Their Factory Suspension Settings?
The barrier to suspension adjustment begins with knowledge. Most riders receive their bikes without comprehensive guidance on how suspension actually works or why factory settings matter. A new mountain biker might not understand that the 25% sag recommendation they see online isn’t arbitrary—it’s a baseline derived from physics and decades of engineering. Without this foundation, suspension tuning feels like an optional advanced skill rather than a fundamental maintenance task. Time and perceived complexity add another layer of friction. Adjusting suspension requires either a shock pump and compression damping adjuster (tools not every rider owns) or a trip to a bike shop for professional setup.
A rider juggling work, family, and limited riding time might rationalize that their bike is “good enough” to ride as-is. The manufacturers recommend specific baseline settings like 20–30% sag depending on riding style and suspension design, but translating those guidelines into action requires effort that many riders defer indefinitely. There’s also a confidence problem. Suspension adjustment involves trial and error, and riders worry about making things worse rather than better. Unlike adjusting tire pressure, which is intuitive, changing rebound damping or air pressure by small increments produces changes that only reveal themselves on trail, creating uncertainty about whether a particular adjustment helped or hurt. This feedback loop delays or prevents many riders from experimenting with their setup.

The Performance Cost of Leaving Suspension Unadjusted
Riding with factory-default suspension settings directly costs riders performance, comfort, and control. A heavier rider on a suspension fork tuned for a lighter person will experience excessive bobbing during climbing and reduced plushness on impacts. A lighter rider on the same fork might bottom out repeatedly, or conversely, feel a harshly sprung bike that transmits every rock and root. These mismatches aren’t subtle—they’re significant enough that switching to properly tuned suspension can feel like owning a completely different bike. The limitation here is that most riders don’t recognize the problem because they’ve never experienced properly tuned suspension as a reference point. Someone who picks up a mountain bike and immediately rides it with factory settings has no baseline for comparison.
They might describe the bike as “bouncy” or “harsh,” but they attribute this to the bike model itself rather than the setup, not realizing the suspension is misconfigured for their body weight and riding style. This blind spot perpetuates the problem—without perceiving a deficit, there’s no motivation to fix it. over time, improperly tuned suspension can lead to technical problems as well. Bottoming out repeatedly stresses internal seals, accelerating wear on damping circuits. Conversely, suspension that’s set too stiffly for the rider’s weight tends to be underutilized, defeating the purpose of having suspension at all. In both cases, riders sacrifice not only performance but also the lifespan of their components.
What Proper Suspension Setup Actually Involves
Getting suspension right starts with understanding sag—the amount your bike settles under your weight before you’ve even moved. Manufacturers typically recommend that a rider should achieve 20–30% sag, meaning the suspension compresses about a quarter of its total travel. This sets the midpoint for the shock’s range of motion, ensuring you have room to compress deeper on impacts while maintaining anti-squat during pedaling. Measuring sag requires a shock pump, a ruler, and ten seconds of patience. You sit on the bike in full gear, find the position of the air spring, then get off and measure how far it extended. That difference, expressed as a percentage of total travel, is your sag.
A rider who is significantly heavier than the bike’s intended market might need 30% sag, while a lighter rider might hit their target closer to 20%. This individualization is why factory settings, which split the difference, work poorly for many people. After sag comes damping—the rebound and compression adjustments that control how fast the suspension extends and compresses. These settings are where suspension truly becomes an art, because they depend not just on rider weight but on riding style and terrain. A rider who attacks steep, chunky descents might prefer faster rebound to keep the tires tracking the ground. A trail rider who spends time climbing might prefer slower rebound to reduce pedal bobbing. Again, no factory default will nail this for everyone.
The Path to Getting Your Suspension Right
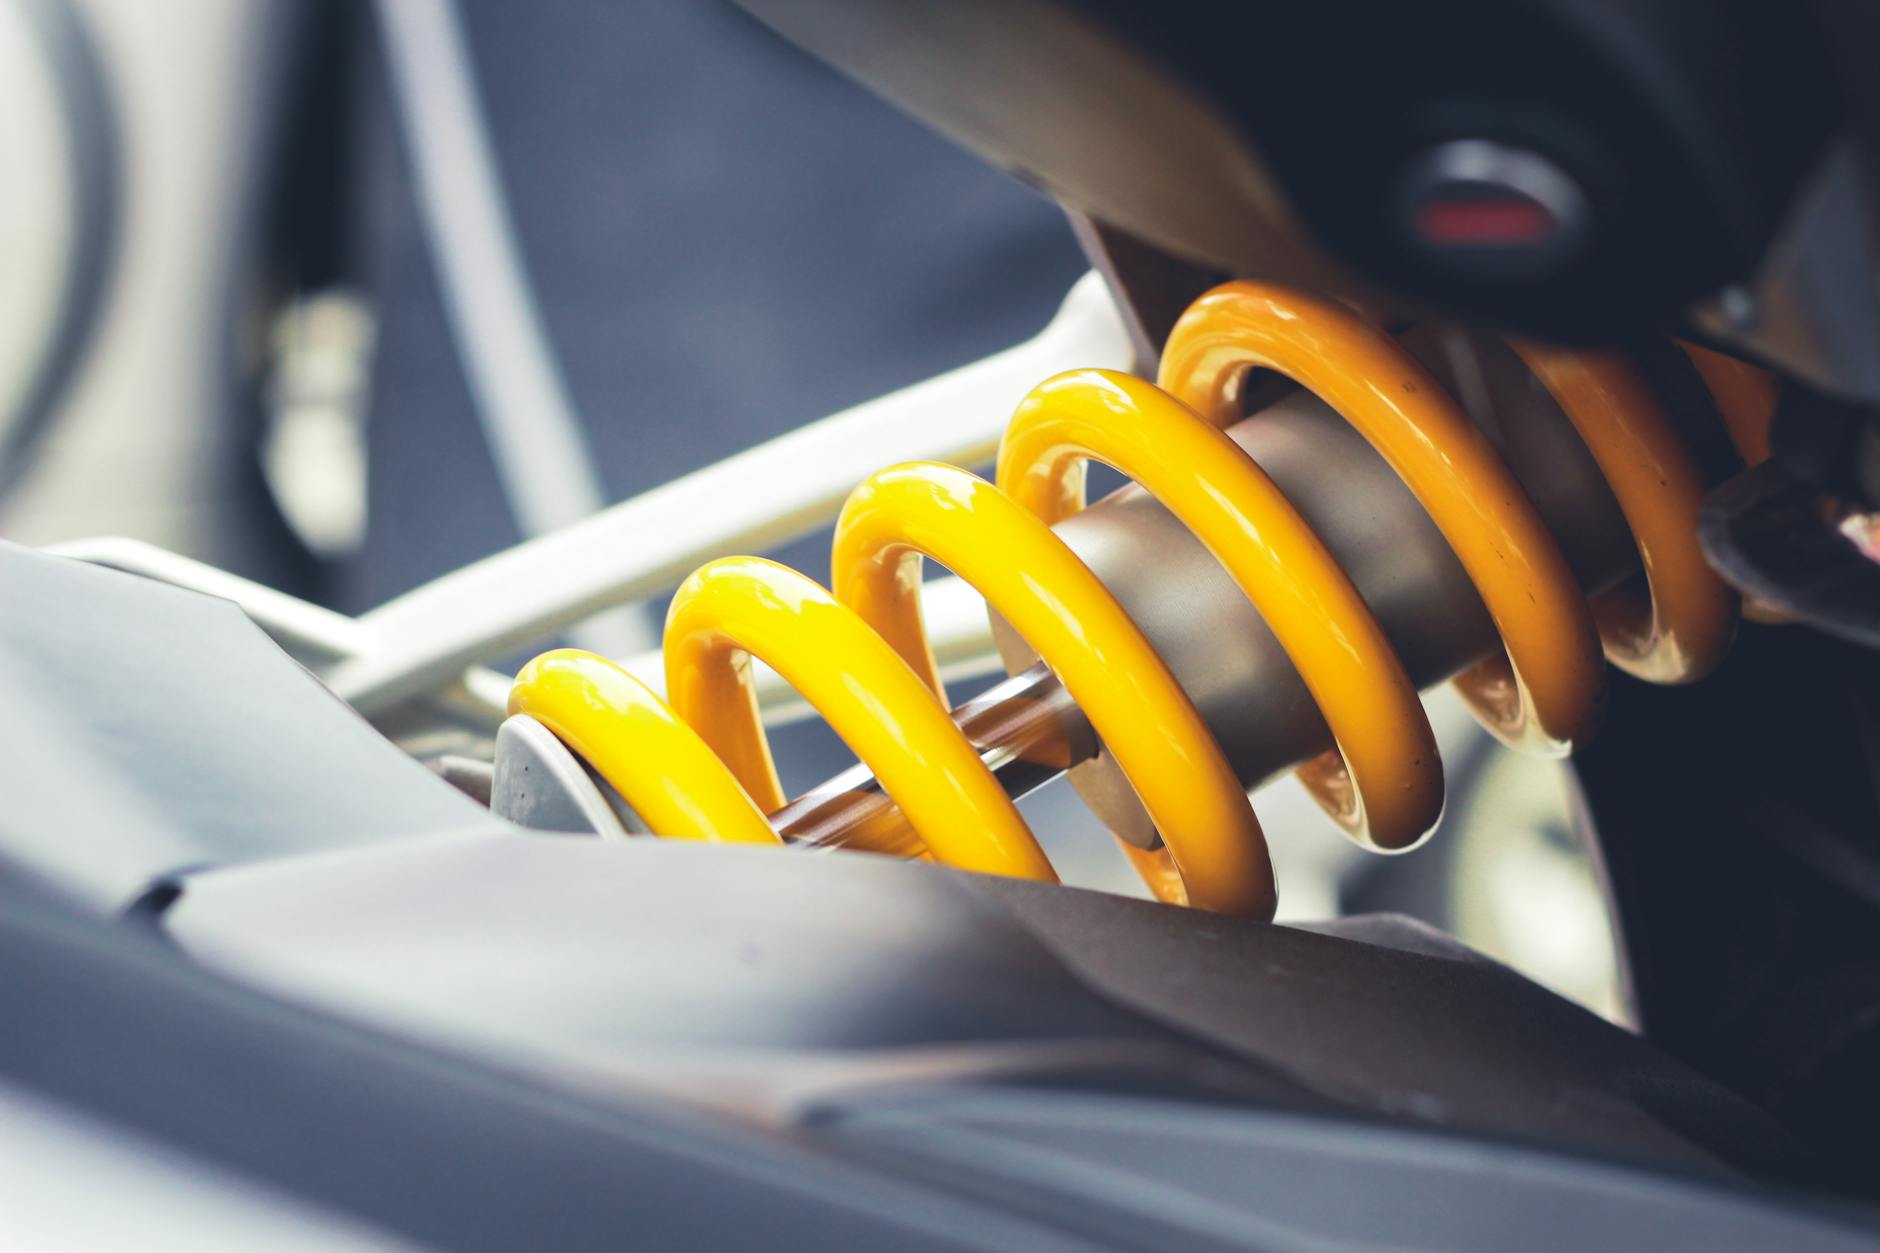
The most straightforward approach for riders new to suspension tuning is starting with sag, the single most impactful adjustment. Setting proper sag alone often produces a noticeable improvement that costs nothing beyond borrowing a shock pump and spending five minutes on setup. Many bike shops offer free air pump access, and many riders have shock pumps they’re willing to lend. This low-barrier entry point makes sag the natural starting point. After sag is dialed, rebound damping becomes the next focus.
Most entry and mid-level suspension forks and shocks have only rebound adjustment, which is where the real tuning happens. The classic method is to ride a section of trail you know well, make a single-click adjustment to rebound, ride it again, and note the change. This empirical approach takes longer than reading articles about suspension but generates intuitive understanding that sticks with you. The tradeoff is time investment—a rider might need a dozen laps to find their ideal rebound setting, though that time typically repays itself immediately through better bike handling. Some riders opt for professional suspension setup at a bike shop, where a technician uses their experience and sometimes instruments like shock pumps with pressure gauges to dial settings faster. This approach trades the trial-and-error process for expert guidance, which is especially valuable for riders buying expensive suspension or those who want to avoid learning the technical side themselves.
Common Mistakes That Keep Suspension Unadjusted
One widespread mistake is assuming that newer suspension inherits all the tuning knowledge from previous generations. Riders who upgrade from a hardtail to a full-suspension bike sometimes expect the new fork and shock to work intuitively, not realizing that dialing them in is a separate project. The shock might feel stiff or wallowy right out of the box, but interpreting that feedback and adjusting accordingly requires the rider to make the conceptual leap that setup is necessary. Another limitation is the abundance of conflicting information online.
Riders searching for suspension setup advice find forums where users suggest wildly different settings, brand-specific articles that contradict each other, and YouTube videos with setup methods from five years ago that may not apply to current technology. In the face of this noise, many riders simply give up and assume their bike is “how it is supposed to be.” The signal-to-noise ratio is poor enough that deferring to factory settings starts to feel like a reasonable default. Some riders also face a warning about over-adjustment: after making one or two changes, they keep fiddling until the bike feels worse than when they started. Suspension setup requires patience and systematic adjustment—changing one variable at a time and riding enough to assess the impact—but riders without experience sometimes treat it as a constant tweaking project, which erodes confidence and often makes things worse.
Signs That Your Suspension Needs Adjustment
If your bike bottoms out on medium-impact landings, or if it feels harsh and unresponsive on small bumps, your suspension is almost certainly misconfigured. Another clear sign is excessive pedal bobbing during climbing, where the suspension compresses under pedaling force even though you’re not dropping into terrain that should require compression. These are the kinds of feedback signals that riders often experience but don’t connect to tuning, attributing them instead to the bike model itself.
A simple reality check is whether your friends with similar bikes report the same ride characteristics. If someone on the same model bike at a similar price point describes their suspension as feeling plush and responsive while yours feels either harsh or too squishy, the difference often lies in setup rather than components. This comparison can be the spark that motivates someone to finally adjust their suspension and discover how much better the bike can feel.
The Growing Awareness of Suspension Tuning
The cycling industry has gradually become more aware of the setup problem, with manufacturers increasingly including suspension setup guides and tutorials with new bikes. Some brands now ship bikes with printed sag guides or links to video tutorials, recognizing that many riders will never discover this information otherwise. Industry data from recent years shows a 14% rise in mountain biking participation in the U.S., which means more people than ever are buying their first suspension bikes—and many of them are starting with unadjusted setups.
As the sport grows and manufacturers invest in better educational resources, the gap between riders who tune their suspension and those who don’t will likely continue to shift. The technical foundation—understanding sag, compression damping, and rebound—hasn’t changed, but accessibility to that knowledge has improved. Riders entering the sport today have easier access to tutorials and online guidance than previous generations, even if taking advantage of those resources still requires initiative.
Conclusion
The evidence suggests that a significant portion of mountain bikers do ride with suspension settings they’ve never adjusted from the factory, though the precise percentage remains difficult to pin down from current sources. What’s certain is that the underlying condition—riders unaware of how to tune suspension or unmotivated to try—represents a widespread performance gap. Most riders could improve their bike’s handling substantially with just a few minutes spent setting proper sag.
The encouraging news is that suspension tuning isn’t complicated or expensive to begin with. Starting with sag is a low-barrier entry point that costs nothing beyond access to a shock pump and produces immediate, noticeable improvements. If you’ve never adjusted your suspension, or if it’s been years since you last checked your sag, that’s the place to start. Your bike likely has more performance potential than you’re currently unlocking, waiting for nothing more than a few clicks of adjustment.
Frequently Asked Questions
What’s the easiest suspension adjustment for a beginner to start with?
Sag is the simplest adjustment and produces the biggest change. It requires only a shock pump, takes five minutes, and immediately improves how your bike rides. You’re aiming for 20–30% compression under your body weight.
Do I need professional help to set up my suspension?
No, but it helps. Many riders successfully dial their suspension through trial and error on the trail, while others prefer the expertise and efficiency of a professional bike shop setup. Both approaches work; it’s a matter of time and confidence.
How often should I adjust my suspension settings?
Your sag setting might change if you significantly alter your body weight or riding style, or if your shock loses air pressure (forks gradually lose a small amount over months). Rebound settings rarely need adjustment unless you change your riding terrain or style.
Why would a bike shop charge for suspension setup?
Professional setups use specialized tools, expertise, and sometimes instruments to dial settings precisely. Some shops offer free basic sag checks as part of routine maintenance, while comprehensive damping adjustment typically costs more and is worth it for expensive suspension.
What happens if I set my sag wrong?
Incorrect sag makes your bike feel either too stiff (if sag is too low) or too soft and mushy (if sag is too high). Neither causes damage, so you can safely experiment until you find your ideal range.
Should I adjust both my fork and rear shock the same way?
Both should follow the same sag principles, but rear shocks sometimes have different recommended ranges than forks depending on the design. Check your bike or shock manufacturer’s specs for the specific recommendation.