A basic bike tune-up at a professional shop will typically cost you between $140 and $220 in 2026, not the $300 sometimes cited online. If you’re looking at a comprehensive overhaul that includes full drivetrain disassembly and hydraulic brake service, you could see prices climb toward $300 or beyond. For most riders doing routine maintenance—cleaning, adjustments, safety checks, and wheel truing—expect to pay somewhere in that $100 to $180 range, depending on your location and the shop’s reputation. The good news is that for around $40 to $80, you can assemble a basic DIY toolkit and handle many of the same maintenance tasks yourself.
Riders who commit to DIY maintenance can save $200 to $300 annually by doing straightforward work at home instead of taking every small issue to the shop. A typical DIY starter kit includes hex keys, tire levers, a patch kit, and a floor pump—everything you need to keep your bike in reasonable shape between professional services. Understanding the real cost breakdown between shop work and DIY maintenance helps you make smarter decisions about your bike’s upkeep. Some tasks genuinely belong in a professional’s hands, while others are straightforward enough for any home mechanic to tackle. The trick is knowing which is which.
Table of Contents
- What Does a Professional Bike Tune-Up Actually Cost?
- Why Professional Work Costs More Than You Might Expect
- Building Your DIY Toolkit: What $40 to $80 Buys You
- DIY Maintenance vs. Professional Service: The Tradeoff
- Common Mistakes That Turn a Cheap DIY Job Into an Expensive Shop Visit
- E-Bikes and Other Specialty Bikes: When DIY Isn’t an Option
- Planning Your Maintenance Schedule for Long-Term Savings
- Conclusion
- Frequently Asked Questions
What Does a Professional Bike Tune-Up Actually Cost?
Professional shops price their work in tiers, and it helps to understand what you’re paying for at each level. A basic tune-up, usually costing $50 to $100, includes cleaning, minor adjustments to brakes and derailleurs, and a general safety inspection. Think of it as the preventive checkup—the shop makes sure nothing is dangerously loose and that your bike shifts and stops predictably. Many riders find this tier sufficient if they’re riding casually and maintaining their bike between visits. A standard tune-up, priced between $100 and $180, goes deeper. The shop will clean the drivetrain more thoroughly, true your wheels if they’re slightly out of alignment, check and adjust bearing tightness, and perform more detailed safety checks.
For someone riding several times a week, this is the sweet spot. A major overhaul, running $180 to $300 or more, involves disassembling the drivetrain, deep cleaning or replacing components, servicing hydraulic brakes if you have them, and sometimes repacking wheel bearings. You’ll likely only need this every few years unless you’re putting serious mileage on your bike. Location matters significantly for pricing. urban shops in major cities often charge $100 or more for a basic tune-up, while rural shops might do the same work for $60 to $80. This $20 to $40 rural-urban gap reflects local labor costs and shop overhead. If you have an e-bike, add another $20 to $50 to any of these prices—the added complexity of electric systems requires more specialized knowledge.
Why Professional Work Costs More Than You Might Expect
The price tag on a tune-up reflects more than just labor time. Shops invest in specialized tools you probably don’t own—precision wheel truing stands, derailleur alignment gauges, bottom bracket tools, and pressure-sensitive torque wrenches. These tools aren’t cheap, and their cost gets distributed across every job. A shop’s overhead also includes rent, utilities, insurance, and paying staff with years of mechanical experience. That person adjusting your derailleurs has spent thousands of hours perfecting the craft. There’s also the liability factor.
If a shop undertakes your bike tune-up and something goes wrong—a brake failure or a derailleur adjustment that causes a chain drop—the shop carries legal responsibility. That’s why professional shops carry liability insurance and why they charge prices that reflect that cost. When you DIY, you accept all that risk yourself. Additionally, replacement parts always cost extra at the shop. If your chain is worn, your brake pads are glazed, or your cables are frayed, the shop will quote you separately for those components, potentially doubling your tune-up bill. Many riders are surprised to learn that a $100 tune-up quote becomes $200 once worn parts are identified and replaced.
Building Your DIY Toolkit: What $40 to $80 Buys You
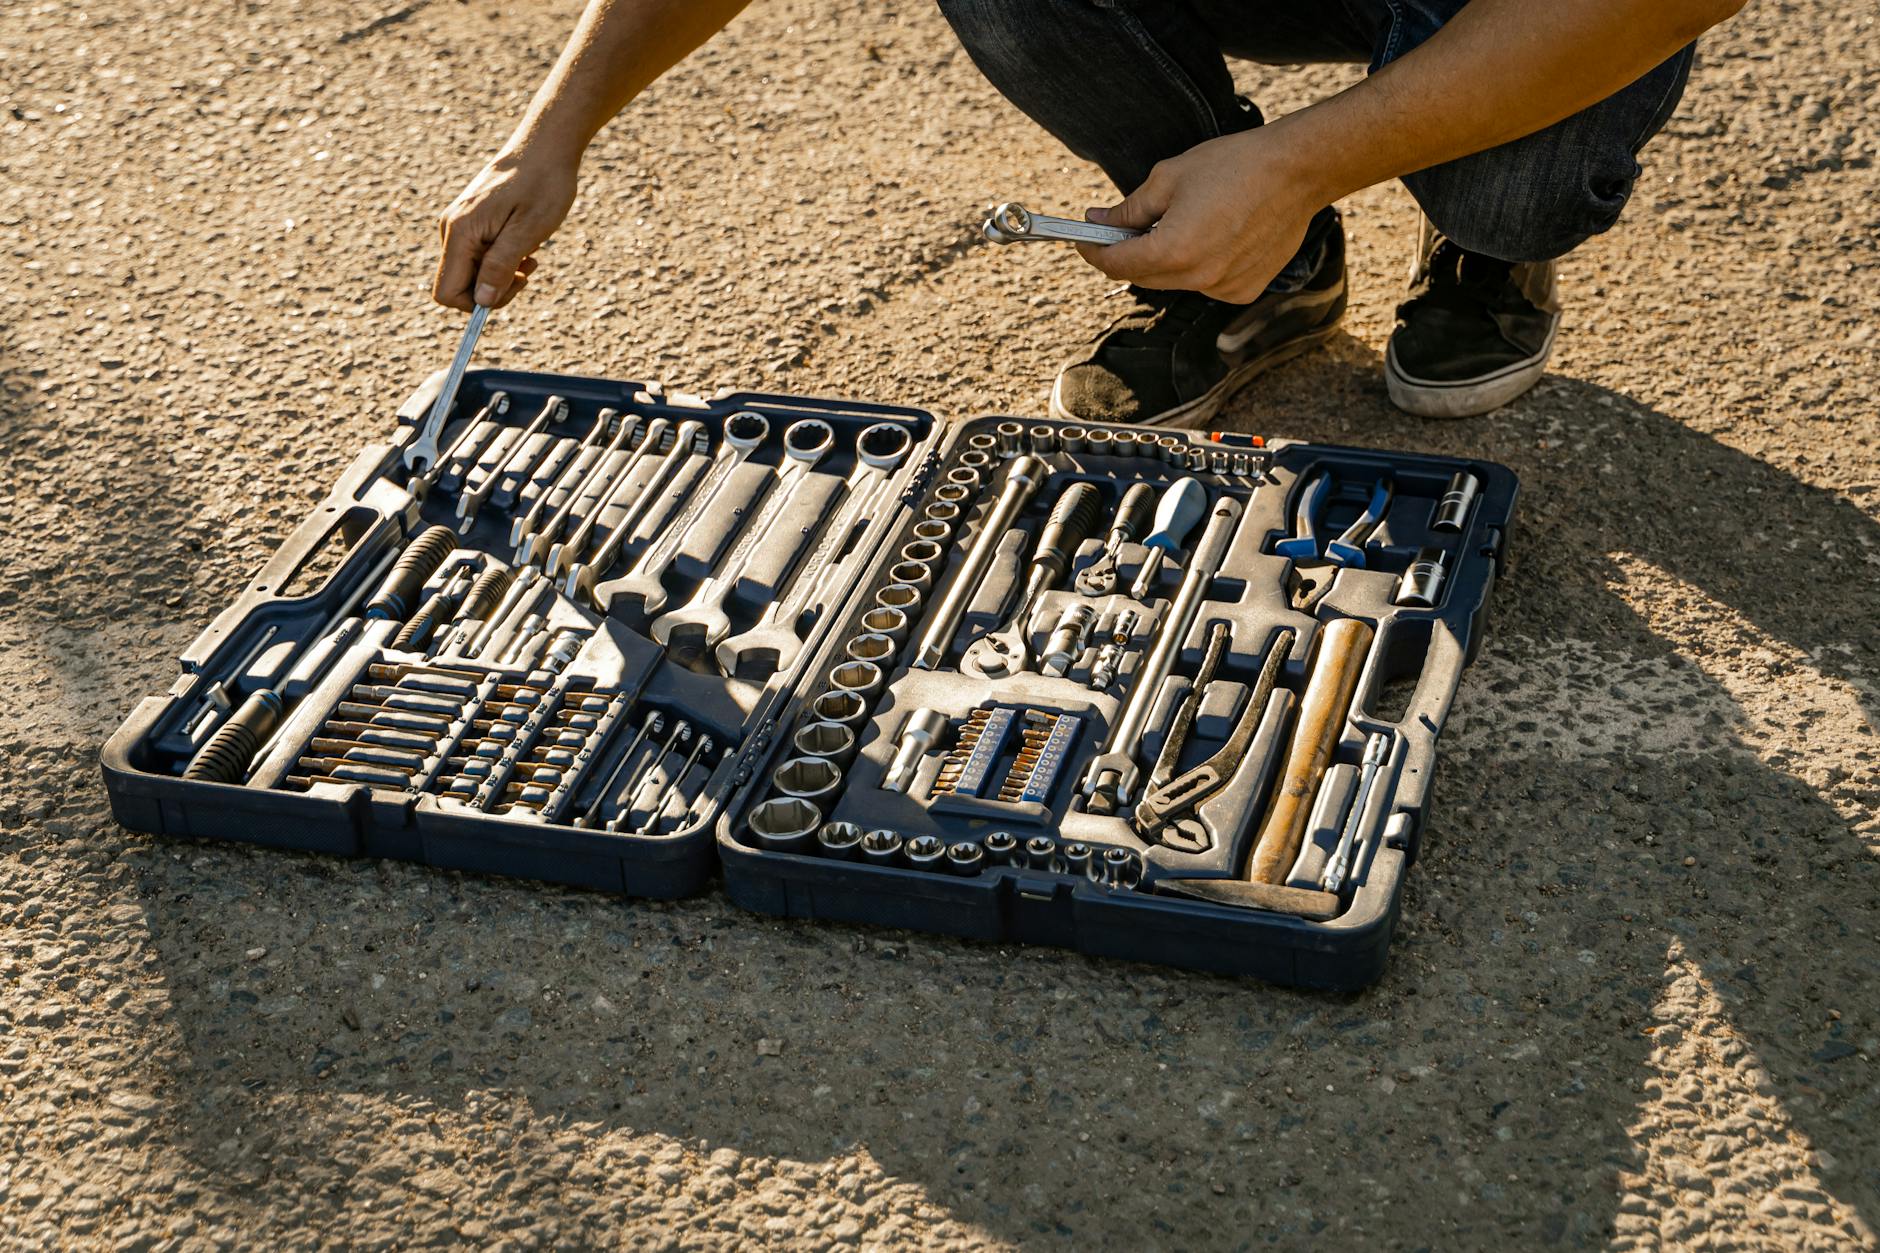
The bare minimum DIY setup costs around $40 and includes a multi-tool with hex keys, a set of tire levers, a basic patch kit, and a hand-pump. These tools let you handle flats, adjust brake and derailleur cables, tighten loose bolts, and fix basic issues roadside or at home. If you expand to $80, you can add a floor pump (which lasts years and saves you money versus hand-pumping every flat), a chain tool, and potentially a basic chain-cleaning brush. At this price point, you’re equipped to do most routine maintenance yourself. For around $120 to $150, you could add a wheel truing stand and a spoke wrench, letting you fix minor wheel wobbles without a shop visit.
The investment starts to pay for itself quickly—that $120 stand lets you save $30 to $50 per wheel-truing visit. For serious cyclists or multi-bike households, a small workstand that costs $60 to $100 makes working on your bike dramatically easier. Suddenly, what seemed like a fiddly 30-minute job becomes something you can actually finish without frustration. The key insight is that most DIY tools have very low cost per use if you own multiple bikes or ride regularly. That $60 work stand might seem expensive until you realize it saves you money on your second or third professional tune-up. Even a minimal $40 toolkit pays for itself the first time you patch a flat instead of calling for a ride or buying a new tube.
DIY Maintenance vs. Professional Service: The Tradeoff
Doing your own maintenance saves money, but it trades cash for time and requires developing some basic skills. A professional can identify and fix problems in an hour that might take you three hours as a beginner, especially if you’re working with unfamiliar tools or your bike has quirky components. There’s also the learning curve—your first derailleur adjustment might take 20 minutes and still not be quite right, while a pro does it in five. But after tackling the same task three or four times, your speed and accuracy improve dramatically. The annual savings from DIY are substantial. If you’d normally pay $140 to $180 for two standard tune-ups per year, plus another $100 or so for small issues like brake adjustments or chain replacements, you’re looking at roughly $400 to $450 annually in professional work.
With a $40 to $80 DIY toolkit, you could eventually save $200 to $300 per year by handling straightforward maintenance yourself. The break-even point depends on how often you’d use the tools, but for anyone riding regularly, it usually comes in the first year. The tradeoff isn’t just about saving money, though. Some jobs really do belong at a shop—hydraulic brake bleeding, bottom bracket packing, headset adjustment, and chainring replacement require tools and knowledge that justify the cost. Knowing which tasks are DIY-friendly and which are best left to professionals is the difference between saving money and creating headaches. Many experienced cyclists adopt a hybrid approach: they handle cleaning, cable adjustments, brake pad changes, and patching at home, but take their bikes to the shop once a year for a full inspection and the tasks that require specialized equipment.
Common Mistakes That Turn a Cheap DIY Job Into an Expensive Shop Visit
Over-tightening bolts is the most common DIY mistake. Many people assume that tighter always means better, but bicycle components are designed with specific torque specifications. Over-tightening a derailleur mounting bolt or a stem bolt can strip threads, crack the component, or damage the frame. Once threads are stripped, you’re looking at a shop visit and potentially component replacement—turning a $20 adjustment into a $150 repair. Unless you own a torque wrench and understand how to use it, there’s a temptation to just keep turning until it feels solid. Resist that temptation. Another frequent mistake is improper cable routing or tensioning. Brake and derailleur cables need to run cleanly without kinks or sharp bends, and they need tension that hits a specific sweet spot.
Too much tension, and the derailleur won’t shift crisply; too little, and it won’t shift at all. Figuring out the right tension takes practice. Many first-timers find themselves going to a shop a week later complaining that their bike doesn’t shift smoothly, only to learn they’d adjusted something incorrectly. It’s worth watching tutorial videos carefully and perhaps practicing on an older bike you don’t rely on before diving into your primary ride. Misaligning the wheel in the dropouts after a flat repair is another trap. If the wheel sits slightly sideways in the frame, it won’t spin true and will rub the brakes. Again, it seems like a small issue, but it can create bigger problems if you don’t notice. The lesson here is that DIY requires patience and attention to detail. Skip a step or rush through, and you might create more work than you saved.

E-Bikes and Other Specialty Bikes: When DIY Isn’t an Option
Electric bikes introduce complexity that changes the equation entirely. Most riders shouldn’t DIY the electrical components, motor, or battery systems. If something goes wrong with the motor or battery, you could damage expensive parts or create a safety hazard. Many shops charge $20 to $50 extra for e-bike tune-ups specifically because of this added complexity. You can still handle basic maintenance like cleaning and brake adjustments, but anything involving the motor, battery, or electrical connectors should go to a shop with e-bike experience.
Specialty bikes like full-suspension mountain bikes or high-end track bikes also present challenges. Full-suspension bikes have shock absorbers that require specialist servicing and calibration. Taking a guess at air pressure or rebound damping adjustment will leave your bike feeling sluggish or unstable. Track bikes have ultra-tight tolerances and minimal adjustability—a tiny mistake becomes immediately noticeable. For these bike types, professional maintenance is genuinely worth the money.
Planning Your Maintenance Schedule for Long-Term Savings
Building a routine maintenance schedule lets you dodge expensive repairs and makes DIY manageable. Clean your chain and drivetrain every 100 to 150 miles, check your tire pressure and brake function before every ride, and plan a more thorough tune-up every 500 to 1,000 miles depending on conditions. Regular small interventions prevent the accumulation of issues that force you to the shop for a $200 overhaul.
Most riders benefit from a hybrid approach: do your own routine maintenance and small adjustments, take your bike to a trusted shop once a year for a full inspection and professional tune-up, and factor in $100 to $180 for that annual visit. Between visits, your DIY toolkit handles everything else. Over time, this strategy costs roughly half what you’d pay for professional-only maintenance while keeping your bike safer and more enjoyable to ride.
Conclusion
The real cost of a bike tune-up falls between $140 and $220 for most riders at a professional shop, though basic adjustments start around $50 and major overhauls can exceed $300. Assembling your own DIY toolkit for $40 to $80 lets you handle routine maintenance and save $200 to $300 annually if you’re willing to develop basic skills. The choice between DIY and professional service isn’t binary—the best approach for most cyclists is to handle what you can confidently manage at home while relying on professionals for specialized work and annual comprehensive checks.
Start with a basic toolkit and easy tasks like patching flats and tightening bolts. As your confidence builds, tackle more complex adjustments like derailleur tuning and brake cable tension. Know your limits, especially with e-bikes or specialty components. And remember that spending $140 on a professional tune-up once a year, combined with your own maintenance between visits, is far cheaper than neglecting your bike until something expensive breaks.
Frequently Asked Questions
How often should I get a professional bike tune-up?
Most riders benefit from at least one professional tune-up per year, or every 500-1,000 miles of riding. High-mileage riders or those in harsh conditions might go twice yearly.
Is it cheaper to just buy a new bike than maintain an old one?
Almost always no. Even regular professional tune-ups costing $140-$180 per year are far cheaper than replacing a $400+ bike every few years. DIY maintenance makes ownership even more economical.
Can I damage my bike by doing my own maintenance?
You can if you’re careless—over-tightening bolts or misaligning wheels are common mistakes. Watch tutorial videos, start with simple tasks, and research any procedure before attempting it.
Should I take my new bike to the shop for a tune-up immediately?
A tune-up within the first few weeks is worthwhile. New bikes often settle after initial assembly, and a shop visit catches loose bolts or misaligned components before they cause problems.
What tasks should I absolutely leave to professionals?
Hydraulic brake bleeding, bottom bracket service, headset adjustments, suspension tuning, and any electrical work on e-bikes are best left to shops with the proper tools and expertise.
How much can I really save per year with DIY maintenance?
If you’d normally spend $400-$450 annually on professional tune-ups and repairs, DIY can save $200-$300 per year, especially once you own the basic tools.


