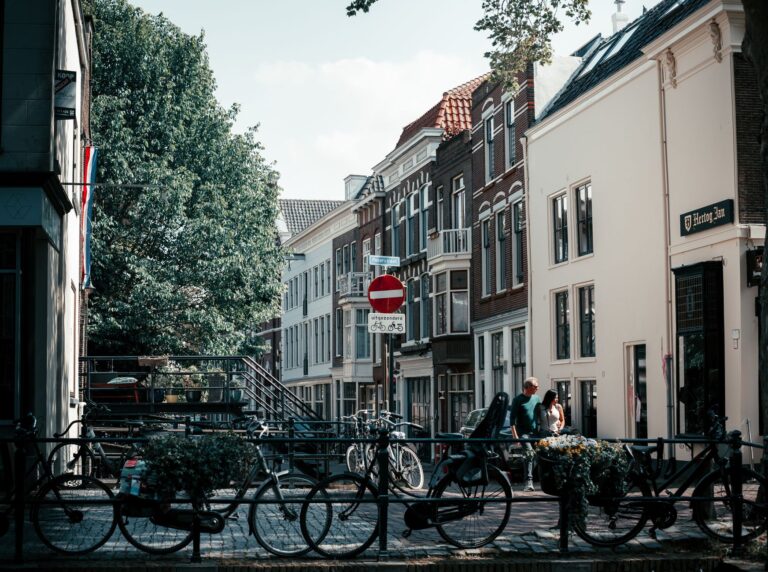
Inspect a Dutch city bike by checking the frame for damage, the wheels for true running, the drivetrain for wear, the brakes for reliable stopping, and the fit for a comfortable upright position. A Dutch city bike is a practical, upright bicycle built for everyday riding, often with fenders, a chain guard, lights, and an enclosed or simple drivetrain. Start with structural safety, then test the parts that wear out. Cosmetic rust and scuffs may be acceptable; cracks, seized components, and poor fit are reasons to walk away or budget for repairs.
Table of Contents
- Examine the Frame and Fork
- Check Wheels, Tires, and Bearings
- Test the Drivetrain Under Load
- Make Sure the Brakes Stop Smoothly
- Confirm the Bike Fits Your Riding
- Frequently Asked Questions
Examine the Frame and Fork
Clean paint can hide trouble, so look closely around the head tube, bottom bracket, seat cluster, rear dropouts, and rack mounts. These areas take repeated loads and can reveal cracks, dents, or poorly repaired damage. Surface rust on steel frames is common, especially around chips and fender mounts. Rust that flakes away in layers, creates holes, or appears near joints deserves more caution.
Aluminum frames do not rust, but inspect them carefully for cracks and deep dents. Turn the handlebars from side to side and apply the front brake while rocking the bike forward. Excessive knocking can indicate a loose or worn headset, the bearing assembly that lets the fork turn. Check that the fork points straight and does not show bends, cracks, or corrosion at the crown.
Check Wheels, Tires, and Bearings
Lift each wheel and spin it. A good wheel turns freely with no major side-to-side wobble, scraping, or repeated rubbing against the brake pads or fenders. Minor truing is routine; a badly bent rim or multiple broken spokes can make a low-priced bike less economical. Squeeze pairs of spokes gently.
They do not need identical tension, but several loose spokes, cracked spoke holes, or a rim that pulses sideways suggest deferred maintenance. Inspect the rims for dents, worn braking surfaces, and corrosion around the spoke nipples. Check tire sidewalls for cracks and the tread for cuts, embedded debris, or bald areas. Then hold the rim and try to move it sideways. Play at the hub may mean an adjustment is needed, while roughness when spinning points to worn bearings.
Test the Drivetrain Under Load
A city bike may use a single-speed chain, derailleur gears, or an internal-gear hub. Pedal the bike forward and backward, shift through every gear available, and listen for skipping, grinding, or loud clicking. Look for a dry, rusty, or stiff chain.
Pull the chain away from the front chainring at its forward edge; if it lifts noticeably from the teeth, the chain and possibly the chainring may be worn. On a bike with a full chain case, open the inspection point if practical and check for water, grit, and chain condition. During a short ride, use moderate pedal pressure in several gears. A drivetrain that skips only under load often needs more than a simple adjustment.
- Check that the cranks turn smoothly without side-to-side movement.
- Shift up and down several times, not just once.
- Make sure the chain guard does not rub or rattle.
- Treat a seized shifter or broken internal-gear cable as a repair item, not a minor inconvenience.
Make Sure the Brakes Stop Smoothly
Test both brakes separately at walking speed. The levers should feel firm enough to control braking without reaching the handlebar, and the bike should stop in a straight line. Rim brakes need usable pads and clean, unworn rim surfaces. Look for pads worn to their holder, frayed cables, cracked cable housings, and rims with a deep concave braking track.
Roller, drum, coaster, and hub brakes can be dependable, but repairs may require parts or knowledge specific to that system. If the bike has a coaster brake, engage it by pedaling backward. It should bite predictably without a long dead zone or grinding. A brake that grabs suddenly, squeals severely, or provides weak stopping power needs attention before regular riding.
Confirm the Bike Fits Your Riding
A Dutch city bike should let you sit upright with a relaxed reach, not force you to stretch toward the bars. Stand over the frame first; there should be comfortable clearance on a diamond-frame bike, while a step-through frame is judged more by saddle and handlebar adjustment. Set the saddle so your knee remains slightly bent at the bottom of the pedal stroke.
Then check the reach: you should hold the grips with soft elbows and avoid pressure on your wrists, shoulders, or lower back. Take a brief ride if possible. Notice whether you can start, stop, and put a foot down confidently, especially if the bike is heavy or has a high saddle. A mechanically sound bike that feels awkward at low speed may not suit daily errands or urban traffic.
Frequently Asked Questions
Is surface rust on a Dutch city bike a deal-breaker?
Usually not. Surface rust on bolts, racks, and paint chips is often manageable, but deep corrosion near frame joints, fork areas, or rims can signal structural or safety problems.
Should I avoid a bike with an internal-gear hub?
No. Internal hubs suit city riding well, but every gear should engage cleanly during a test ride, and the shifter cable and hub operation should be checked before purchase.