Yes, it’s entirely possible to convert a $400 bike to electric with a $600 conversion kit and outpace premium e-bikes costing $8,000 or more. The math is simple: a quality DIY conversion kit typically costs between $300 and $800, putting your total investment well under the price of most commercial e-bikes. When you bolt that kit onto a reliable used bike, you’ve got a functioning electric commuter for a fraction of what manufacturers charge.
The performance gains can be genuinely surprising—riders frequently report that their converted bikes accelerate and hill-climb at the same speed as high-end commercial models, just with a different pedigree and a story behind them. The real revelation isn’t that conversion kits work. It’s that they work so well that they’ve exposed a pricing model in the e-bike industry that relies heavily on brand, distribution, and assembly rather than raw component cost. A commuter on a converted road bike with a mid-drive motor kit might very legitimately cruise past an $8,000 Bosch-equipped cargo e-bike at a stoplight, both of them powered by similar motor technology but one paid for with the sticker shock and the other with a weekend spent installing a kit.
Table of Contents
- Why DIY E-Bike Conversions Cost a Fraction of New E-Bikes
- Motor Type and Installation: Mid-Drive vs. Hub Motors
- Battery Range and Real-World Commuting Performance
- Comparing Performance: Converted Bikes vs. Commercial E-Bikes
- Common Installation Gotchas and What to Watch For
- Maintenance and Long-Term Costs
- The Ecosystem Effect: When You Own the Build
- Conclusion
- Frequently Asked Questions
Why DIY E-Bike Conversions Cost a Fraction of New E-Bikes
The price gap between a DIY conversion and a factory-built e-bike comes down to overhead and brand positioning. A commercial e-bike manufacturer has to cover design iterations, tooling, supply chain management, retail markup, and warranty. Conversion kit companies sell directly or through distributors, skipping the retail middleman entirely. The result: you can buy a complete mid-drive motor conversion kit—motor, controller, battery, display, and wiring harness—for $400 to $600. That same engineering, integrated into a factory e-bike frame, would cost you $2,000 at minimum. Real-world math tells the story. According to recent cost breakdowns in the e-bike market, premium e-bikes range from $2,000 to $8,000 or higher, with the bulk of that cost reflecting brand value rather than hardware differentials. A $6,000 Bosch-equipped commuter e-bike and a $1,000 bike retrofitted with a $600 Bafang kit use remarkably similar motors and batteries.
The converted bike might have a slightly more basic display or a heavier aluminum frame, but on a 10-mile commute, the difference in ride experience is often negligible. The person who spent $1,000 total has pocketed five grand in savings and gained a genuine understanding of how their bike works. The tradeoff you’re making is support and integration. Factory e-bikes come with engineering that optimizes frame geometry, weight distribution, and cable routing for electric motors from the ground up. A DIY conversion uses an existing frame that was designed for human legs alone, which works fine but introduces compromises. Cable management can be messier. Cables might rub against frame tubes or seat stays. The battery mount might feel like an afterthought on some frames. These are manageable problems, not showstoppers, but they’re the price of admission for cutting your total cost by 75 percent.
Motor Type and Installation: Mid-Drive vs. Hub Motors
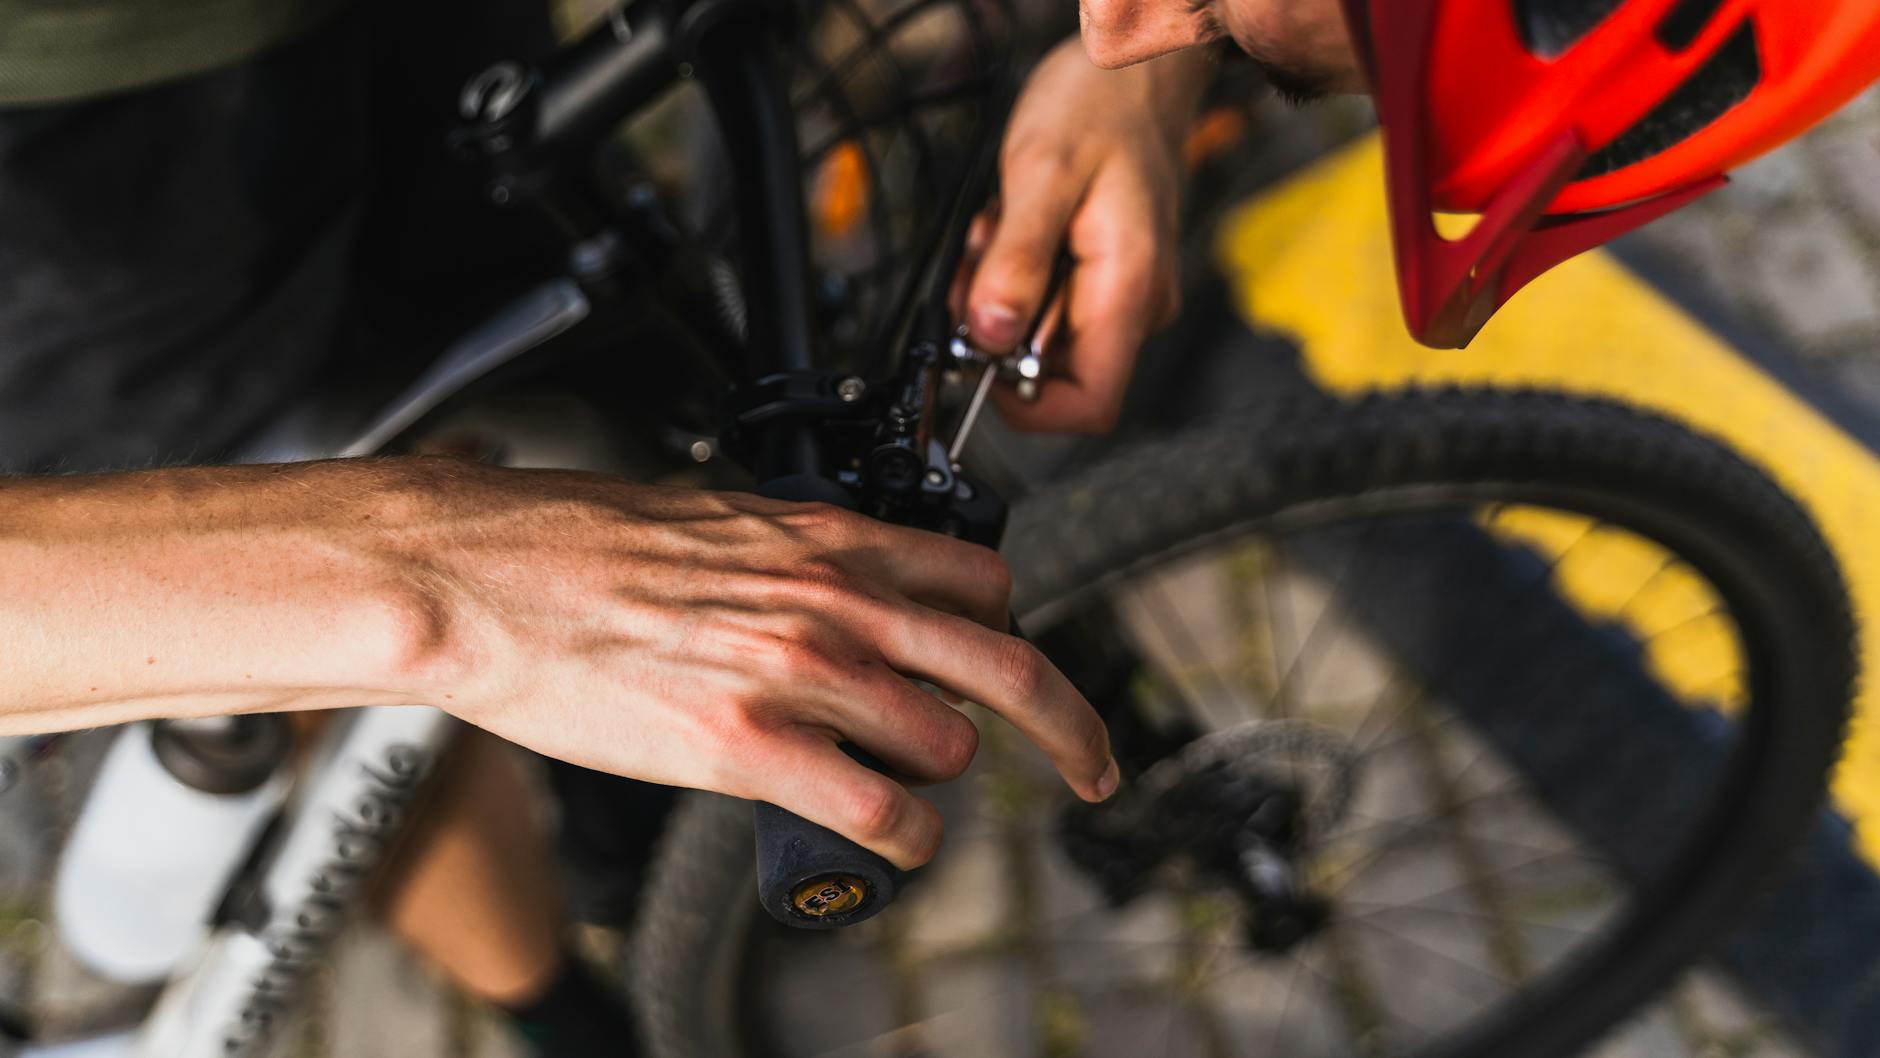
The conversion kit you choose determines how your bike rides and how much installation work you’ll do. Mid-drive kits—the most popular option for conversion—mount a small motor directly to your bike’s crankset and move power through the existing chain and gears. This design is mechanically elegant: it means your bike still uses its derailleur and cassette, your gearing feels natural, and the motor gets more leverage going uphill because it’s multiplied through your cassette. A quality mid-drive kit from a company like Bafang or Bosch-licensed kits in the $400-$600 range will give you 250-750 watts of power, which is more than enough to maintain 20-28 mph on flat terrain and tackle serious hills. Hub motor kits, which replace your wheel’s hub with a motorized one, are often cheaper (sometimes under $400) and require less installation sophistication. You’re essentially building a new wheel onto a motorized hub. The downside is that hub motors don’t benefit from your bike’s gearing—they push with the same power whether you’re in your lowest gear or your highest—which makes them less efficient on hilly terrain and less pleasant to pedal if you want to ride without electric assist.
A commuter choosing between them should know that mid-drive kits preserve the joy of gear selection, while hub motors trade that nuance for simplicity and upfront savings. Installation difficulty varies more than many potential converters expect. A hub motor swap is genuinely straightforward: remove the old wheel, spoke the motor hub to your rim (or buy it pre-wheeled), and bolt it on. A mid-drive conversion involves loosening your crankset, installing the motor, routing the motor’s throttle and display cables along your downtube, configuring your controller, and often tuning assist levels in firmware. Most experienced cyclists can do it in two to four hours. Those without mechanical confidence can watch detailed YouTube walkthroughs or pay a bike shop $100-$200 to handle the installation—still a bargain compared to a factory e-bike. The hidden catch: some frames are incompatible with mid-drive motors due to crankset spacing or cable clearance, so you have to verify your frame specs before ordering.
Battery Range and Real-World Commuting Performance
The battery capacity you choose determines your range and your final cost. A conversion kit in the $600 range typically pairs a 500-750 watt motor with a 48-volt, 10-15 amp-hour battery, which translates to roughly 400-600 watt-hours of energy. In real-world testing, that’s enough for a 20-40 mile commute depending on terrain, rider weight, and assist level. Flat terrain and moderate assist? You might squeeze 40 miles. Hilly terrain and maximum assist? Expect 20-25 miles before you’re pedaling a dead motor. This is where the comparison to $8,000 e-bikes becomes interesting: a premium commercial e-bike with a massive 800 watt-hour battery might go 50-80 miles, but the converted bike with a smaller battery still obliterates the commute of anyone driving a car or taking a bus. Real commuters report something unexpected: once you own a converted e-bike, you optimize around its range in a way that feels natural rather than limiting. A 30-mile commute becomes 15 miles out and 15 miles back, with a charge at the office or at home.
The math works. You’re not going on a 60-mile expedition; you’re replacing a car trip. For that purpose, a $600 conversion kit with a mid-range battery outperforms a $1,200 commercial e-bike with the same battery size because you own the full ecosystem and understand exactly how to maintain it. One limitation worth understanding: battery degradation. A quality lithium battery from a reputable kit manufacturer should last 2-4 years of daily commuting before capacity drops noticeably. If you’re buying a $600 kit with a $200 battery, you need to accept that in three years, you might be buying a $300 replacement battery pack. A factory e-bike’s warranty sometimes covers this; a conversion kit usually doesn’t. Budget accordingly, and factor in the cost of a second battery before making your decision. Some commuters buy two smaller batteries and rotate them, gaining range and longevity.

Comparing Performance: Converted Bikes vs. Commercial E-Bikes
When you pass a $8,000 e-bike on your converted $1,000 setup, what exactly is different? Usually not much, mechanically. Both of you are likely running 250-750 watt motors with similar torque profiles. Both batteries are probably 48-volt lithium packs. Both are limited to assist speeds of 20-28 mph depending on local regulations. The e-bike ahead might have hydraulic brakes and a carbon fork instead of your mechanical rim brakes and steel fork, but neither of those components affects your acceleration or climb performance. Where commercial e-bikes often do win is in integration and polish. A $8,000 commuter from a recognized manufacturer like Specialized or Trek has been engineered so that every cable hides beautifully, the battery fits flush into the frame, and the motor is tuned to provide smooth, natural power delivery. A converted bike with a basket bolted to the rear carrier and motor cables zip-tied along the downtube works just as well but looks rougher.
The riding experience might be identical, but the presentation is different. For commuters who care primarily about function and cost, this is a feature, not a bug. For those who want a pristine, integrated aesthetic, it’s a real drawback. The performance tradeoff that matters most is reliability and support. A commercial e-bike comes with a warranty covering the motor and battery. If something fails, you take it to the shop that sold it to you. A DIY conversion kit comes with basic manufacturer support and documentation; if something breaks, you’re likely diagnosing and fixing it yourself or paying a generalist bike shop to help troubleshoot an unfamiliar system. This is manageable if you’re mechanically inclined or patient with learning. It’s frustrating if you just want something to work without understanding it.
Common Installation Gotchas and What to Watch For
The biggest surprise awaiting first-time converters is cable routing. On a mid-drive kit, you have motor power cables, throttle cables, display wires, and cadence sensor leads all needing a path from the motor to your handlebars and seat tube. On your original bike, that space was quiet and open. Now, you’re threading wires under your downtube, around your water bottle cage, and over your seat stay, trying to keep them away from your shifting cables and brake lines. Rookie installers end up with a spaghetti tangle. Experienced ones spend 30 extra minutes planning the route, using small zip ties at intervals, and leaving slack for turning the handlebars fully left and right. The motor works fine either way, but the tidy installation is satisfying and prevents chafing. Compatibility is the second gotcha, and it’s the one that stops conversions in their tracks. Not every frame works with mid-drive conversion kits. Some cranksets have non-standard spindle widths. Some frames have braze-ons in the wrong positions.
Some have cable guides that interfere with motor cable routing. Before you order a $600 kit, you need to verify that your specific frame—the exact model year, even—is compatible. Kit manufacturers usually list compatible bikes on their websites, but they can’t possibly cover every bike ever made. If your bike isn’t listed and you’re unsure, contact the kit maker or a conversion specialist. Ordering a kit and discovering mid-way through installation that your frame won’t accept it is expensive frustration. Battery placement matters more than you’d think. Most conversion kits mount the battery on your seat tube, on a rear rack, or integrated into a water bottle cage-style carrier. A seat tube battery moves your center of gravity up and back, which can feel weird if you’re used to a fast, twitchy bike. A rear-rack battery lowers your center of gravity and lets you use your seat tube for a water bottle, but it adds weight to the rear wheel, increasing inertia and wear on your rear brake and drivetrain. You can’t change this once the kit is installed, so think ahead about where you want the weight. Real commuters report that battery placement matters more than they expected, and some have regretted their choice after three months of riding.
Maintenance and Long-Term Costs
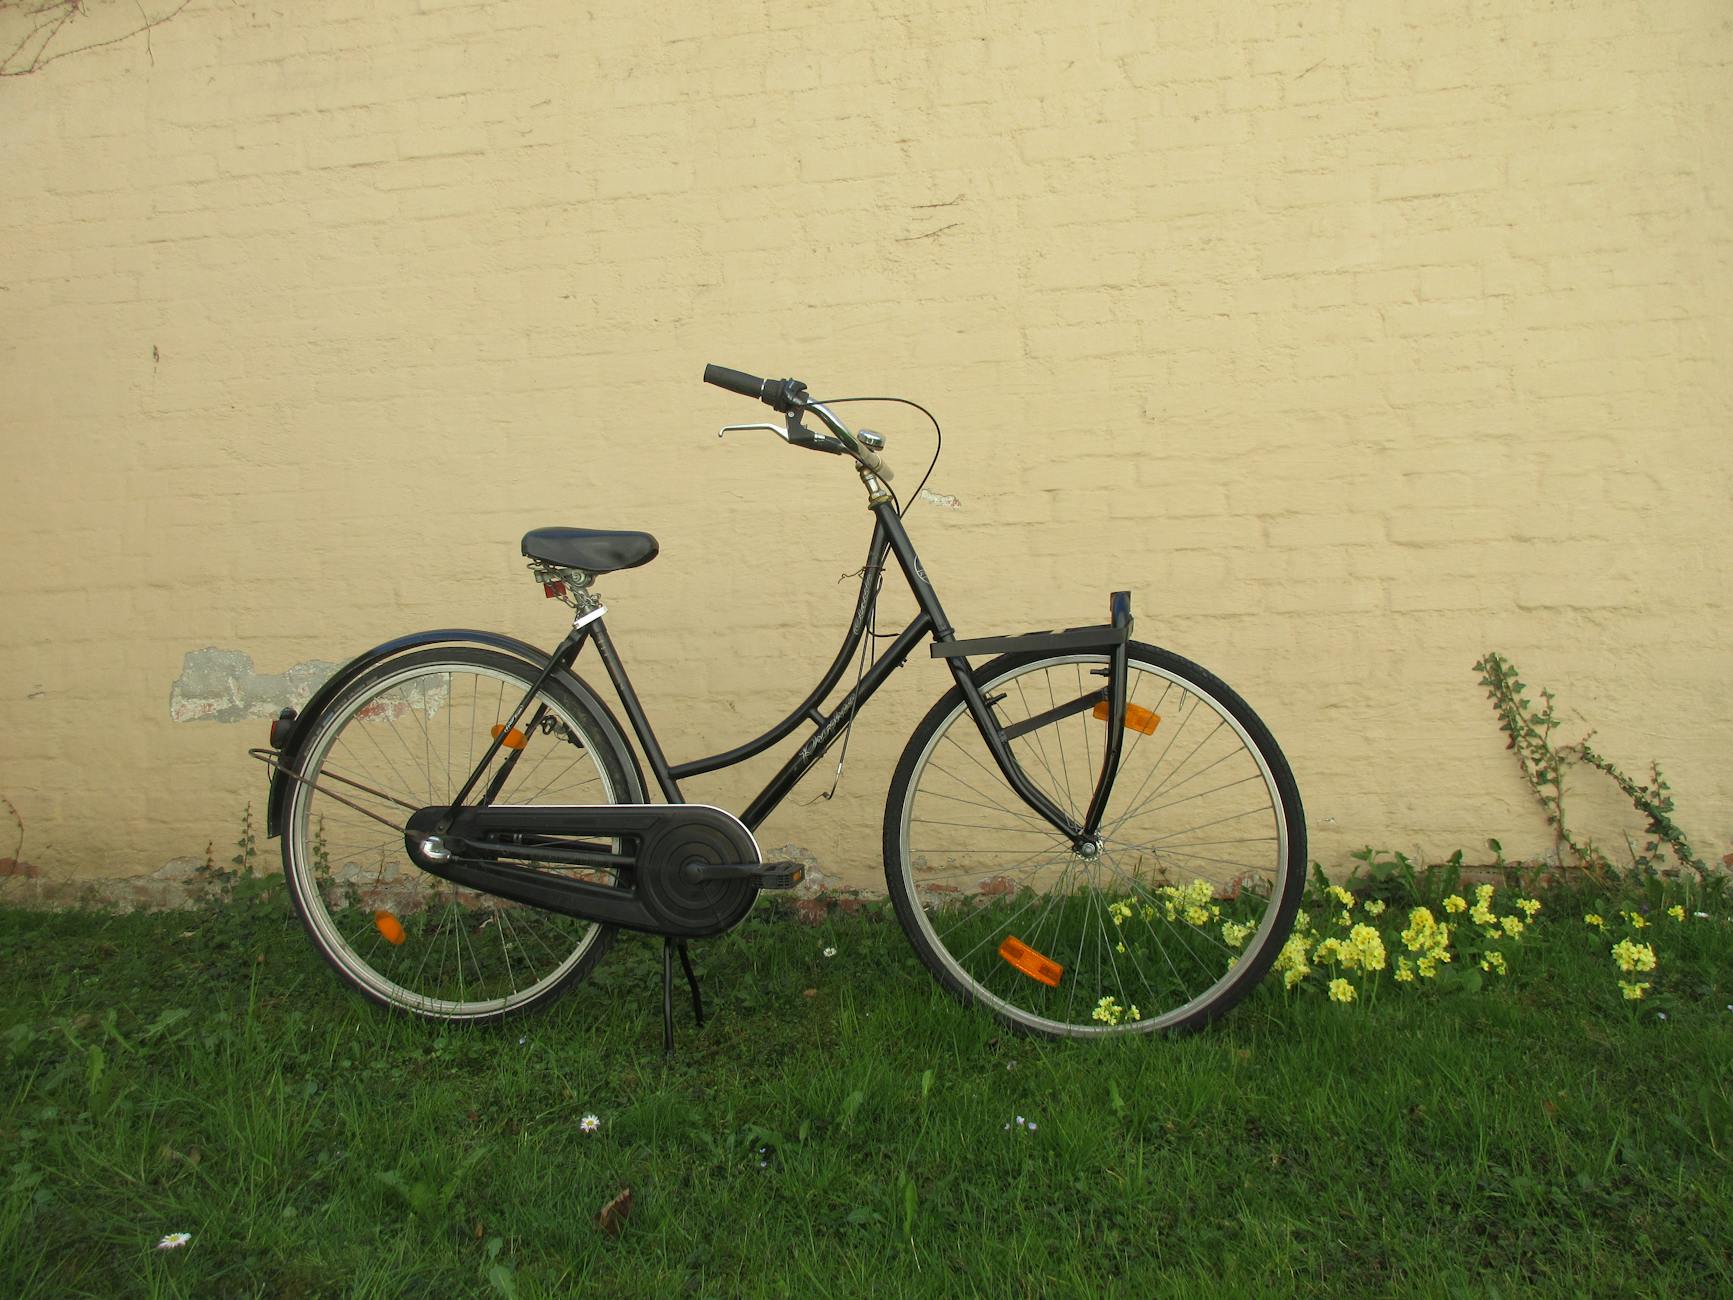
Converted e-bikes require more maintenance than unpowered bikes but substantially less than the average car. Motor bearings, gears, and seals are designed for thousands of hours of operation, and most quality mid-drive motors are sealed well enough to handle rain and splashes. The main wear items are the chain and cassette, which wear faster under electric assist because the motor is pushing harder through those components. Expect to replace your chain every 1,500-2,000 miles instead of every 2,500-3,500. Your cassette might need replacement every 5,000-7,000 miles instead of 10,000.
The battery management system might need a firmware update every couple of years to optimize performance. Real owners report that the true long-term cost of a $1,000 converted e-bike (initial bike plus kit) is roughly $150-200 per year in maintenance, parts, and eventual battery replacement, spread over 3-4 years of commuting. That works out to $1,800-$2,400 total cost of ownership for a four-year commute. A $8,000 e-bike with a four-year warranty might have lower maintenance costs but a much higher upfront hit. The choice depends on your total budget and how comfortable you are with hands-on maintenance.
The Ecosystem Effect: When You Own the Build
One unexpected benefit of converting a bike yourself is that you end up understanding every component in the system. You know where the battery terminals are. You know how to tighten a loose motor mounting bolt. You know which firmware version your controller is running and whether it needs an update.
You can diagnose why the motor isn’t engaging: is the throttle sensor dirty, or is the speed sensor miscalibrated? This knowledge becomes valuable on the third year of ownership, when small problems arise and you can fix them in 15 minutes instead of taking the bike to a shop and waiting a week. The converted e-bike community is also surprisingly active and generous. Subreddits like r/ebikes and forums dedicated to specific motor brands are populated by people who’ve already solved the problems you’re about to encounter. That Facebook group about Bafang motors has thousands of members sharing everything from cable routing photos to firmware tuning guides. This peer network is a real advantage compared to owning a commercial e-bike, where you’re mostly dependent on the manufacturer’s support and your local shop’s willingness to work on it.
Conclusion
Converting a $400 bike to electric with a $600 conversion kit is not a hack or a compromise—it’s a legitimate, effective way to build a commuting e-bike that performs comparably to commercial models costing five to ten times as much. The economics are real: DIY conversion kits cost $300-$800, premium e-bikes cost $2,000-$8,000 or more, and the performance difference on a typical commute is negligible. You’ll outrun traffic lights next to $8,000 bikes and arrive at your destination fresher and cheaper. The real decision is whether you want to own a system you understand and maintain yourself, or buy integration and polish packaged by a manufacturer.
Both choices are valid. If you’re mechanically inclined, patient with learning, and budget-conscious, a conversion is a genuine win. If you want a seamless, warranty-backed experience and don’t care about the extra expense, buy a commercial e-bike and feel confident that you’ve chosen the easier path. Either way, the era of e-bikes as luxury goods is ending, and the converted bike proves it.
Frequently Asked Questions
How long does a conversion kit installation actually take?
A hub motor swap takes 1-2 hours for someone experienced with bike mechanics. A mid-drive conversion typically takes 2-4 hours the first time, including cable routing and firmware configuration. YouTube tutorials are your friend.
Will my converted bike still feel like a regular bike?
Yes, but different. A mid-drive conversion preserves the feel of gear shifting and pedaling, with the motor assisting rather than replacing your effort. A hub motor feels more like an electric scooter—power without the gearing nuance.
What happens to my converted bike in rain?
Quality conversion kits are sealed against rain and splashes, but not designed for full submersion. You can ride in light rain without worry, but avoid deep water crossings and make sure cables aren’t dangling where water can pool.
Can I convert any bike?
Most adult bikes can be converted, but frame compatibility is critical for mid-drive kits. Check the manufacturer’s compatibility list before buying. BMx bikes, folding bikes, and some vintage frames may not work.
How often do I need to replace the battery?
A quality conversion battery typically lasts 2-4 years of daily commuting before capacity noticeably drops. Budget for eventual replacement, as most kits don’t cover battery warranty beyond the first year.
What’s the speed limit on a converted e-bike?
In most U.S. jurisdictions, e-bikes are legally limited to 20 or 28 mph depending on whether they’re classified as Class 1, 2, or 3. Your motor and firmware will respect these limits; you can’t just disable the cutoff.


