The best bike touring cookware for lightweight camping combines minimal weight with reliable cooking performance, and the sweet spot is typically a lightweight titanium or aluminum pot system in the 800-1200 gram range paired with a compact stove. For most cycle tourists on multi-day trips, a single pot with integrated handles, a windscreen, and a small burner will cover your cooking needs without adding excessive bulk to your panniers or bikepacking bags. A specific example: a Toaks 1100ml titanium pot (around 140 grams) with an integrated stand and a Decathlon BL100 canister stove (around 350 grams with fuel) can prepare hot water, coffee, freeze-dried meals, and simple pasta in under 2 kilograms of total gear.
The challenge is balancing weight savings against functionality and durability. A cheaper aluminum pot or a minimalist wood-burning stove might shave ounces, but you risk slow heat transfer, durability issues over a long touring season, or poor cooking control. Most experienced touring cyclists find that mid-range titanium and quality aluminum cookware offer the best compromise between cost, weight, and performance across diverse climates and terrain.
Table of Contents
- What Makes Cookware Ideal for Bike Touring?
- Titanium vs. Aluminum: Weighing the Trade-offs
- Choosing the Right Pot Size and Shape
- Stove Selection: What Burns Efficiently on the Road
- The Windscreen Problem: Why It Matters More Than You Think
- Utensils and Accessories: Keeping Them Minimal
- Cleaning and Maintenance on the Road
- Conclusion
What Makes Cookware Ideal for Bike Touring?
bike touring cookware must meet several unique constraints that differ from backpacking or car camping. First, it needs to be compact enough to fit alongside tools, spare parts, and other essentials in limited pannier space. Second, it must tolerate the vibration and bumping of cycling without denting or failing—your cookware will experience more jostling in a bikepacking bag than on a backpacker’s frame.
Third, it should work efficiently with compact fuel sources like canister stoves or even a simple alcohol burner, since you’re not carrying a full car camp kitchen. A comparison: a traditional car-camping skillet might weigh 1.5 kilograms and occupy a huge amount of space, while a lightweight titanium camping pot system at 600 grams total can handle the same boiling and simmering tasks. The trade-off is that you’ll be cooking smaller portions and simpler meals, but on a long touring trip where calories and simplicity matter, this constraint becomes a feature rather than a limitation.
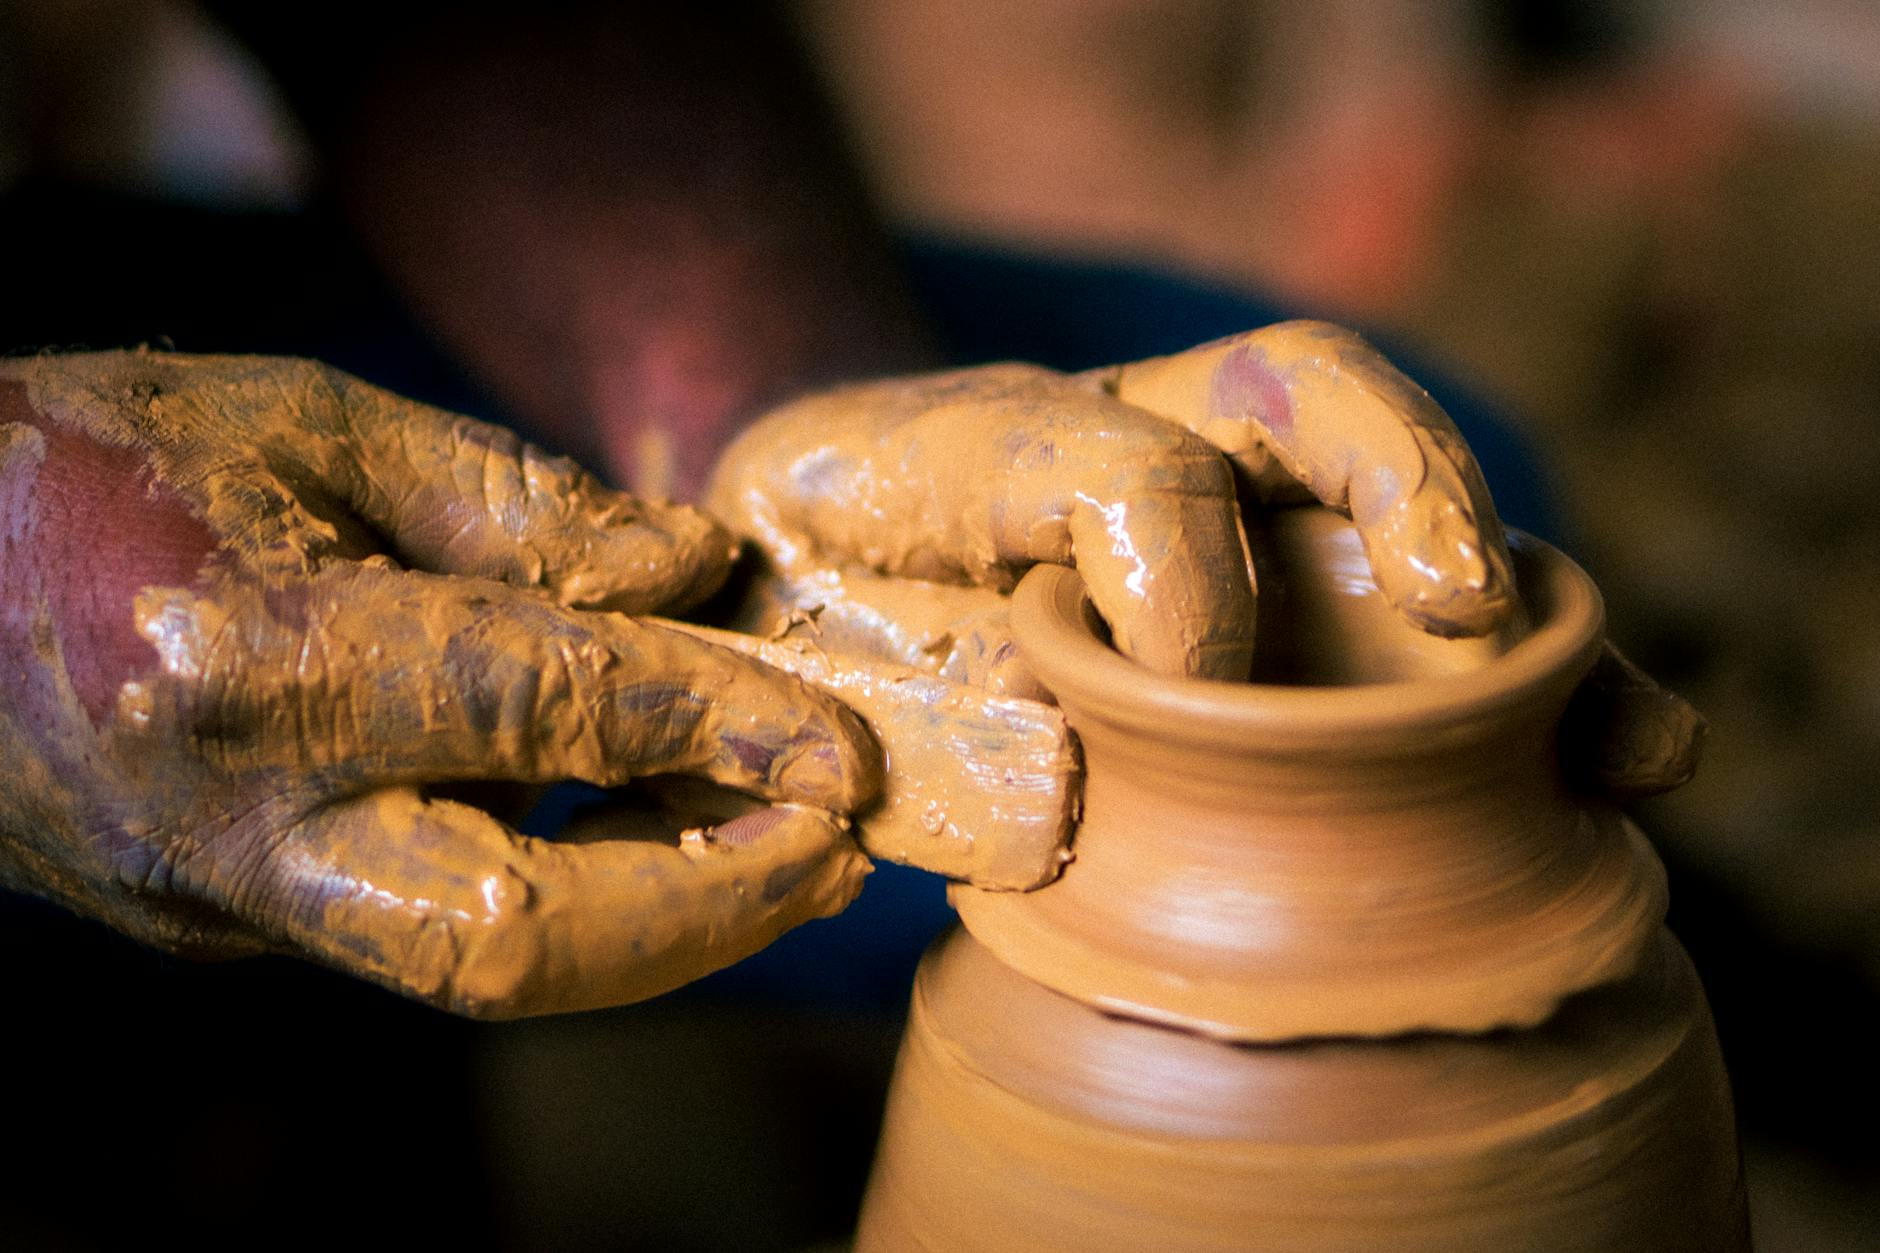
Titanium vs. Aluminum: Weighing the Trade-offs
Titanium cookware wins on weight, durability, and corrosion resistance—a titanium pot will last decades and won’t develop rust or aluminum oxidation issues. However, titanium is significantly more expensive; a quality titanium pot runs $50–80 while a decent aluminum pot costs $15–25. For touring, titanium’s superior heat distribution and lower maintenance are worth the cost if you’ll be cycling multi-season or internationally, where keeping gear dry and rust-free becomes challenging.
Aluminum offers excellent heat distribution and lower cost, but it’s more susceptible to denting, and repeated washing with certain soaps can cause oxidation or pitting. One serious limitation: if you’re cooking acidic foods like pasta with tomato sauce or coffee over several weeks, aluminum can impart a subtle metallic taste and release microscopic particles—a valid health concern for some touring cyclists. Stainless steel sits between the two, offering better durability than aluminum and lower cost than titanium, though it’s heavier and heats less evenly, creating hot spots that can scorch food.
Choosing the Right Pot Size and Shape
For solo touring, an 800–1000ml pot is the practical minimum if you want to cook a full meal or heat adequate water for two cups of coffee. Smaller pots (300–500ml) force you to cook in batches, which uses more fuel and time. Larger pots (1500ml+) save multiple cooking rounds but become heavy and bulky—they make sense only for two-person touring where you’re splitting weight.
A specific example: a 950ml Evernew or Toaks pot lets you cook a full serving of instant pasta, prepare coffee, and boil a liter of water for washing in separate batches without constant refilling. If you’re living on freeze-dried meals and instant oatmeal (common on long tours), this size is ideal. The shape matters too—a slightly wider, shallower pot heats water faster than a tall, narrow one, reducing fuel consumption by 10–15%, which compounds over weeks of touring.
Stove Selection: What Burns Efficiently on the Road
Canister stoves (butane-propane mixes in small cartridges) are the most popular choice because they’re lightweight, packable, and require no maintenance. A basic canister stove weighs 40–80 grams and costs $10–20. The main limitation is that fuel cartridges are heavy relative to their fuel volume—after a week of cooking, the metal canister itself becomes waste, making this option less sustainable for long-distance touring or international travel where you can’t always find compatible refills.
Liquid-fuel stoves (kerosene, white gas) are heavier upfront but burn hotter, are more reliable in cold weather, and use refillable containers, making them superior for Arctic or winter touring or for three-month-plus trips. The trade-off is complexity and maintenance—liquid-fuel stoves need priming, can leak, and are banned on aircraft. Alcohol stoves are the minimalist option: a simple tinfoil or penny stove costs almost nothing, weighs nothing, and uses cheap fuel, but they’re slow and require a windscreen to be efficient at all, making them a false economy for touring.
The Windscreen Problem: Why It Matters More Than You Think
A bare pot over a canister stove in windy conditions can waste 40–50% of your fuel heating the air instead of the water. A simple windscreen—made from aluminum foil, thin sheet metal, or commercial designs—cuts fuel consumption in half and is worth its negligible weight (50–100 grams). However, a warning: cheap or poorly designed windscreens can trap heat and cause dangerous canister failures if airflow is blocked.
Several touring cyclists have experienced canister leaks or explosions from poorly ventilated windscreens, so if you use one, ensure adequate spacing between the screen and the fuel cartridge. A practical solution: many mid-range camping pot systems include an integrated windscreen or pot stand that’s been tested for safety. The Jetboil and MSR Reactor lines are pricier ($100–150) but eliminate guesswork around ventilation and efficiency. For budget touring, even a simple aluminum foil sleeve that surrounds the pot—leaving the bottom and canister completely open—adds minimal weight and dramatically improves performance.
Utensils and Accessories: Keeping Them Minimal
The urge to carry a full utensil set is strong but unnecessary. A single lightweight spoon (titanium or aluminum, 15–20 grams) and a plastic or silicone spatula handle most cooking and eating tasks.
A lightweight cutting board and small knife are useful only if you’re cooking fresh vegetables; on most tours, you’re rehydrating packaged meals or boiling simple carbs, so these become unnecessary bulk. A specific example: many long-distance tourers carry only a spoon for eating and a metallic spatula for stirring, and supplement with found items—a flat rock for a cutting surface, or eating directly from the pot to save dishes. Lightweight titanium gripper tongs (around 30 grams) are helpful for pulling food from boiling water, and a small silicone or wood lid for your pot (50–100 grams) speeds up boiling and retains heat during meal prep, paying for itself in fuel savings over a week-long tour.
Cleaning and Maintenance on the Road
Cookware maintenance on a bike tour is simpler than at home but requires a routine. Use cold water and a small dish sponge or cloth to clean immediately after cooking, since dried food is harder to remove when water is scarce or fuel is precious. A lightweight tri-fold cloth towel or chamois (50–100 grams) dries your pot quickly and can double as a general-purpose cleaning tool.
Looking forward, more touring cyclists are adopting leave-no-trace cooking practices, including eating directly from the pot to eliminate dish water, using biodegradable soap, and packing out all fuel canisters. These practices reduce environmental impact on multi-day tours through fragile landscapes. Newer pot designs increasingly incorporate removable handles and nesting capability, making it easier to consolidate gear—a trend that reflects the growing sophistication of ultralight touring culture.
Conclusion
The best bike touring cookware depends on your trip length, climate, and budget, but a lightweight titanium or quality aluminum pot in the 800–1100ml range, paired with a simple canister stove and a basic windscreen, covers 95% of touring scenarios. Focus on simplicity over features; a well-designed single-pot system outlasts and outperforms a complicated multi-piece kitchen, and the mental ease of minimal gear translates to more enjoyable cycling and fewer things to maintain on the road.
Start with a pot system in the $30–60 range, test it on a weekend trip, and upgrade only if you identify a specific limitation—weight, durability, or cooking speed—that matters for your next tour. The gear you’ll use repeatedly is the gear worth investing in, and once you find a system that works, you’ll stop thinking about it and start thinking about the landscape passing your handlebars.


