Building a DIY bike storage shed requires planning a suitable foundation, selecting durable materials, and constructing a weathertight enclosure that protects your bikes from the elements. The basic approach involves choosing a level site on your property, pouring a simple concrete pad, framing walls with pressure-treated lumber, and covering them with roofing material and siding—a project that typically takes a weekend or two for a 8×10-foot shed and costs $400–$800 in materials depending on finishes.
Beyond the construction itself, you’ll need to address ventilation to prevent rust and moisture buildup inside, secure mounting for your bikes, and planning for drainage so water doesn’t pool around the foundation. This article covers the complete process from initial planning through finishing touches, including how to choose your location, prepare the foundation, select materials that actually hold up to weather exposure, construct the frame and roof, and implement weatherproofing that keeps your bikes dry. We’ll also address common mistakes cyclists make when building their first shed—like inadequate ventilation, poor drainage planning, and oversizing without considering access—so your storage solution works as well in year two as it does on day one.
Table of Contents
- What Should You Plan Before Starting Your Bike Shed Project?
- Choosing the Right Location and Preparing Your Foundation
- Selecting Materials That Resist Weather and Rust
- Building the Frame and Enclosing the Structure
- Ventilation and Moisture Control—The Key to Preventing Rust
- Organizing and Securing Your Bikes Inside
- Long-Term Maintenance and Planning for Upgrades
- Conclusion
What Should You Plan Before Starting Your Bike Shed Project?
Before breaking ground, sketch out your shed’s dimensions and purpose. A basic single-layer plan works if you’re storing 4–6 bikes casually, but if you’re serious about organized cycling, you might want dedicated wall space for 8–10 bikes plus tools, a workbench, and spare parts. The difference between a 6×8 shed and an 8×10 shed is roughly 40% more material cost but significantly better functionality—many cyclists regret building too small. Consider your local zoning regulations and neighborhood covenants; some areas require permits for structures over a certain size or placement, and building without approval can mean torn-down work or fines. Think about how you’ll access your bikes during rain, snow, and winter months. Placing your shed at the far end of the yard saves space but means trudging through weather to grab your bike.
A location visible from a window lets you check on your equipment without going outside. Proximity to your home also affects theft risk—a shed in plain sight is less attractive to thieves than one hidden behind a garage. Sketch sight lines from your house and from the street to understand what your neighbors and potential opportunists see. Document the ground conditions at your proposed site. Is it naturally wet or does water pool there after rain? Does it get consistent sun (which dries things faster and reduces rust risk) or is it mostly shaded? These conditions will shape your foundation choice and ventilation needs. Visit the site at different times of day to understand drainage patterns; a spot that looks dry on a clear Tuesday might become boggy after storms.

Choosing the Right Location and Preparing Your Foundation
The foundation is the most important decision because poor drainage or settling will cause structural problems and bike damage for years. A concrete pad is the gold standard for a bike shed—it resists moisture wicking up from soil, stays level as seasons change, and prevents rot in the wood frame. Dig out 4–6 inches of topsoil and vegetation, add a 2–3 inch gravel base for drainage, then pour 4 inches of concrete. This full process takes a day including curing time, and costs $200–$400 for a 8×10 pad depending on concrete prices in your region. However, if concrete is too expensive or your property has shallow bedrock, a compacted gravel pad with pressure-treated skids (long wooden beams running the width of the shed) can work if you’re willing to accept higher maintenance. You’ll need to refresh the gravel every 2–3 years, and wood contact with soil eventually causes rot—even with pressure treatment, you’re looking at replacing skids after 8–10 years.
Concrete costs more upfront but requires no maintenance and lasts 30+ years, making it the better long-term choice unless you’re building a temporary structure. Another compromise is a partial concrete slab—pour concrete only under the wall frames and use gravel in the interior, which reduces cost while protecting the structure’s footprint. Drainage around the foundation is critical and often overlooked. Slope the ground slightly away from the shed (1 inch drop per 4 feet of distance) so rainwater doesn’t accumulate against the walls. If your site is in a naturally low area, consider digging a shallow swale or French drain on the uphill side to intercept water before it reaches the foundation. A shed sitting in standing water after every rain will develop rot, mold, and rust problems inside within one season—protecting the foundation from water is worth the extra effort upfront.
Selecting Materials That Resist Weather and Rust
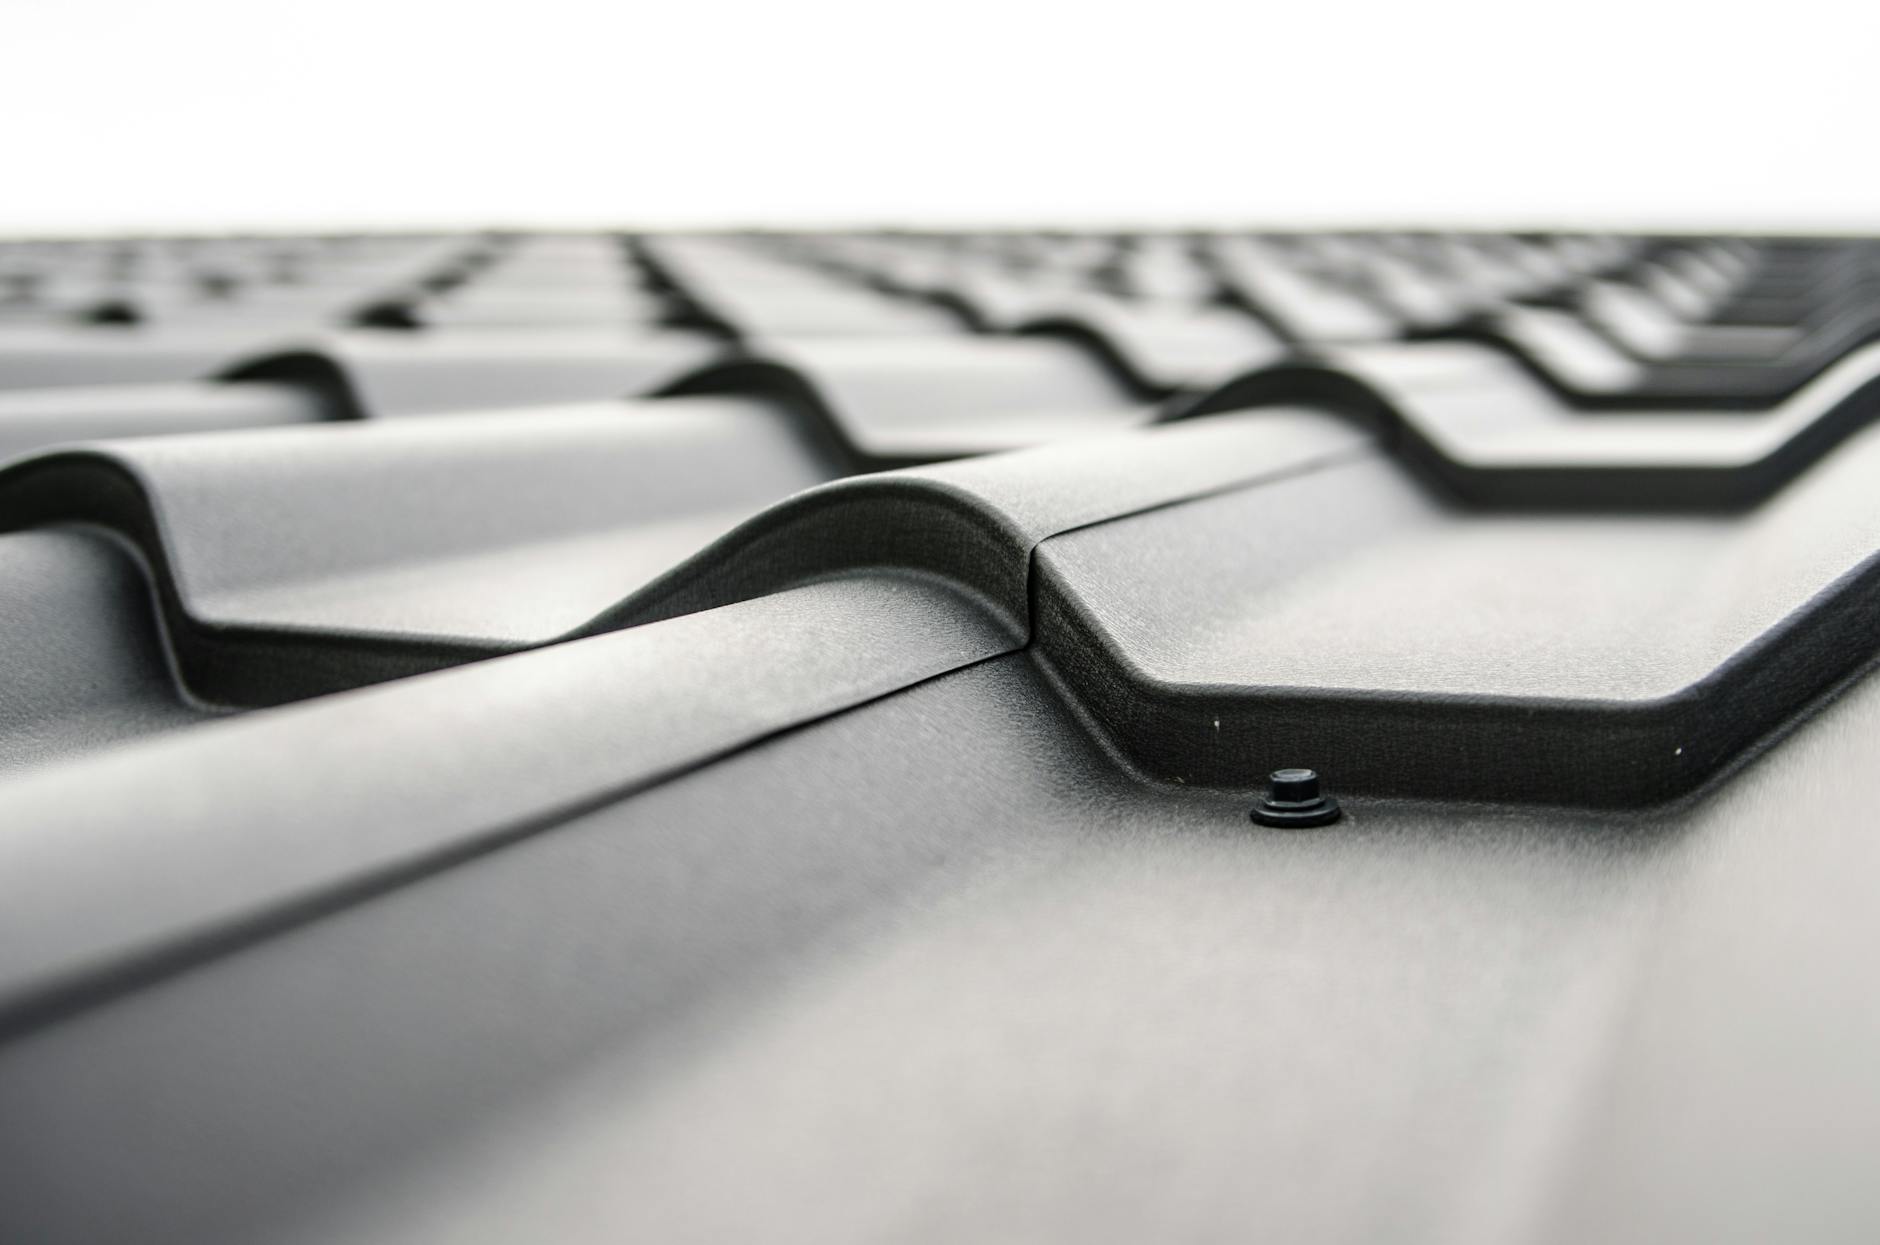
Pressure-treated lumber is the standard choice for the frame because it resists rot better than untreated wood, but you need to understand its limits. Modern pressure-treated lumber is rated for ground contact, meaning it can touch soil (like your foundation skids) without rotting immediately, but it still degrades over time—typically lasting 15–20 years in contact with wet soil. For above-ground frame pieces that don’t touch the foundation, you can use regular dimensional lumber (2x4s, 2x6s), which is cheaper and works fine as long as you coat it with exterior wood stain or sealant every 3–4 years. For siding, your main options are plywood sheathing with tar paper and asphalt shingles (budget-friendly, $3–$5 per square foot), corrugated metal panels (modern and durable, $5–$8 per square foot but noisier in rain), or horizontal wood siding (aesthetic but requires regular maintenance). The cost difference is significant over time: corrugated metal needs no painting, while wood siding demands repainting every 5–7 years to maintain weather resistance.
Many cyclists choose metal roofing with plywood siding as the balance between cost and durability. Roofing material choice affects internal temperature and condensation. A standard asphalt shingle roof is cheapest ($1–$2 per square foot) but doesn’t insulate, meaning the shed interior swings wildly with outdoor temperature—important because temperature swings cause condensation inside, which rusts bikes. Metal roofing reflects heat better and costs 2–3 times as much, but reduces interior temperature swings. The best solution for rust prevention is proper ventilation rather than expensive roofing, as we’ll cover later. Skip insulation entirely unless you’re planning to use the shed as a winter maintenance workshop; insulation costs $500+ and provides minimal benefit for bike storage.
Building the Frame and Enclosing the Structure
Start with the floor platform: attach pressure-treated rim boards to your concrete pad using concrete anchors or adhesive (not nailed). Set the frame on the concrete, square it up using diagonal measurements, and brace it temporarily. Build walls as rectangular panels on the ground, then raise and brace them into position—this is far easier than building walls standing up. Use 2×4 studs 16 inches on center for standard walls; 2×6 studs aren’t necessary for a single-story shed without equipment inside, though some cyclists prefer the extra rigidity if they plan to install a workbench. Cut your door opening in the wall frame—a 3-foot-wide entry lets you wheel a bike through without scraping handlebars, while a narrower 30-inch door saves material but forces you to angle bikes to move them in.
Most cyclists regret undersized doors; go wider rather than narrower. Install a simple wooden frame around the door and mount a lightweight exterior door from a home improvement store ($80–$150). Heavy insulated garage doors cost 3–4 times as much and are overkill for storage; a standard hollow-core exterior door provides adequate weather seal and is easy to replace if it needs maintenance. Sheath the walls with ½-inch plywood, wrap in tar paper to create a moisture barrier, then apply siding. If you’re using metal roofing, frame the roof with 2×6 rafters set 24 inches on center (cheaper than 16-inch spacing) and ensure adequate slope (4-in-12 pitch minimum) so water runs off cleanly. Overlap roofing panels according to the manufacturer’s instructions; improper overlap is the leading cause of interior leaks in metal-roof sheds.
Ventilation and Moisture Control—The Key to Preventing Rust
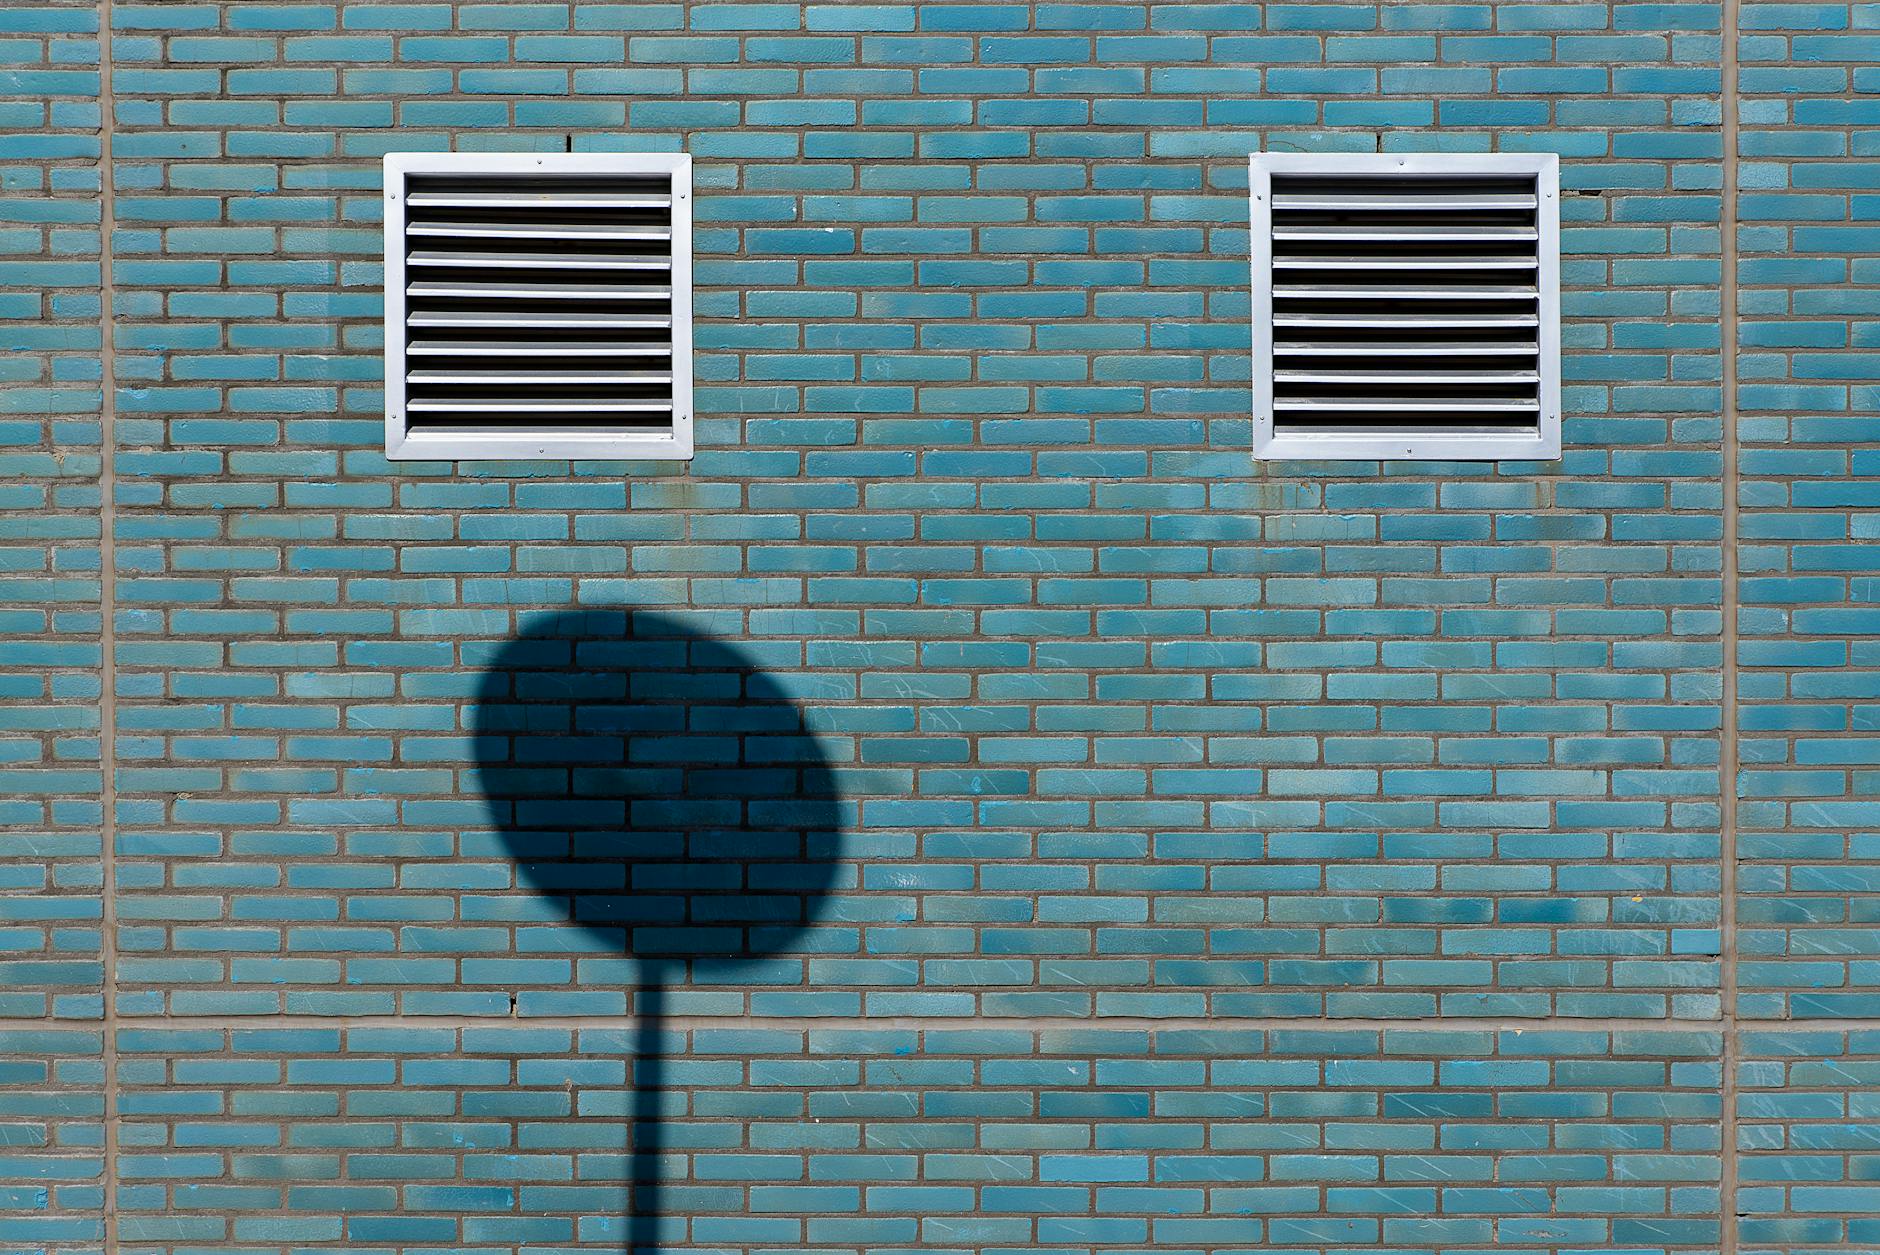
Inadequate ventilation is the most common reason cyclists end up with rusty bikes in a supposedly protective shed. Because bikes are made of steel and aluminum, and because temperature swings cause the inside air to become saturated with moisture, you need passive airflow to carry humidity out. Install soffit vents (under the eaves) and a ridge vent (along the roof peak) to create an air channel that dries the interior—the cost is $30–$60 in materials and dramatically reduces internal rust. If your shed is small or partially shaded (so natural air movement is slow), add a simple exhaust fan vented through the roof, running it a few hours each day during humid seasons. A 300–400 CFM fan costs $80–$120 and uses minimal electricity.
The goal is consistent air movement, not extreme ventilation—you just need enough airflow to prevent humidity from building up inside. Many cyclists add a hygrometer (humidity meter, $15) to monitor internal conditions; target is keeping humidity below 60%, which prevents corrosion. However, if your shed has large ventilation gaps, rain-driving winds can force water through vents during storms. Balance ventilation openings so they’re not directly exposed to prevailing wind directions, and use baffles or louvers that let air pass while blocking rain. A shed with proper ventilation but rain blowing sideways in through the vents will damage your bikes faster than an unventilated shed—protection from rain comes before airflow optimization.
Organizing and Securing Your Bikes Inside
Once the shed is weathertight, install wall-mounted bike racks or hooks to keep bikes organized and accessible. A basic option is wooden or metal wall racks ($20–$50 each) that hold bikes by the frame and wheel, allowing you to store 3–4 bikes per 8-foot wall. Alternatives include ceiling-hung pulley systems ($40–$80) that lift bikes vertically, freeing floor space for a workbench or spare parts storage.
The trade-off: pulley systems require frequent adjustment (getting bikes up and down takes more effort) and aren’t ideal if you ride different bikes regularly. Include a simple locking mechanism inside the shed—a short cable through the frame and wheel anchored to a wall-mounted steel loop adds theft protection when the shed door is left open briefly. Many cyclists keep valuables (expensive derailleurs, brake components, spare wheels) in a locked cabinet inside to prevent opportunistic theft if the main door is breached. A small $50 steel cabinet handles this without taking much space.
Long-Term Maintenance and Planning for Upgrades
Your shed will need recurring maintenance to stay functional. Check roofing overlap and fasteners annually for looseness (especially important with metal roofing, which expands and contracts with temperature). Inspect the foundation perimeter yearly after heavy rain to ensure water isn’t pooling—if it is, you may need to adjust grading or add drainage. Repaint wood siding every 5–7 years and replace any boards showing rot soft spots, especially near the base where moisture exposure is highest.
Plan for future upgrades based on how you use the space. Many cyclists add solar panels to a roof facing south, which powers ventilation fans and phone charging without electrical wiring. Others build a workbench against one wall after the first season, discovering they repair bikes more often in a dedicated space. A well-designed shed foundation and frame can support these additions without major rework—ensuring your walls are strong enough and your interior is organized for flexible storage means you won’t outgrow the space or regret your initial investment.
Conclusion
Building a DIY bike storage shed is an achievable weekend project that protects your bikes and tools while providing space to maintain them. The core requirements are a solid concrete foundation (your biggest upfront investment), weathertight framing and roofing (where most visible failure happens), and adequate ventilation (the forgotten detail that determines whether you get rusty bikes or clean ones). The total cost typically falls between $400–$1,200 depending on size, materials, and finishes, and the improved protection and organization pay off immediately if you’re maintaining bikes seriously.
Start by assessing your site for drainage and planning a location visible from your home. Get the foundation right—concrete costs more but lasts decades and prevents nearly all rust-related damage. Build the walls and roof with pressure-treated lumber and metal or shingle roofing, then invest the extra effort in ventilation ductwork and a roof vent system. Your future self, opening the shed door six months from now and finding clean, dry bikes rather than surface rust and corrosion, will appreciate the attention to detail.


