A spring bike tune-up improves performance because winter storage and off-season neglect allow components to degrade in ways that directly affect how efficiently your bike converts pedal effort into forward motion. Cables stretch and corrode, lubricants dry out or collect grit, brake pads harden, and tires lose pressure and develop flat spots””all of which create friction, reduce responsiveness, and force you to work harder for the same results. A rider who averaged 18 mph on their late-fall commute might find themselves struggling to maintain 16 mph in early spring on the same route, not because they lost fitness over winter, but because their drivetrain is running at perhaps 85 percent efficiency instead of 97 percent. The mechanical reality is straightforward: bicycles are precision machines with dozens of moving parts that require specific tolerances to function optimally.
When a derailleur cable has stretched a few millimeters, shifts become hesitant and imprecise. When chain lubricant has attracted months of dust or dried into a sticky residue, each pedal stroke loses energy to internal friction. When brake cables have corroded slightly inside their housings, stopping requires more hand force and takes longer””which affects confidence and cornering speed. These small degradations compound, and most riders don’t notice because the decline happens gradually. This article covers the specific mechanical systems affected by seasonal storage, how to assess what your bike actually needs versus what bike shops try to upsell, the performance differences between professional and DIY tune-ups, common problems that masquerade as fitness loss, and practical steps for both preparing your bike and maintaining those gains throughout the riding season.
Table of Contents
- How Does Winter Storage Affect Your Bike’s Performance Systems?
- What Drivetrain Components Need Attention After Off-Season Storage?
- Why Do Brake Systems Require Spring Service?
- How Can You Tell If Your Bike Needs Professional Service or DIY Maintenance?
- What Common Spring Riding Problems Are Actually Mechanical Issues?
- How Does Wheel Condition Affect Spring Riding Performance?
- How to Prepare
- How to Apply This
- Expert Tips
- Conclusion
- Frequently Asked Questions
How Does Winter Storage Affect Your Bike’s Performance Systems?
The primary culprit during winter storage isn’t dramatic damage””it’s gradual degradation. Lubricants are designed to work under operating conditions, not sit stationary for months. Chain oil migrates away from pivot points and attracts airborne dust. Grease in headsets, bottom brackets, and hub bearings can separate, with lighter oils seeping out and leaving behind waxy residue. In humid environments like basements or garages, moisture condenses on metal surfaces and initiates corrosion, particularly inside cable housings where you can’t see it happening. Rubber components suffer differently. Tires develop memory in the contact patch that sat on concrete all winter, sometimes creating a subtle flat spot you can feel as a rhythmic bump during the first few rides.
Brake pads harden as plasticizers evaporate, reducing grip and requiring higher lever force. Hydraulic brake fluid is hygroscopic, meaning it absorbs moisture from the air””contaminated fluid has a lower boiling point and can cause spongy brakes or, in extreme cases, brake fade on long descents. Consider the difference between a bike stored in a climate-controlled room versus an unheated garage in the Northeast. The garage-stored bike experiences temperature swings from below freezing to 60°F as weather fluctuates, causing metal to expand and contract repeatedly, which loosens fasteners and stresses frame joints. Moisture cycles through condensation and evaporation. The indoor bike avoids these stresses entirely and typically needs only a cleaning and lubrication rather than a full tune-up. Storage conditions matter as much as storage duration.

What Drivetrain Components Need Attention After Off-Season Storage?
The drivetrain””your chain, cassette, chainrings, and derailleurs””represents the biggest opportunity for performance recovery. A clean, properly lubricated chain can be 98 percent efficient at transferring power from your legs to the rear wheel. A dirty, dry, or corroded chain might drop to 92 percent efficiency, meaning you’re losing 6 watts out of every 100 you produce. For a recreational rider putting out 150 watts on a typical ride, that’s 9 watts disappearing into friction””roughly equivalent to adding a pound of weight to your bike. Chain wear accelerates when lubrication fails. The rollers inside each chain link rotate against pins, and without adequate lubrication, metal wears metal.
This elongation””commonly called “chain stretch”””causes the chain to ride higher on cassette teeth, accelerating wear on your expensive gears. A new chain costs $25 to $50, while a new cassette runs $40 to $200 depending on quality. Catching chain wear early with a $15 chain checker tool can save you from replacing both components simultaneously. However, if you rode aggressively through fall and put away a bike with an already-worn chain, spring isn’t the time to install just a new chain. A worn cassette won’t mesh properly with fresh chain links, causing skipping under load””particularly dangerous when sprinting or climbing. In this scenario, you need both components replaced together, or you can continue riding the old chain until the cassette is also due for replacement. This is one area where a bike shop assessment genuinely adds value, as they can measure both components and advise on the most cost-effective approach.
Why Do Brake Systems Require Spring Service?
Braking performance degrades more dangerously than drivetrain efficiency because riders don’t notice until an emergency reveals the problem. Rim brake pads harden over time, especially in storage, losing the compound softness that provides grip against aluminum or carbon surfaces. Disc brake pads can develop glazing””a smooth, shiny surface caused by overheating or contamination””that reduces friction and causes squealing. Cable-actuated brakes suffer from housing contamination and cable stretch, while hydraulic systems may have absorbed moisture that compromises fluid integrity. The practical impact is significant. Fresh brake pads on a properly adjusted system might stop you from 20 mph in 15 feet.
The same system with degraded pads, stretched cables, and misaligned calipers might need 25 feet””that’s nearly two bike lengths of additional stopping distance. In urban riding with cars, pedestrians, and unpredictable obstacles, those extra feet matter. Professional racers obsess over component weights measured in grams but would never compromise brake function; the same priority should apply to recreational riders. Testing brake function before your first real ride is essential. Spin each wheel and apply the brakes progressively, checking for smooth engagement, consistent power, and absence of pulsing or grabbing. Hydraulic disc brakes should engage with minimal lever travel and hold firmly without the lever touching the bar. If you feel sponginess, air has entered the system and requires bleeding””a process most home mechanics can learn but that does require specific tools and fluid for your brake brand.

How Can You Tell If Your Bike Needs Professional Service or DIY Maintenance?
The distinction between professional tune-up and home maintenance depends on your tools, skills, and the specific problems present. Basic spring service””cleaning the frame, lubricating the chain, checking tire pressure, and adjusting brake and derailleur cables””requires only common tools and about an hour of time. This level of maintenance costs $60 to $90 at a shop but perhaps $15 in supplies at home. For bikes stored properly and ridden moderately, this may be sufficient. Full tune-ups costing $100 to $200 include operations that require specialized tools: truing wheels, adjusting hub bearings, servicing the headset and bottom bracket, bleeding hydraulic brakes, and checking frame alignment. These services make sense for bikes ridden hard, stored poorly, or approaching major component replacement intervals.
A shop mechanic also brings diagnostic experience””they’ve seen thousands of bikes and can identify problems you might miss, like a hairline crack at a weld or a bottom bracket that’s developing play. The tradeoff involves time, money, and learning. Paying $150 annually for professional service costs $750 over five years””roughly the price of buying a quality tool set and learning to do everything yourself. However, DIY maintenance takes time, and mistakes can be costly or dangerous. A poorly adjusted derailleur might throw your chain into the spokes, destroying the wheel and potentially causing a crash. Most riders benefit from a middle approach: basic cleaning and lubrication at home, professional service annually or when problems exceed their skill level, and gradual skill-building over time.
What Common Spring Riding Problems Are Actually Mechanical Issues?
Early-season fitness loss masks mechanical problems so effectively that many riders never identify the real cause. You expect to feel slow after months off the bike, so when your average speed drops and rides feel harder, the natural assumption is deconditioning. But fitness typically returns within a few weeks of consistent riding, while mechanical friction persists until addressed. If you’re still struggling after three or four weeks back on the bike, consider that your equipment might be the limiting factor. Tire pressure represents the most overlooked variable. Butyl rubber tubes lose approximately 1 PSI per day through normal permeation, so a bike stored for four months might have lost 120 PSI””essentially going flat even without a puncture.
Riding underinflated tires massively increases rolling resistance and can damage rims hitting potholes. Many riders check pressure occasionally but not systematically, and floor pump gauges are often inaccurate. A dedicated digital pressure gauge costs $30 and ensures consistency. Headset problems create symptoms that feel like poor bike fit or loss of handling confidence. If your headset bearings are dry, pitted, or loose, the front end feels vague during cornering and may develop a disconcerting “clunk” when braking. Riders sometimes adapt unconsciously, reducing corner speed and avoiding hard braking, then wonder why they feel less capable than before. A simple headset adjustment””or bearing replacement if worn””restores precise steering feel and the confidence that comes with it.
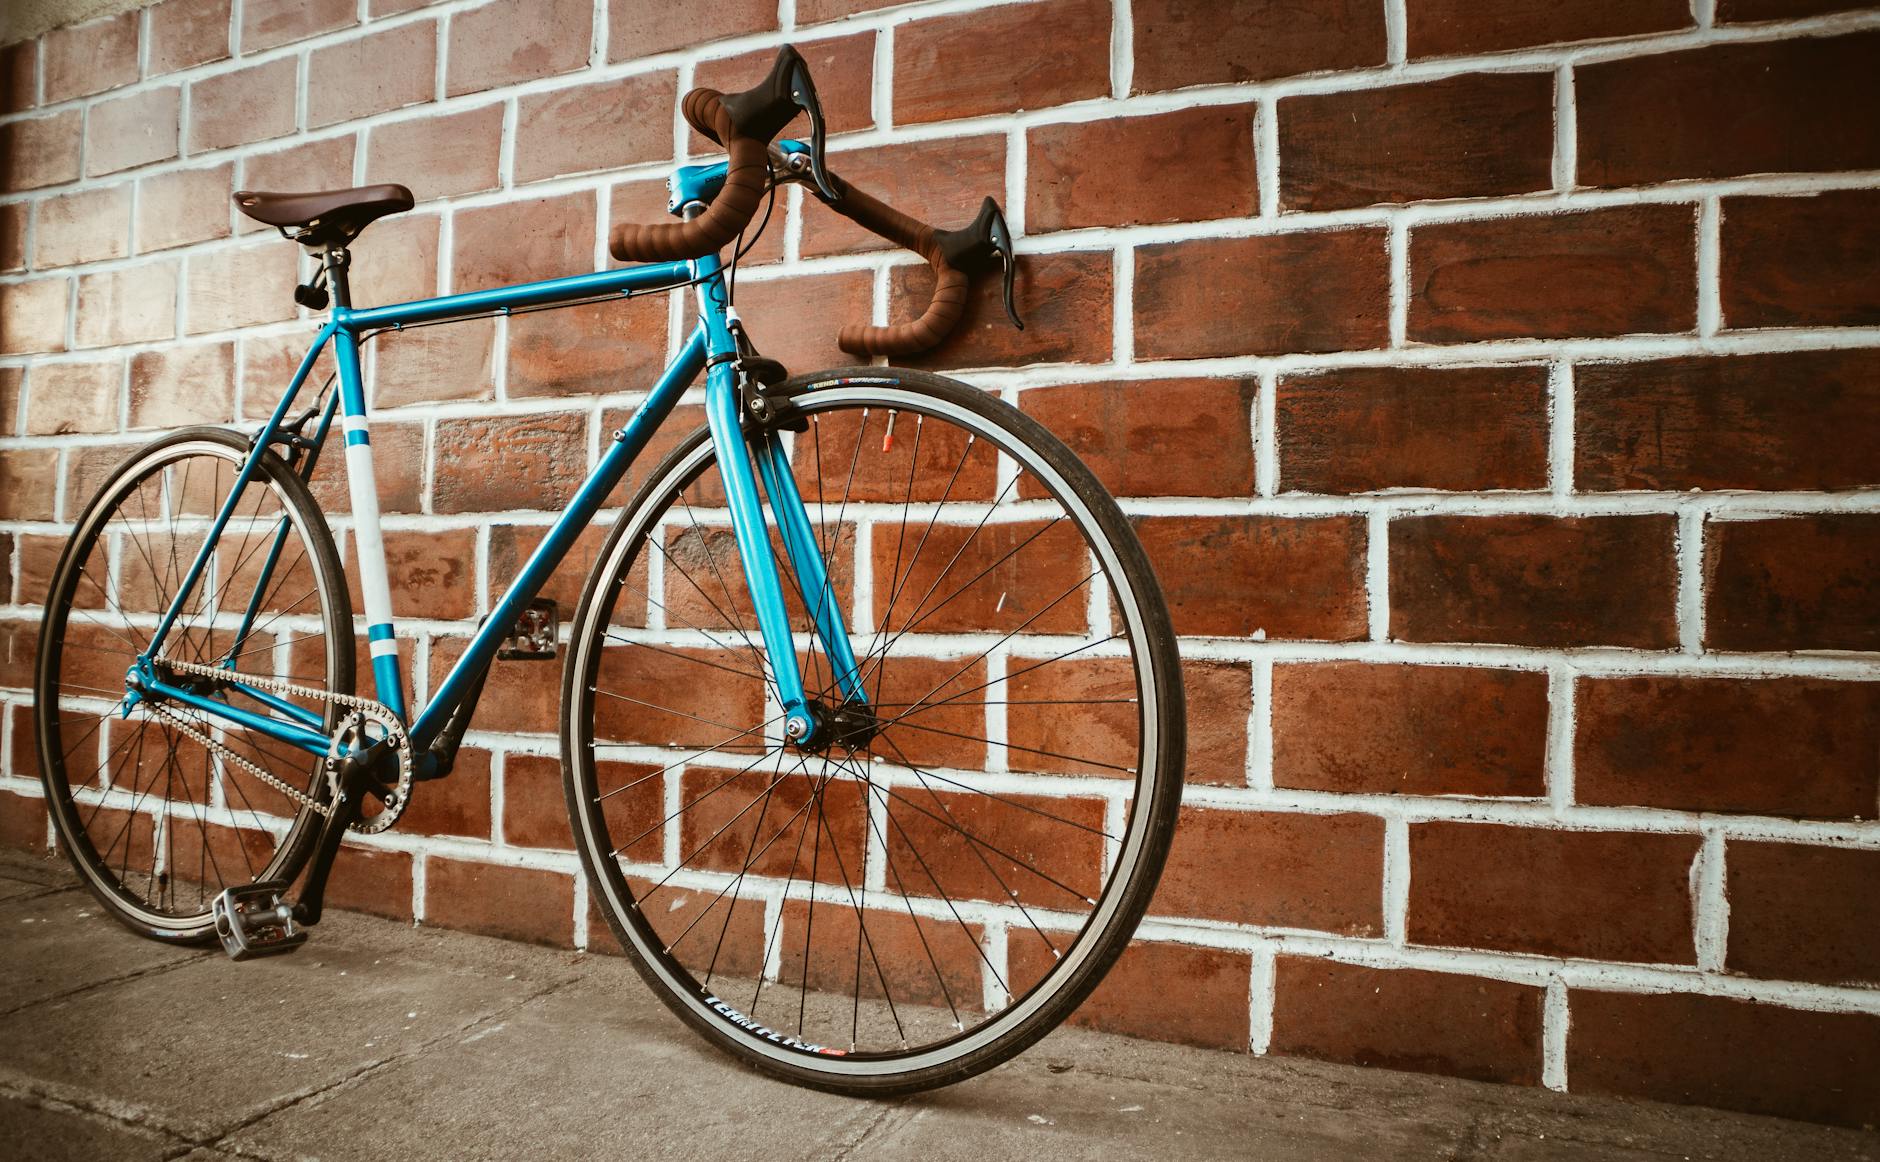
How Does Wheel Condition Affect Spring Riding Performance?
Wheels suffer during storage in ways that aren’t immediately visible. Spokes lose tension unevenly as nipples loosen slightly””often just a quarter turn””but this accumulates across 28 or 32 spokes to create lateral and radial runout. A wheel that was true within half a millimeter in fall might wobble two millimeters by spring. This wobble causes brakes to pulse rhythmically, affects handling at speed, and in severe cases rubs against brake pads or frame stays continuously. Hub bearings also deserve attention, particularly in bikes stored in damp environments. Cartridge bearings are sealed but not waterproof; moisture eventually penetrates and initiates corrosion.
Cup-and-cone hubs allow adjustment and regreasing, but many riders never perform this service. A hub with dry or contaminated bearings spins with noticeable resistance””hold your wheel horizontally and spin it, and it should rotate freely for 20 to 30 seconds. Significant resistance or gritty feeling indicates bearing service is needed. For example, a triathlete I know blamed her slower cycling splits on swim and run focus over winter. After two months of riding without improvement, a mechanic identified a rear wheel that was 3mm out of true and had developed bearing pitting. Replacing the bearings and truing the wheel dropped her 40K time trial effort by 45 seconds at the same power output””entirely free speed that she’d been losing to mechanical inefficiency.
How to Prepare
- **Clean the entire bike thoroughly.** Use degreaser on the drivetrain and soapy water on the frame, wheels, and components. Cleaning reveals problems hidden under grime””cracks, wear indicators, loose components””and prevents contaminating fresh lubricants with old debris.
- **Check the chain for wear using a chain checker tool.** Insert the tool and note the reading. Under 0.5 percent wear means the chain is fine; 0.5 to 0.75 percent suggests replacement soon; over 0.75 percent requires immediate replacement along with cassette inspection.
- **Inspect tires for cracking, worn tread, and embedded debris.** Flex the sidewalls and look for checking or dry rot, particularly common after winter storage. Remove any glass, wire, or thorns embedded in the tread before they work through to the tube.
- **Test all bolts for security.** Using a torque wrench if you have one, check stem, handlebar, seatpost, and crank bolts. Winter temperature cycles can loosen fasteners that were properly torqued in fall.
- **Inflate tires to recommended pressure and check for slow leaks.** After inflating, wait 24 hours and check again. Slow leaks from valve stems or micro-punctures will be evident as pressure loss.
How to Apply This
- **Lubricate the drivetrain with appropriate chain lubricant.** Apply one drop per roller, backpedal to distribute, then wipe excess from the chain exterior. The lubricant belongs inside the rollers, not on the surface where it collects dirt. For spring riding with potential wet roads, wet lube provides better durability than dry formulations.
- **Adjust derailleur limit screws and cable tension.** Shift through all gears while on a stand, listening for hesitation or grinding. Small adjustments to barrel adjusters typically restore crisp shifting. If cables are frayed or housing is kinked, replacement is necessary.
- **Service brakes by cleaning or replacing pads and adjusting alignment.** For rim brakes, toe the pads slightly so the front edge contacts first””this prevents squealing. For disc brakes, center the caliper so the rotor spins freely between pads without rubbing.
- **True wheels and check spoke tension.** Using a spoke wrench, adjust nipples in small increments””quarter turns maximum””to bring the rim back to center. Work progressively around the wheel rather than over-correcting in one spot.
Expert Tips
- **Replace cables and housing every two to three years regardless of apparent condition.** The internal corrosion that degrades performance isn’t visible from outside, and fresh cables transform shifting and braking feel.
- **Don’t over-lubricate.** Excess lubricant attracts dirt and accelerates wear. The correct amount is the minimum required to prevent metal-on-metal contact.
- **Service your bike before storing for winter, not only in spring.** Clean lubricant protects better than dirty lubricant during storage, and you’ll start spring with less work to do.
- **Avoid the temptation to upgrade components during spring tune-up unless genuinely necessary.** New parts require break-in and adjustment; servicing what you have returns the familiar performance you know.
- **Don’t perform major bearing service””headset, bottom bracket, hubs””without manufacturer-specific documentation.** Bearing preload and torque specifications vary significantly between designs, and incorrect adjustment causes rapid wear or component failure.
Conclusion
Spring bike tune-ups improve performance by restoring the mechanical efficiency that degrades invisibly during storage and accumulated use. The cumulative effect of stretched cables, dry lubricants, worn pads, and loose components can cost you several miles per hour and significantly affect both riding enjoyment and safety. Whether you pay a professional or develop DIY skills, seasonal service is not optional for riders who want their equipment to perform as designed.
The most effective approach combines honest assessment of your bike’s condition with realistic evaluation of your mechanical abilities. Basic cleaning, lubrication, and safety checks belong in every rider’s skill set””these take minimal time and yield immediate results. Complex bearing service, hydraulic brake work, and wheel building require specialized knowledge that most recreational riders are better off purchasing. Whatever path you choose, the bike that carried you through fall deserves attention before carrying you through spring.
Frequently Asked Questions
How long does it typically take to see results?
Results vary depending on individual circumstances, but most people begin to see meaningful progress within 4-8 weeks of consistent effort. Patience and persistence are key factors in achieving lasting outcomes.
Is this approach suitable for beginners?
Yes, this approach works well for beginners when implemented gradually. Starting with the fundamentals and building up over time leads to better long-term results than trying to do everything at once.
What are the most common mistakes to avoid?
The most common mistakes include rushing the process, skipping foundational steps, and failing to track progress. Taking a methodical approach and learning from both successes and setbacks leads to better outcomes.
How can I measure my progress effectively?
Set specific, measurable goals at the outset and track relevant metrics regularly. Keep a journal or log to document your journey, and periodically review your progress against your initial objectives.
When should I seek professional help?
Consider consulting a professional if you encounter persistent challenges, need specialized expertise, or want to accelerate your progress. Professional guidance can provide valuable insights and help you avoid costly mistakes.
What resources do you recommend for further learning?
Look for reputable sources in the field, including industry publications, expert blogs, and educational courses. Joining communities of practitioners can also provide valuable peer support and knowledge sharing.


