Preparing your road bike for warmer weather riding comes down to four essential tasks: switching to lighter lubricants, inspecting winter-worn components, adjusting tire pressure for higher temperatures, and cleaning accumulated grime from drivetrain and braking surfaces. A bike that served you well through cold, wet months needs recalibration for the demands of summer heat, longer rides, and dusty conditions. For example, the heavy wet lubricant that protected your chain through February slush will attract every particle of road dust in June, grinding away at your drivetrain like sandpaper if left unchanged.
Beyond the basics, warmer weather preparation involves reassessing your fit for lighter clothing, checking cable tension that may have stretched over winter miles, and evaluating components that degraded in harsh conditions. Many riders discover that brake pads worn thin by gritty winter roads or cables frayed from salt exposure need immediate replacement before spring’s first group ride. This article covers the complete process of transitioning your road bike from cold weather configuration to warm weather readiness, including drivetrain maintenance, brake system inspection, tire considerations, cockpit adjustments, and the often-overlooked details that separate a well-prepared bike from one that fails mid-ride.
Table of Contents
- Why Does Your Road Bike Need Seasonal Preparation for Warm Weather?
- Drivetrain Cleaning and Lubrication Changes
- Brake System Inspection and Pad Replacement
- Tire Assessment and Pressure Optimization
- Cockpit and Contact Point Adjustments
- Cable and Housing Assessment
- Frame and Fork Inspection
- How to Prepare
- How to Apply This
- Expert Tips
- Conclusion
- Frequently Asked Questions
Why Does Your Road Bike Need Seasonal Preparation for Warm Weather?
Road bikes are precision machines with components calibrated for specific operating conditions, and temperature shifts between seasons create measurable changes in how those components perform. Lubricants formulated for cold temperatures behave differently when ambient temperatures rise above 70 degrees Fahrenheit, becoming too thin and evaporating more quickly. tire rubber that remained stable in cool conditions becomes more pliable in heat, requiring pressure adjustments to maintain optimal contact patches and prevent pinch flats from over-inflation. The transition matters because winter riding subjects bikes to accelerated wear from road salt, chemical deicers, moisture penetration, and abrasive grit that accumulates in every moving part.
A study by a major component manufacturer found that chains used through a single winter season without proper maintenance showed wear equivalent to three summer seasons of riding. This accumulated damage remains hidden until warmer weather reveals it through skipping gears, squealing brakes, or sudden component failure. However, riders who store bikes indoors during winter face different preparation needs than year-round commuters. A stored bike may need attention to dried seals, flat-spotted tires, and seized cables rather than the contamination issues affecting regularly ridden machines. Understanding which category your bike falls into determines where to focus your preparation efforts.
Drivetrain Cleaning and Lubrication Changes
The drivetrain deserves first attention because it accumulates the most contamination and directly affects riding efficiency. Winter lubricants, typically marketed as “wet” formulations, contain tackier compounds that resist washout from rain and road spray but become problematic in dry summer conditions. These heavy lubricants attract dust and dirt, forming an abrasive paste that accelerates chain stretch, cassette wear, and chainring degradation. Start by degreasing the entire drivetrain thoroughly, including the chain, cassette, chainrings, and derailleur pulleys. Use a dedicated bike degreaser rather than household alternatives like dish soap, which can leave residue, or harsh solvents that may damage seals in jockey wheels.
After cleaning, apply a dry or wax-based lubricant designed for summer conditions. Dry lubricants create less buildup and keep drivetrains running cleaner, though they require more frequent application than wet alternatives. The limitation here affects riders in humid climates or those who encounter unexpected summer rain. Dry lubricants wash off quickly in wet conditions, leaving your chain unprotected mid-ride. If you regularly ride in unpredictable weather, consider a light wet lubricant as a compromise, or carry a small bottle of chain lube on longer rides. Wax-based lubricants offer excellent dry-weather performance but demand scrupulously clean chains before application, making them better suited to dedicated road bikes than commuters or gravel machines.
Brake System Inspection and Pad Replacement
Brake pads worn during winter riding often hide their degradation until warm weather reveals the extent of the damage. Winter’s combination of moisture, grit, and frequent braking on wet descents accelerates pad wear dramatically, with some pads losing half their material in a single season. Rim brake pads may have embedded aluminum particles from contaminated braking surfaces, creating a grinding compound that damages rims progressively with each stop. Inspect pads by removing wheels and examining both the pad material and the rim or rotor contact surfaces. Rim brake pads should show clear wear indicator grooves and soft, pliable rubber without hardened or glazed surfaces.
Disc brake pads require removal from calipers for proper inspection, and any pad thinner than 1.5 millimeters needs immediate replacement. While inspecting disc pads, check rotors for contamination from chain lubricant overspray, a common winter issue that causes squealing and reduced stopping power. For example, a rider who commuted through a wet winter may find rear brake pads worn to the metal backing plate while fronts remain serviceable, reflecting the tendency to favor rear braking in slippery conditions. This uneven wear pattern signals the need for new pads and possibly rotor resurfacing or replacement if the worn pad caused scoring. Ceramic compound pads offer better heat management for summer riding with its longer descents, while metallic pads provide more consistent wet-weather performance for all-conditions riders.
Tire Assessment and Pressure Optimization
Tires experience significant stress during winter riding, developing cuts, embedded debris, and compound degradation that may not appear problematic until warmer weather and higher speeds make them dangerous. Inspect tire sidewalls and tread surfaces carefully, looking for cuts deeper than surface scratches, bulges indicating casing damage, and cracks in the rubber suggesting age-related hardening. Winter’s debris tends to work deeper into cuts over time, sometimes creating slow leaks that only manifest when summer heat increases air pressure. Warm weather requires tire pressure adjustments because air expands as temperatures rise. A tire inflated to 90 PSI in a 50-degree garage may reach 100 PSI or higher during a summer ride on hot asphalt, potentially exceeding the tire’s rated maximum or creating an uncomfortably harsh ride.
The general guideline suggests reducing inflation pressure by approximately 2 percent for every 10-degree increase in average riding temperature compared to your winter baseline. Tubeless tire users face additional preparation tasks, as sealant effectiveness degrades over winter and may require refreshing before warm weather riding. Sealant that has clumped or dried inside tires loses its ability to seal punctures, turning a self-healing system into dead weight. Check sealant condition by removing valve cores and inspecting the liquid inside, adding fresh sealant if existing material has thickened or separated. Plan on replacing sealant every three to four months regardless of season for consistent puncture protection.
Cockpit and Contact Point Adjustments
The transition from winter to summer clothing changes how your body interfaces with the bike, often requiring subtle adjustments to maintain comfort and efficiency. Winter layers add bulk that effectively shortens reach and alters saddle position, meaning the fit that worked in January may feel cramped by May. Riders commonly need to extend stems slightly, lower handlebars, or adjust saddle setback when switching to lightweight summer kit. Bar tape deserves special attention during warm weather preparation because winter riding degrades it rapidly.
Moisture trapped under tape promotes corrosion on aluminum bars, while grit works into tape material and creates an abrasive surface. Remove old tape completely and inspect bars for corrosion or damage before rewrapping. Thin cork tapes suit summer riding better than thick gel alternatives, providing better bar feel for longer rides when thick gloves no longer pad your grip. Comparing handlebar tape options reveals meaningful tradeoffs: synthetic materials clean easily and resist moisture but become slippery with sweat, while natural cork absorbs perspiration but requires more frequent replacement. Riders doing centuries or multi-day events may prefer gel-backed tape for vibration damping despite the added thickness, while criterium racers and time trialists often choose the thinnest available options for maximum control.

Cable and Housing Assessment
Cables and housing suffer extensive damage during winter months, with moisture intrusion causing internal corrosion and contamination degrading smooth operation. Sluggish shifting or brakes that feel different between hot and cold conditions often indicate compromised cables rather than the derailleurs or calipers themselves. Corroded cables inside housing create friction that varies with temperature and humidity, making consistent adjustment nearly impossible. Check cable condition by disconnecting them at the derailleurs or brakes and examining both the cable and housing ends. Frayed strands, rust coloring, or kinked wires require immediate replacement.
Housing that has cracked, especially at ferrule ends or tight bends, allows contaminants inside and should be replaced entirely rather than selectively. For riders in coastal or salt-belt regions, annual cable replacement is wise maintenance regardless of apparent condition. The warning here concerns electronic shifting users who may assume they’re exempt from cable concerns. While electronic systems eliminate shift cables, brake cables remain on most setups and suffer identical winter degradation. Additionally, electronic shifting batteries discharge faster in cold weather, and units stored at low charge levels over winter may have reduced capacity or require replacement. Check battery condition and update firmware before warm weather riding begins.
Frame and Fork Inspection
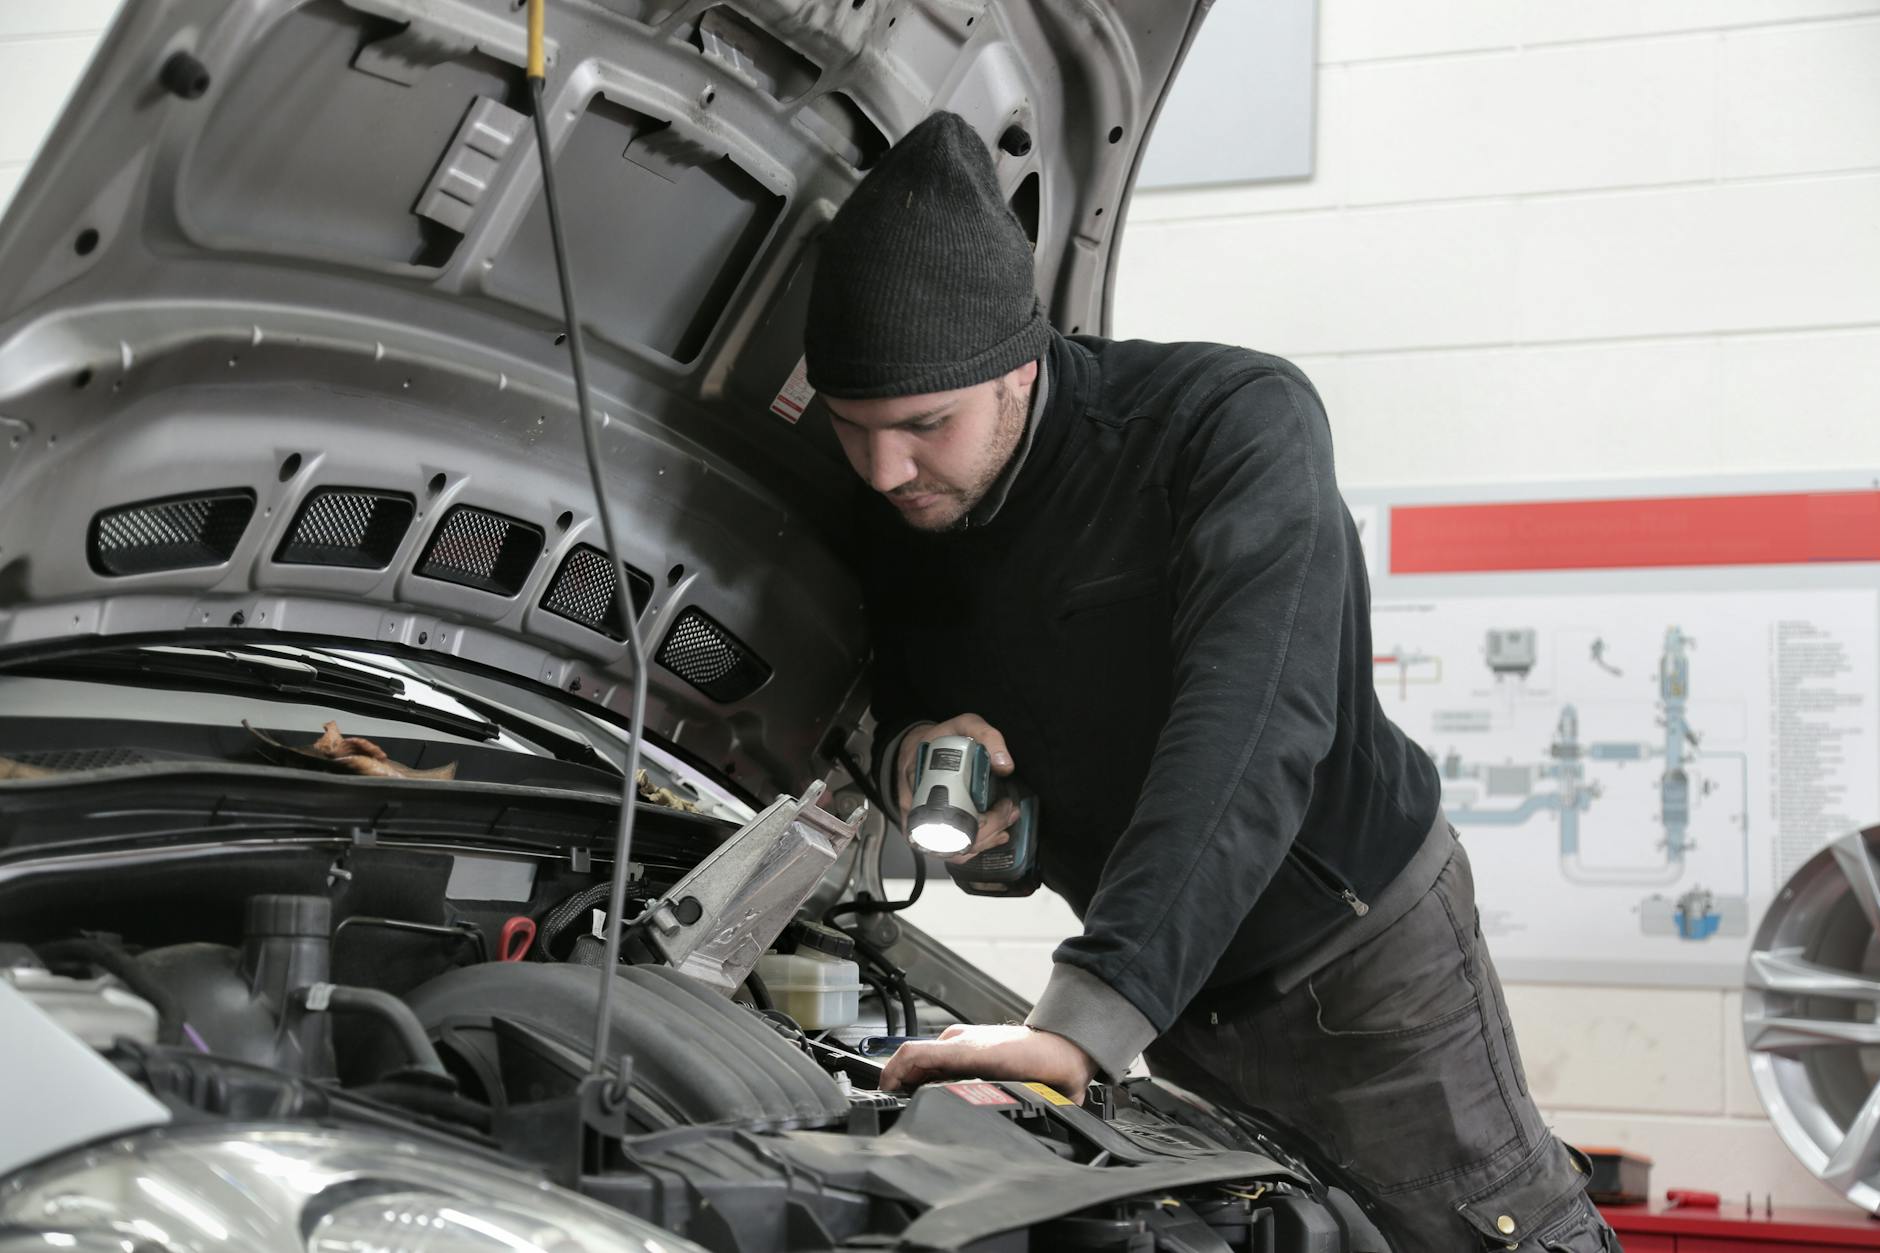
Winter riding stress concentrates at specific frame locations, making targeted inspection essential before increasing mileage and intensity in warmer months. Carbon frames require careful examination around bottom bracket shells, seat tube junctions, and rear dropout areas where road debris impacts and frame flex combine to initiate damage. Aluminum frames develop fatigue cracks near welds, particularly around head tubes and chainstay bridges where winter potholes deliver repeated impacts. For example, a rider who hit several unavoidable potholes during winter commutes should pay particular attention to fork integrity, checking for cracks around crown races and at steerer tube interfaces with stems.
Damaged forks rarely provide warning before catastrophic failure, making inspection a safety priority rather than optional maintenance. Use a bright light and magnification to examine high-stress areas, feeling for irregularities that might not be visible. Steel frames present different considerations, potentially developing rust in areas where paint chipped during winter rides. Touch up paint chips promptly to prevent oxidation from spreading beneath surrounding paint. Internal frame rust presents a more serious concern, requiring inspection by shining lights through bottle cage mounts and other frame openings to check tube interiors for corrosion.
How to Prepare
- **Complete drivetrain degreasing and cleaning.** Remove the rear wheel and place the bike in a work stand for access. Apply degreaser to chain, cassette, chainrings, and derailleur pulleys, using brushes to remove accumulated contamination. Rinse thoroughly and dry completely before proceeding to lubrication.
- **Inspect all wear components and replace as needed.** Check chain wear with a gauge, replacing chains showing 0.5 percent or greater elongation. Examine brake pads, cassette teeth, and chainring profiles for wear beyond service limits. Order replacement parts before continuing to avoid delays.
- **Service brakes and check all hydraulic systems.** Bleed hydraulic brakes if lever feel has become spongy or inconsistent. Clean disc rotors with isopropyl alcohol and inspect rim braking surfaces for embedded debris or aluminum oxide buildup requiring cleaning.
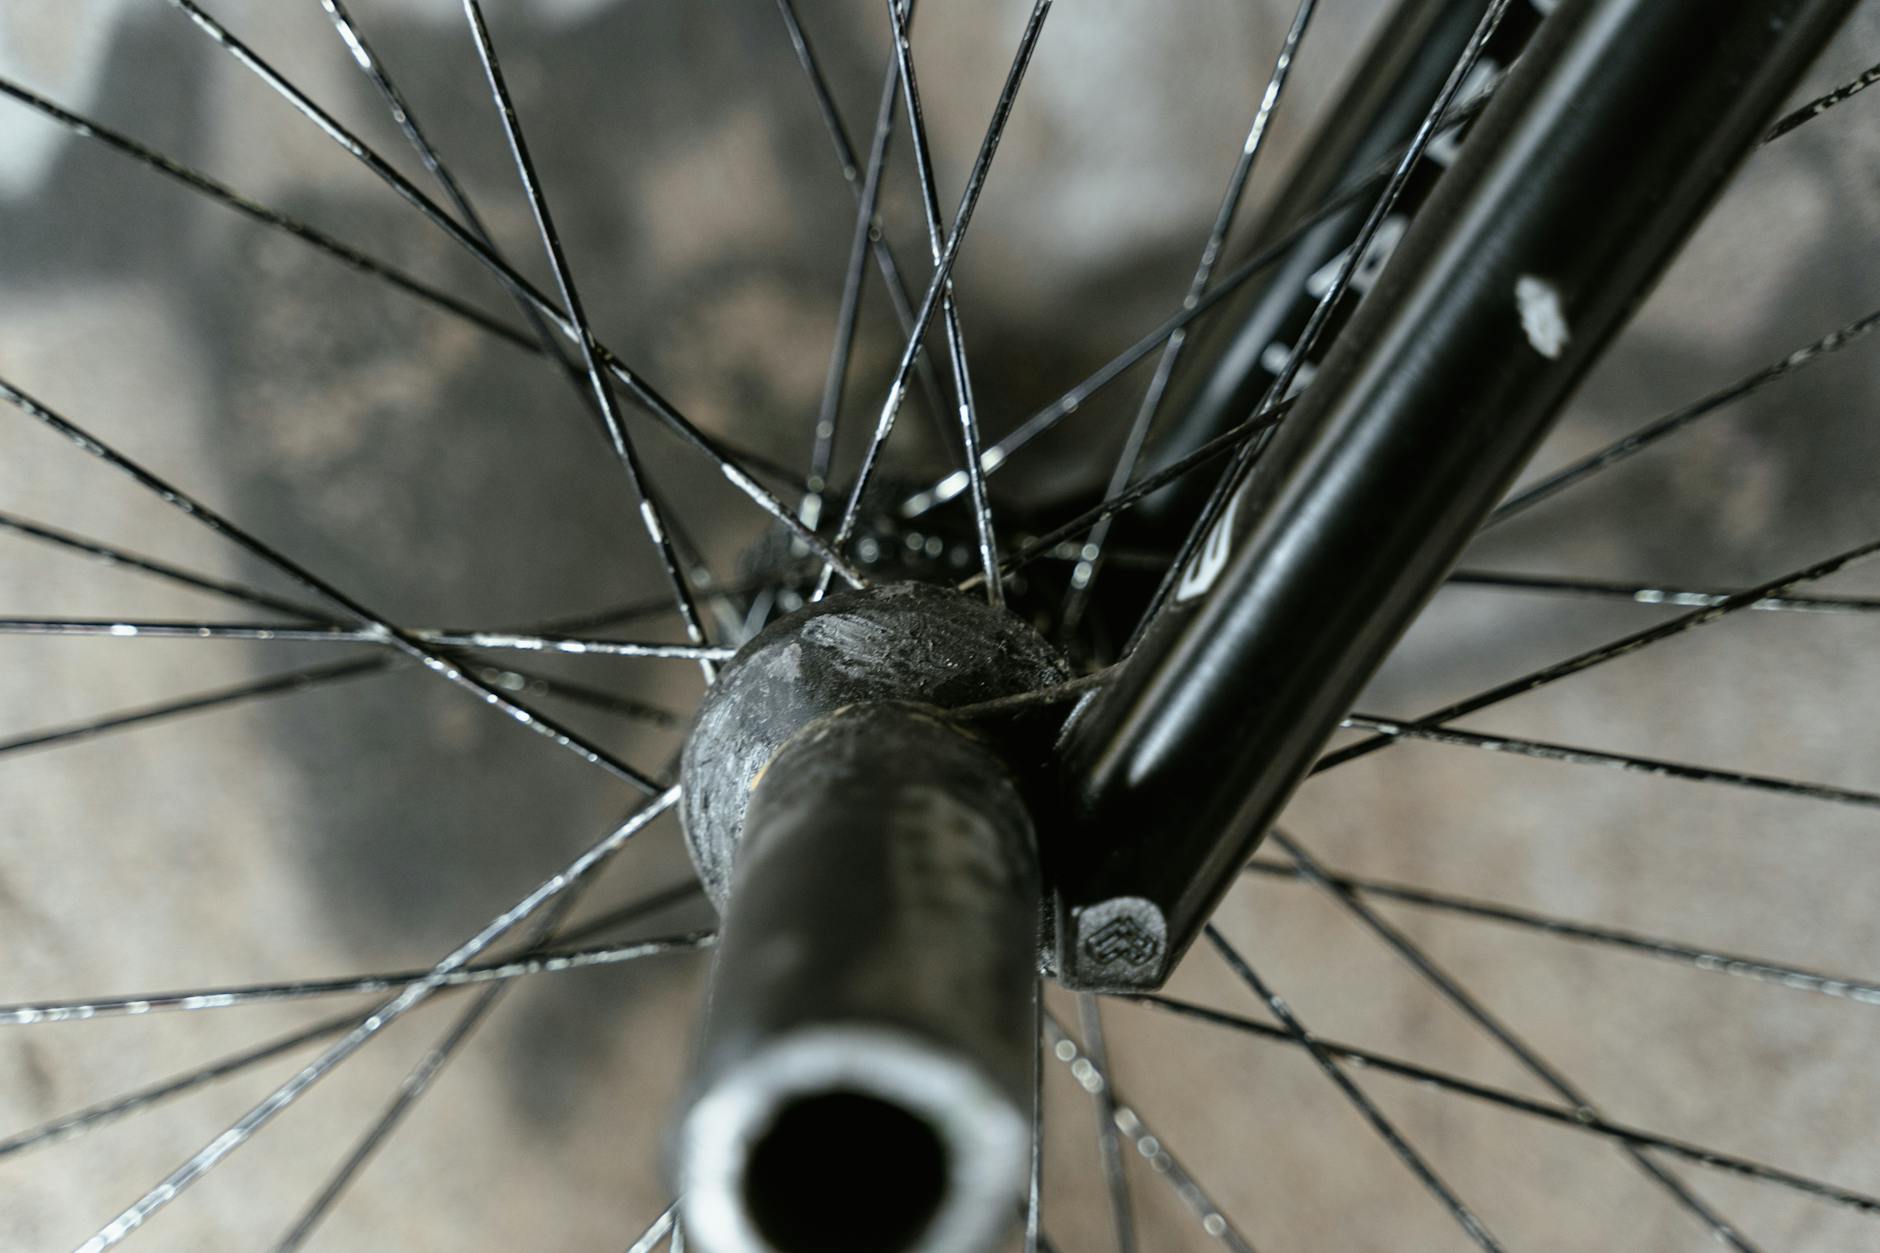
- **Examine wheels for spoke tension, bearing condition, and tire integrity.** Spin wheels slowly, checking for wobbles indicating needed truing. Squeeze spokes in pairs to identify loose ones requiring tensioning. Inspect tire sidewalls and tread for cuts, wear, or damage.
- **Test all shifting and adjust cable tension.** Shift through all gears under load using a trainer or by lifting the rear wheel, adjusting barrel adjusters to achieve crisp transitions. Warning: Avoid the common mistake of adjusting limit screws when the issue is actually cable tension or contaminated housing. Limit screws rarely need adjustment once properly set, and incorrect changes can cause chains to overshoot into spokes or drop between chainring and frame.
How to Apply This
- **Ensure the chain is completely clean and dry before applying any lubricant.** Residual degreaser or moisture prevents lubricant from penetrating pin and roller interfaces where it’s needed most. Allow at least 30 minutes of drying time in warm conditions or use compressed air to speed the process.
- **Apply lubricant sparingly to the inside of chain links while backpedaling slowly.** Target the rollers where lubricant works inward to pins, using one drop per link for liquid lubricants. Resist the urge to apply excessive lubricant, which attracts contaminants without improving protection.
- **Allow lubricant to penetrate for the time specified by the manufacturer.** Most dry lubricants require 10 to 15 minutes of penetration time before reaching optimal protection levels. Wax lubricants may need overnight curing for best results.
- **Wipe exterior chain surfaces thoroughly before riding.** External lubricant serves no mechanical purpose and only attracts contamination. Use a clean rag to remove all surface lubricant, leaving only the internal film protecting wearing surfaces.
Expert Tips
- Check quick releases and thru-axles for proper torque after removing wheels for cleaning. Winter disassembly cycles and temperature changes can affect clamping force, and loose axles create dangerous wheel retention issues.
- Do not ignore unusual sounds that appeared during winter and persisted through cleaning. Clicking under power often indicates worn bottom bracket bearings, cracked frames, or loose chainring bolts that cleaning alone cannot resolve.
- Photograph derailleur positions and cable routing before disassembly to simplify reassembly and ensure correct housing placement through frame guides.
- Replace bar tape on both sides even if only one looks worn, as mismatched grip textures create subtle handling asymmetries that cause fatigue on longer rides.
- Test ride in a safe area before committing to longer routes, checking brake function, shifting quality, and for any unusual sounds or handling traits that indicate incomplete preparation.
Conclusion
Preparing your road bike for warmer weather riding transforms a winter-weary machine into a responsive, reliable partner for the season’s longer rides and increased intensity. The investment of several hours in thorough cleaning, component inspection, and proper lubrication pays dividends throughout summer in improved performance, reduced mechanical failures, and extended component life.
Moving forward, establish a regular maintenance schedule that prevents the dramatic seasonal transition from becoming necessary. Monthly drivetrain cleaning, regular brake inspections, and attention to unusual sounds or behaviors keep bikes ready for any conditions. Riders who maintain consistently find that seasonal preparation becomes a quick verification rather than an extensive overhaul, saving time while keeping bikes in peak condition year-round.
Frequently Asked Questions
How long does it typically take to see results?
Results vary depending on individual circumstances, but most people begin to see meaningful progress within 4-8 weeks of consistent effort. Patience and persistence are key factors in achieving lasting outcomes.
Is this approach suitable for beginners?
Yes, this approach works well for beginners when implemented gradually. Starting with the fundamentals and building up over time leads to better long-term results than trying to do everything at once.
What are the most common mistakes to avoid?
The most common mistakes include rushing the process, skipping foundational steps, and failing to track progress. Taking a methodical approach and learning from both successes and setbacks leads to better outcomes.
How can I measure my progress effectively?
Set specific, measurable goals at the outset and track relevant metrics regularly. Keep a journal or log to document your journey, and periodically review your progress against your initial objectives.
When should I seek professional help?
Consider consulting a professional if you encounter persistent challenges, need specialized expertise, or want to accelerate your progress. Professional guidance can provide valuable insights and help you avoid costly mistakes.
What resources do you recommend for further learning?
Look for reputable sources in the field, including industry publications, expert blogs, and educational courses. Joining communities of practitioners can also provide valuable peer support and knowledge sharing.


