A backyard BMX pump track is a compact, bermed circuit that lets riders gain speed and air through body movement and pumping—no pedaling required once you have momentum. You build one by shaping the ground into a series of rollers and berms using soil, compacting it firmly, and surfacing it with either clay, asphalt, or concrete depending on your budget and climate. The key is creating smooth transitions with consistent banking angles (usually 30-45 degrees on the berms and gentler slopes on the transition zones) so riders can maintain flow.
We’ll walk you through site selection, the actual construction process, surface options, drainage planning, and how to maintain your track so it stays rideable year-round. Building a pump track requires careful site planning and consistent compaction work, but the result is a space where riders of all levels can practice technique, build fitness, and have pure fun without needing big jumps or downhill terrain. A typical residential pump track might take a few weekends to build and cost anywhere from $500 to $3,000 depending on size and surface materials.
Table of Contents
- Where Should You Site Your Backyard Pump Track?
- Planning Your Track Layout and Design Specifications
- Shaping the Berms and Building the Earthwork
- Choosing a Surface Material and Its Tradeoffs
- Drainage and Preventing Water Damage
- Building and Installing Transitions
- Long-term Maintenance and Track Evolution
- Conclusion
Where Should You Site Your Backyard Pump Track?
The first decision is finding the right spot on your property—ideally a relatively level area with good drainage and enough space for at least two or three rollers. A 40-by-80-foot footprint gives you room for a fun circuit with two or three good pump sections; you can squeeze one into 30 by 60 feet if needed, but it gets tight. Check for buried utilities before breaking ground—contact your local utility locating service to mark gas, electric, and water lines. Sun exposure matters more than most people realize. A track in constant shade tends to stay muddy longer after rain, while one in full sun dries quickly but can be harder on your bearings in the heat. Southeast-facing is often ideal—it gets morning sun to help with drying but has afternoon shade relief.
Avoid low-lying areas where water naturally pools; even a slight slope away from the track location helps with runoff. If your only option is slightly low ground, plan drainage channels or French drains around the perimeter. Proximity to trees is a double-edged situation. Overhanging branches provide shade and slow evaporation, which can be good or bad depending on your climate. However, tree roots can heave and crack your surface years later, and falling leaves create organic buildup that degrades the track. Leave at least 15 feet of clearance from large tree root zones if possible. Also consider your neighbors—a pump track is much quieter than a skateboard ramp or jump line, but late-evening riding and the occasional crash will still generate noise, so a location screened by a garage or fence is courteous.
Planning Your Track Layout and Design Specifications
A pump track works because of its shape, not its size. The classic design features rollers (gentle hills with a crest and a transition down the other side) connected by berms (banked corners). Most beginner-friendly tracks have a main loop with two to four rollers and maybe one or two bermed sections. Sketch your layout on paper or use Google Earth to plan sightlines and flow. The critical measurements are the berm radius (typically 15-25 feet for a backyard track), the height of each roller crest (2-4 feet is standard), and the transition angle where the rider moves from horizontal to the berm slope. However, if you’re building on very uneven terrain, be prepared for significantly more earthwork. A slope of more than 5-10 feet across your planned track footprint means either cutting and filling (which redistributes a lot of soil), or pivoting your layout to work with the existing grade.
Working with the natural slope is usually faster, but it limits where you can put features. For example, if your property slopes downhill from north to south, your pump sections will naturally flow in that direction—you can’t reverse the flow without major digging. The banking angle is where precision matters. A 30-degree berm feels mellow and is forgiving for new riders; 40-45 degrees is more aggressive and lets advanced riders carry more speed. Too steep (50+ degrees) and the track becomes scary for learning and prone to washout. Use a simple inclinometer app on your phone or a level and measuring tape to check angles as you build. Inconsistency in banking is one of the most common mistakes—riders can feel if one berm is 35 degrees and the next is 50 degrees, and it breaks the flow.
Shaping the Berms and Building the Earthwork
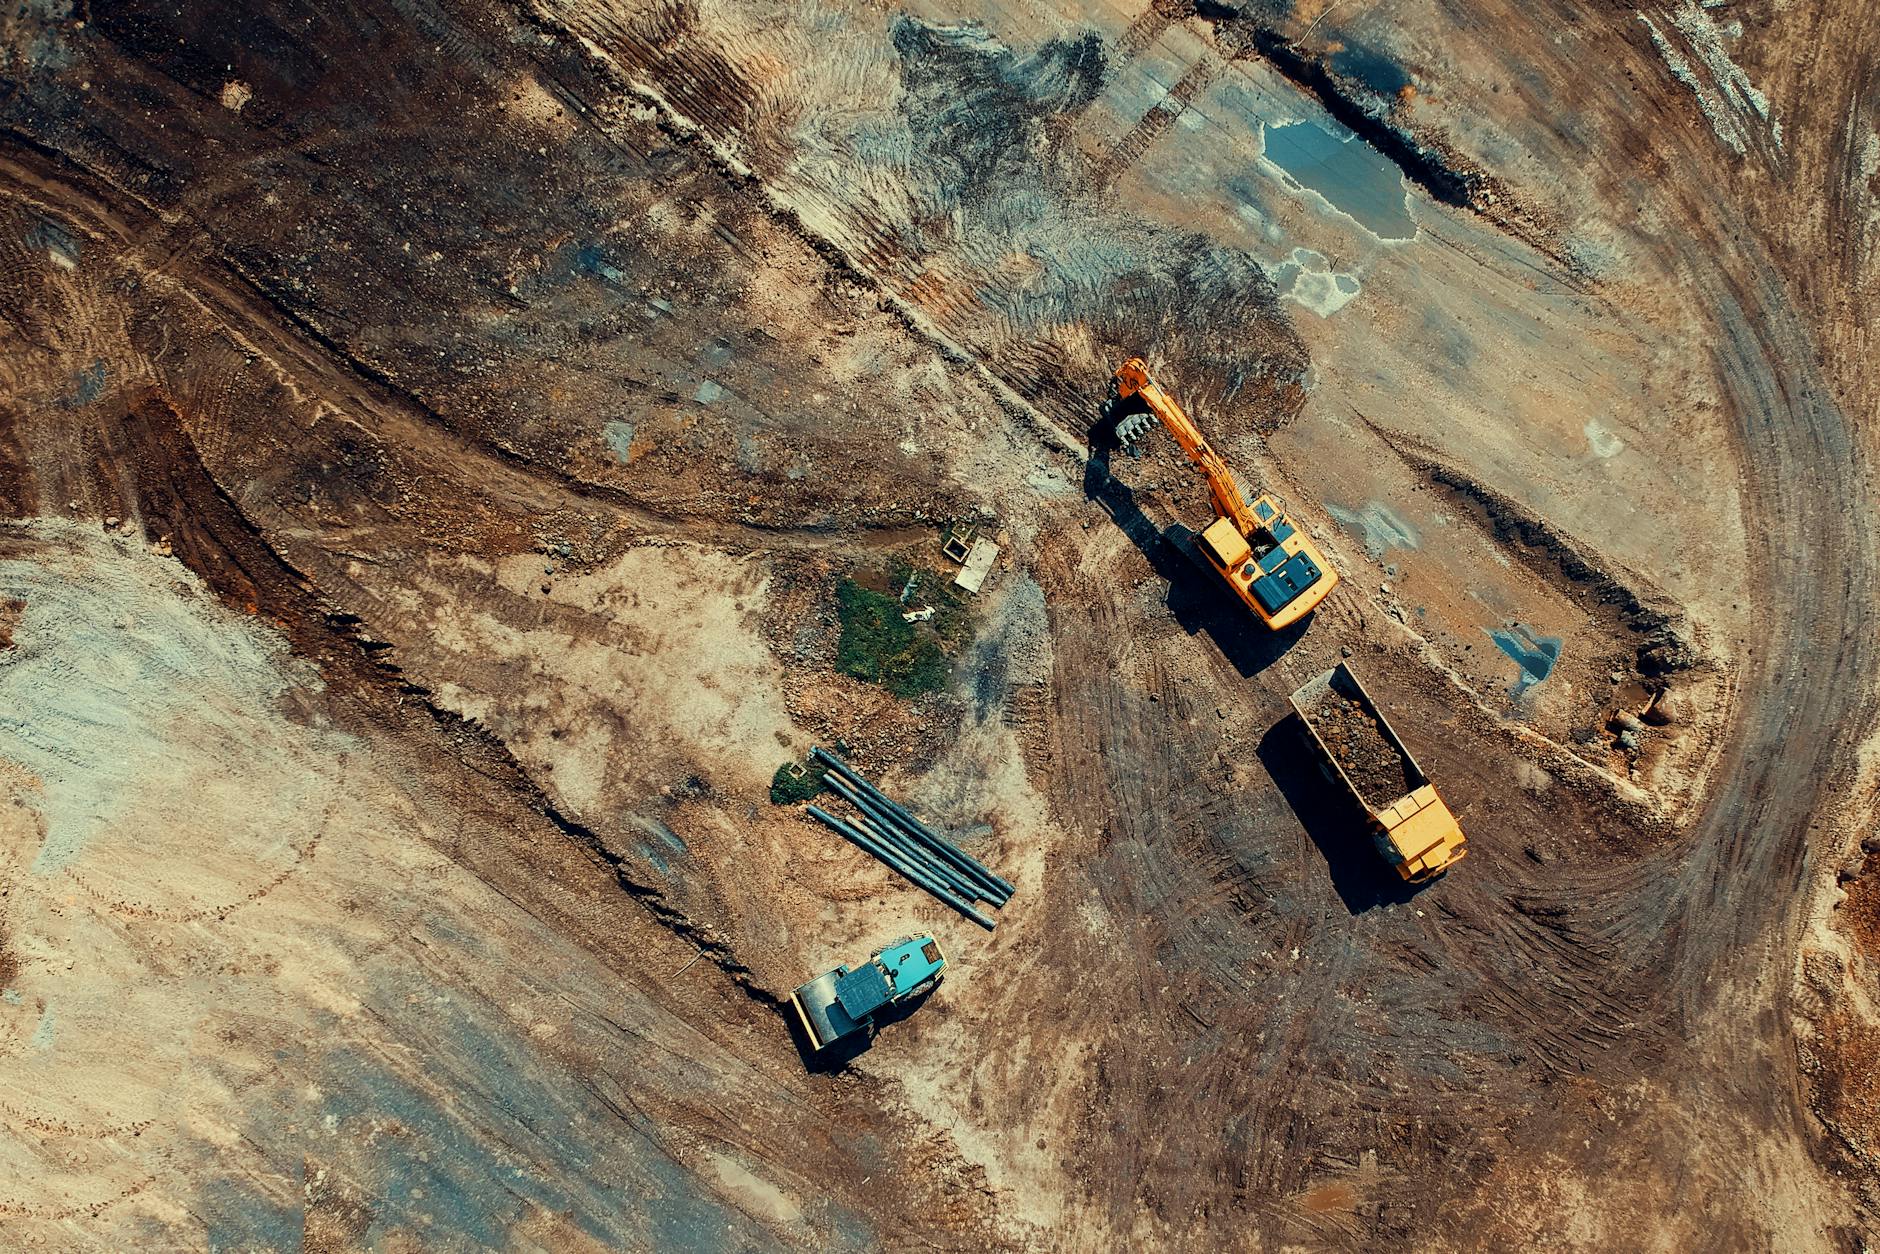
The actual construction starts with clearing vegetation and staking out your lines. Mark the berm edges, roller tops, and transitions with spray paint or chalk. Then, the core work: moving soil to create the shapes. A small track might need 50-100 cubic yards of soil moved and rearranged. You can do this with a wheelbarrow and shovel if you have time and patience (expect 30-40 hours of labor), or rent a small excavator or skid-steer loader for a weekend—that will cost $300-$600 but saves weeks of digging. As you shape, compact every few inches using a hand tamper, jumping jack compactor, or vibrating plate compactor.
This is non-negotiable. Loose soil settles, ruts, and develops soft spots where water pools. A 4-foot section tamped every 3 inches is tedious but essential; loose soil is the number-one reason homemade pump tracks fail in the first year. Once the berms and rollers are roughly in shape, let the site sit for a week or two so the soil can settle naturally, then do a second pass of compaction. For a real-world example, a 50-by-80-foot track built by three people with hand tools over a month had excellent flow, but the owner who skipped the compaction step (rushing because he wanted to ride) ended up with ruts and a soft spot near the main turn that pooled water every rain. He had to re-compact and add a drainage swale the following spring—twice the work. Proper compaction during the build is absolute.
Choosing a Surface Material and Its Tradeoffs
Once the earthwork is done, you need a riding surface. The three main options each have different costs, durability, and maintenance profiles.
Most riders prefer asphalt or clay sport surfaces for the balance of durability and rideability. Concrete is great if you want it to last decades, but it’s expensive and the hardness can lead to more wrist injuries. If you’re building on a tight budget, start with quality crushed limestone and plan to upgrade to clay or asphalt in year two or three.
- *Dirt and clay** is the cheapest ($0-$500 depending on material quality) but requires constant maintenance, gets muddy after rain, and deteriorates quickly under heavy use. A pure dirt track lasts one season in wet climates and needs raking and re-compacting every month or two. It’s viable if you’re in a dry climate (California, Arizona) or happy to maintain it frequently. **Crushed limestone or quarry process** (a mix of crushed stone and clay) is a step up—it binds better than pure dirt, dries faster, and costs $500-$1,200. It still requires regular maintenance but holds up better. You’ll need to rake and water it occasionally to keep the binding agent active. **Clay-heavy sport surfaces** (brands like Ritalin or similar), cost $1,500-$2,500 and are harder and more weather-resistant. **Asphalt** is durable (10+ years) and requires minimal maintenance, but costs $2,000-$3,500 and is unforgiving when you crash—it tears skin instantly and is loud. **Concrete** is the most durable (15-20 years), costs $3,000-$4,000, is quiet, and forgiving on joints and bolts, but it’s rigid and can crack if the ground settles. Concrete also gets slippery when wet or covered in algae.
Drainage and Preventing Water Damage
Water is the enemy of a pump track. Even a seemingly small puddle creates a soft spot, and standing water leads to algae growth and surface breakdown. Build drainage into the design from the start. The simplest approach: crown the track so the center is slightly higher than the edges, encouraging water to flow outward. A 1-2% slope is enough—you won’t notice it while riding, but water will run off. Install a perimeter drainage swale (a shallow ditch) around the track footprint, or bury a French drain (a trench filled with gravel and a perforated drain pipe) if your site is naturally wet. However, if your local water table is very high or you live in a place with frequent heavy rain, surface drainage alone may not be enough.
You might need to raise the entire track by 12-24 inches and build a base layer of gravel or limestone to allow water to drain through rather than pooling at the surface. This adds cost and labor but prevents track failure in wet climates. A builder in Portland, Oregon, learned this the hard way—his original track, built flat on clay soil in a rainy area, turned into a skating rink every winter. A year later, after raising it and adding a gravel base, it stayed rideable year-round. During construction, if you’re compacting soil and it becomes too wet (waterlogged), stop. Wet soil won’t compact properly and you’ll waste effort. Wait for it to dry, or remove and replace it with drier material. “Too wet” is when you squeeze a handful and water drips out—it should just barely hold together when squeezed.
Building and Installing Transitions
Smooth transitions are what make a pump track fun. A transition is the curved section where the track goes from flat to the berm, or from the berm back down. These need to be smooth and consistent—any kink or abrupt angle break will jar the rider and interrupt flow. If you’re building from raw soil, use a transit level and a string line to mark the curve, then shape it gradually using a shovel or small excavator.
A real example: a DIY track in Colorado had sharp 90-degree angle breaks at the transition points because the builder thought that was faster to construct. The result was an unriding track that looked fun but felt janky—every roller jolted the rider instead of rolling smoothly. After he carved out the transitions and made them into proper curves, the same track became amazing and way more fun. Once the transitions are shaped, they need special attention during compaction because they’re curved and can’t be tamped flat. Use a jumping jack compactor or vibrating plate and work in small sections, making sure the surface is firm all the way through the curve.
Long-term Maintenance and Track Evolution
A pump track isn’t a “build it and forget it” project. Plan to maintain it monthly in the riding season. For dirt or clay surfaces, that means raking out ruts, topping up worn areas, and re-compacting soft spots after rain. For asphalt, it’s mostly watching for cracks and sealing them before water gets underneath.
For concrete, keep it clean and watch for spalling (flaking) at the edges. As your riding improves, you may want to evolve the track over time. Adding a second loop, raising the berms slightly, or steepening them keeps things fresh and lets the track grow with your skills. Many pump track communities track their progression over 5-10 years, continuously tweaking and improving. The great thing about a backyard track is you can experiment—if a new feature doesn’t work, you can undo it and try something else.
Conclusion
Building a backyard BMX pump track is a weekend-to-month-long project depending on your site, available help, and material choices. The fundamentals are solid earthwork with good compaction, thoughtful placement and banking angles, reliable drainage, and a durable surface. Most riders end up spending $1,500-$3,000 and 40-80 hours of labor, and get years of reliable riding out of it.
Start with a clear site plan, do the compaction work properly (this is the step that separates good tracks from bad ones), and choose a surface material that matches your climate and budget. Once it’s built, stay on top of maintenance and don’t be afraid to evolve it as your skills grow. A well-built pump track becomes a gathering place for riders and an endless source of fun.


