To bikepack — ride and camp overnight with gear on your bike — prepare your bike, bags, repair kit, sleep system, and route. That short checklist protects handling, comfort, and safety for first-time cyclists. Beginners do not need a perfect setup to start. They need a working bike, a light load, and one simple overnight plan.
Table of Contents
- Will Your Current Bike Work?
- How Should You Carry Gear Without Losing Control?
- Which Repair Skills and Tools Do You Need?
- What Do You Need to Eat, Drink, and Sleep?
- How Should You Test Your Setup and Pick a First Route?
Will Your Current Bike Work?
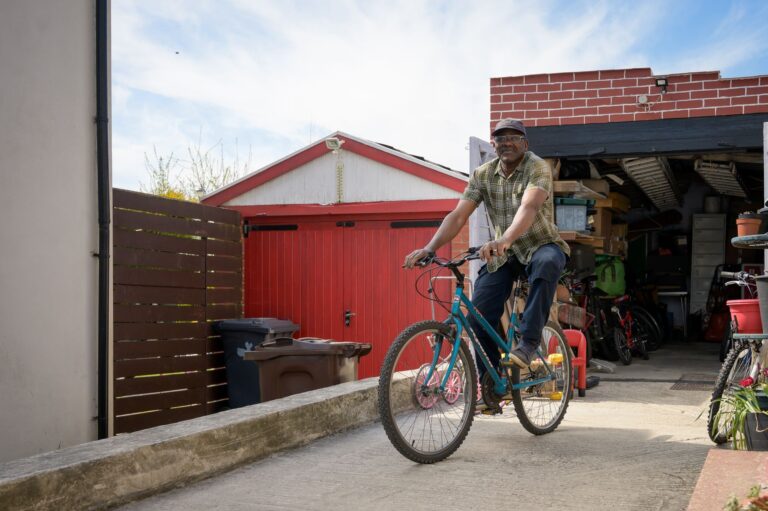
You can start on the bike you already own. The Adventure Cycling Association advises 2-inch or wider tires for most bikepacking routes and 2.5-inch-plus for rough technical terrain or loose sand in its tire guidance for bikepacking. Your frame clearance and rim width set the limit.
Check saddle position before you load the bike. A poor fit causes pain faster with extra weight. Fix worn tires, weak brakes, and dim lights before you leave town.
How Should You Carry Gear Without Losing Control?
Much Better Adventures recommends bikepacking-specific saddle, handlebar, and frame bags plus an accessible accessory pocket. Keep the total load light.
Extra weight directly worsens handling and climbing for beginners. Ride the loaded bike around your neighborhood first. You will feel steering, braking, and climbing changes at once.
- Put dense, heavy items low and near the frame
- Keep snacks, map, and sunscreen in the accessory pocket
- Leave extra clothes and just-in-case tools at home
Which Repair Skills and Tools Do You Need?
The Adventure Cycling Association recommends learning saddle adjustment, chain cleaning and lubing, flat repair, tubeless setup, derailleur and brake-pad adjustment, and chain repair before the trip. Practice on your own bike at home.
Trailside is a poor classroom. Carry a basic kit matched to your bike and route, described in the Adventure Cycling repair skills guide: Adjust the kit for your valves, axle type, and chain style. Remote routes need more spares than town-supported routes.
- hex wrenches, chain breaker, tire levers, and patches
- zip ties and a pump
- at least one spare inner tube even if running tubeless
What Do You Need to Eat, Drink, and Sleep?
Pack backpacking-style overnight gear. REI lists tent or bivy, sleeping bag and pad, stove and fuel, plus its Ten Essentials for navigation, sun protection, insulation, illumination, first aid, fire, repair tools, nutrition, hydration, and emergency shelter in its bikepacking expert advice. Choose compact versions that fit bike bags.
Carry bottles or a bladder plus a water filter or purification method and extra food. Resupply is uncertain. BIKEPACKING.com notes that filters and capacity must match remote versus town-supported routes.
How Should You Test Your Setup and Pick a First Route?
Do a loaded shakedown before the trip. Salsa Cycles advises checking tire wear and pressure, lubing the chain, confirming brakes and lights work, then riding about 30 minutes loaded. Top tubeless sealant and check for frayed cables before a big ride. Plan a short first overnight on quiet roads or trails with known water, food, and an easy bail-out, as Femme Cyclist recommends in its guide to planning a first overnight trip. Check the overnight-low forecast.
Share your route with someone, wear a helmet, and carry a headlamp and first-aid kit. Camp with care at every stop. The U.S. National Park Service lists seven Leave No Trace principles: plan ahead, camp on durable surfaces, dispose of waste properly, leave what you find, minimize campfire impacts, respect wildlife, and be considerate. Share your route and check the overnight low before you roll out.