Riding a bike through construction zones requires heightened visibility, slower speeds, and constant awareness of unpredictable obstacles—the three pillars of staying safe in these high-risk areas. The most critical step is making yourself unmissably visible to both construction workers and vehicle operators, using bright lights, reflective gear, and high-visibility clothing in daylight hours, since construction equipment operators often can’t see cyclists in their blind spots. Beyond visibility, you need to anticipate that construction debris, uneven surfaces, potholes, and loose gravel can appear without warning, so you’ll ride more cautiously and stay flexible about route changes.
This article covers the practical skills and gear choices that let you navigate active construction zones without unnecessarily risking your safety. Construction zones present hazards that normal urban cycling doesn’t: heavy equipment moving in unpredictable patterns, workers focused on their tasks rather than traffic, sudden surface changes, and drivers accustomed to slower-moving vehicles. A cyclist who understands these specific conditions—and prepares for them—can ride through without incident.
Table of Contents
- How Do You Make Yourself Visible to Construction Vehicles and Operators?
- What Makes Construction Zone Surfaces So Dangerous for Cyclists?
- How Do You Manage the Unpredictable Movement of Construction Equipment?
- What Gear Changes Should You Make for Construction-Zone Riding?
- What Are the Most Common Mistakes Cyclists Make in Construction Zones?
- How Should You Communicate With Construction Crews?
- How Are Routes Changing, and When Should You Plan Alternates?
- Conclusion
- Frequently Asked Questions
How Do You Make Yourself Visible to Construction Vehicles and Operators?
The most overlooked visibility challenge in construction zones is that truck operators, excavator drivers, and crane operators have massive blind spots. A cyclist in these blind zones is invisible, and the driver won’t know you’re there even if they’re looking. Wearing a bright orange or yellow vest—not just bright clothing, but a vest with reflective strips—makes you visible even when partially obscured by equipment or in shadow. Add a front light (white) and rear light (red), kept on even during daylight, because movement catches the eye better than static color. Position yourself strategically: stay in the center of your lane or shoulder rather than hugging the edge, where you might disappear into a truck’s blind spot. Make eye contact with workers when possible, wave, or call out your presence.
However, if construction is so heavy that you can’t see the operators clearly or predict equipment movement, this is the moment to dismount and walk. No time savings are worth being hit by a 50-ton excavator. High-visibility doesn’t mean reflective alone; movement matters. A blinking light is more visible than a steady one. Some cyclists add spoke reflectors or spoke lights, which create a moving circle that peripheral vision picks up immediately. If you’re riding at dawn, dusk, or night near construction, a handlebar light combined with a seat-tube light gives operators two visual references for your position rather than one.

What Makes Construction Zone Surfaces So Dangerous for Cyclists?
Construction sites are filled with debris and surface damage that wouldn’t exist on a normal road: fresh asphalt patches, exposed rebar or metal edges, loose gravel, potholes from utility trenches, and temporary road surfaces that shift under weight. Tires designed for smooth pavement grip poorly on loose material, and your bike’s handling becomes unpredictable. A 28mm road tire will lose traction on gravel or loose sand far more quickly than a 35mm or 40mm gravel tire would. The real danger is that you often can’t see the hazard until you’re almost on it—a pothole hidden by dust, gravel piled at the shoulder’s edge, or a steel plate covering a trench that’s positioned at an angle.
Your speed through construction zones should be 30–40% slower than normal, giving you time to react and stop. However, if the surface is so compromised that you can’t predict your traction or braking distance, walking is safer. Attempting to “ride through it” on pure skill works until it doesn’t, and construction-zone crashes tend to be serious because you’re often near heavy equipment that won’t stop in time if you lose control. Wider tires with lower pressure give you more margin; if you ride fixed-gear or on very narrow tires, construction zones demand extra caution. Switching to a hybrid or gravel bike for this commute is a legitimate choice if you frequently encounter active construction.
How Do You Manage the Unpredictable Movement of Construction Equipment?
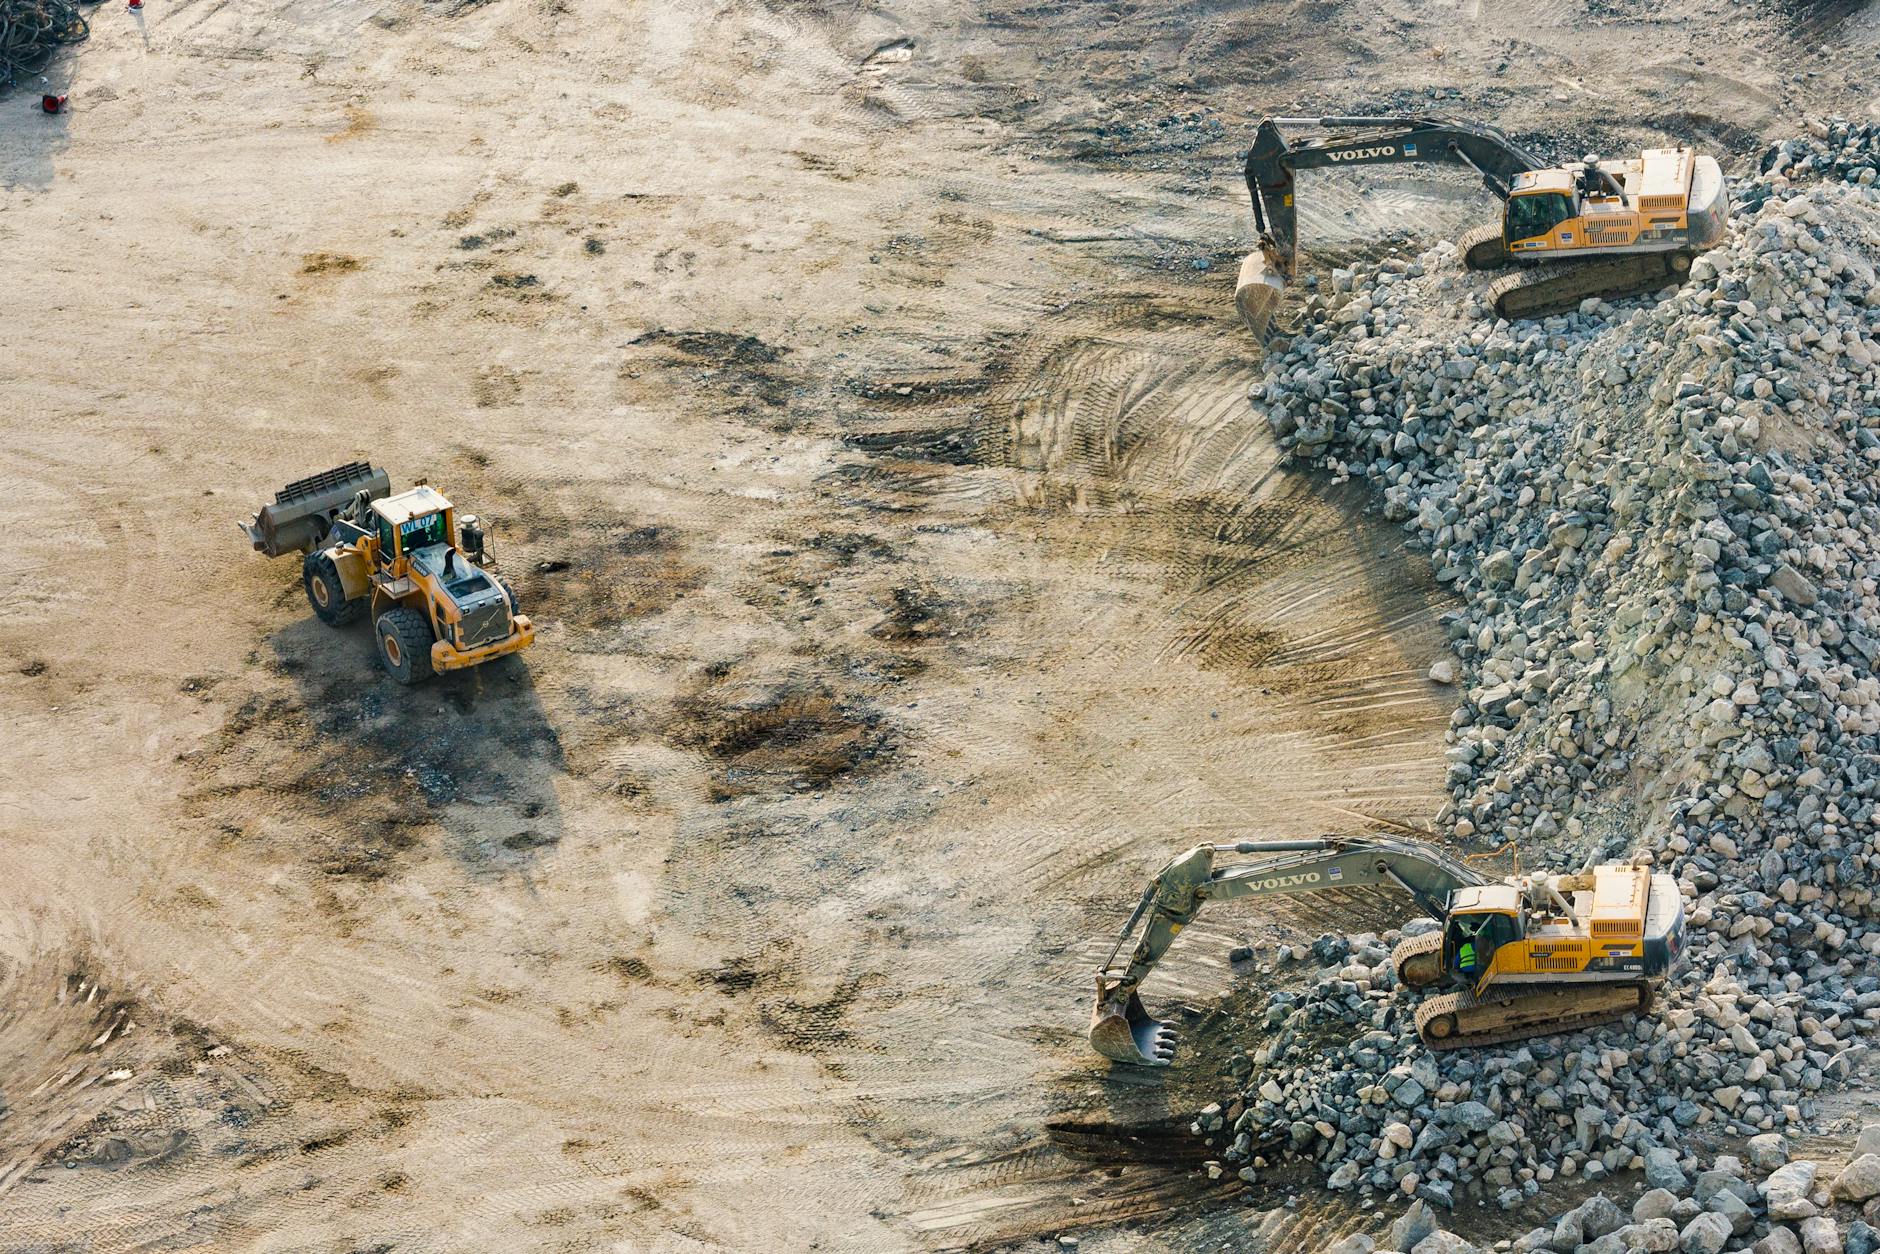
Construction sites don’t follow predictable patterns like traffic lights do. A crane might swing a load across your path, a truck might reverse without seeing you, or a piece of equipment might suddenly move in a direction you didn’t anticipate. Your mental model must be: assume every vehicle and piece of equipment could move toward me at any moment. Never assume a stationary vehicle will stay stationary. Keep at least 20 feet of distance from any operating equipment, even if it seems idle. Establish eye contact with any operator before passing, and wait for a clear signal or confirmation before proceeding.
Some construction sites have spotters (workers assigned to watch for hazards during equipment movement)—if you see one, make sure they see you, because their job includes preventing exactly these incidents. If spotters are present and you’re unsure whether it’s safe to proceed, wait until one acknowledges you. Approach construction zones at an angle that lets you see ahead clearly, rather than coming around a corner or obstacle without visibility. On multi-day construction, the site’s layout might change completely overnight, so familiar routes aren’t actually familiar anymore. Spend the first 30 seconds on a construction-zone commute doing reconnaissance: identifying the safest path, spotting operators, noting hazards, and deciding if it’s bikeable or if you should walk. This small pause prevents the incidents that come from rushing.
What Gear Changes Should You Make for Construction-Zone Riding?
Your tire choice matters more in construction zones than anywhere else. Road tires (23–28mm) grip poorly on loose material. A gravel bike, all-terrain tire (35–45mm), or mountain bike gives you better traction and a more stable ride. If you use a road bike for construction commutes, consider carrying a pump and patches, because punctures are more common on broken asphalt and debris. Beyond tires, your lighting setup should be overkill: at minimum, a 500-lumen front light and a visible rear light, both on during the day.
Some cyclists add redundant lights—a small backup light in case the primary fails. Wear something unmissably bright; construction-site workers are trained to spot hazards, and a fluo-yellow or fluo-orange vest signals “person on a bike” immediately, whereas normal clothes signal “why is there a bike here?” Your helmet becomes non-negotiable; if you go down on loose gravel or near equipment, it’s the only protection you have. Consider fenders if your bike allows them. Construction dust, fine gravel, and spray from rain on loose surfaces get into your drivetrain and eyes. A full fender keeps you cleaner and lets you see better. If you’re commuting daily through construction, investing in a dedicated construction-commute bike—a fixed-gear or singlespeed gravel bike, less expensive than your primary road bike—removes the anxiety about damaging expensive components.
What Are the Most Common Mistakes Cyclists Make in Construction Zones?
The first mistake is assuming construction zones are temporary problems to be powered through at normal speed. They’re not—they demand a different riding style entirely. Riders often underestimate how much their tire and braking grip have changed on loose surfaces, leading to skids or loss of control at what feels like normal speed. Second, riders go alone without communication, so if they crash, no one knows. Telling a coworker or friend “I’m commuting through the construction zone on Main Street” means someone notices if you don’t arrive. A third mistake is not dismounting when uncertain.
Cyclists have a bias toward staying mounted because walking feels slower or less graceful, but walking through a genuinely hazardous section costs 2–3 minutes and keeps you safe. The time gained by rushing isn’t worth the crash risk. Construction workers will see you walking and won’t be surprised or frustrated; a sudden cyclist appearing from dust or around equipment creates panic. A fourth mistake is riding at dusk or night without understanding the site’s lighting. Construction sites often have poor or uneven lighting, creating shadows where equipment is harder to see. If your commute is dark on one end, consider leaving earlier or later to avoid this window, or using a brightly lit alternate route.

How Should You Communicate With Construction Crews?
Construction workers operate heavy equipment that requires focus and coordination. When you approach, briefly get the attention of anyone operating equipment or directing traffic, and signal your intent clearly. A wave or thumbs-up from a spotter means “I see you and you’re clear to go.” Lack of response or a hand gesture to wait means stop and wait.
Don’t assume understanding; a spotter might be directing someone else’s movement. If you commute through the same construction zone repeatedly, establishing a routine with workers can help. Coming through at the same time each day, using the same route, and being predictable reduces surprise. Some construction sites have pedestrian gates or marked bike routes specifically to separate cyclists from equipment—use these whenever available, even if they add a minute to your commute.
How Are Routes Changing, and When Should You Plan Alternates?
Major construction projects change the landscape for months or years, and your safest commute from six months ago might not be viable anymore. Check with your city’s transportation department or construction timeline for ongoing projects; most cities publish this information online. Google Maps and Citymapper often label construction zones, giving you advance notice.
Maintaining two or three alternate routes means you’re never trapped or forced to take the most dangerous path. If a construction zone becomes genuinely impassable or too hazardous, you have fallback options and aren’t tempted to take dangerous shortcuts. Over the next few years, as cities prioritize separated bike lanes and safer construction-zone designations, these commutes will become easier—but for now, the cyclists who plan ahead and understand the hazards are the ones arriving safely.
Conclusion
Riding through construction zones is manageable when you prioritize visibility, assume unpredictability, and adjust your speed and equipment to match the conditions. The three non-negotiables are: make yourself unmissably visible with lights and reflective gear, ride at least 30% slower than normal to give yourself reaction time, and never hesitate to dismount and walk if the conditions feel unsafe.
Your next ride through a construction zone should start with a 30-second reconnaissance—scan for equipment movement, spotters, hazards, and the safest path. Invest in good visibility gear and wider tires if you commute regularly through construction. Check your city’s construction timeline so you’re never surprised by a closed route, and maintain alternate commutes so you’re never forced into the most dangerous option.
Frequently Asked Questions
Is it legal to ride a bike through an active construction zone?
Legality depends on local ordinances and whether the zone is fenced or explicitly closed to cyclists. Most construction zones are open to the public unless posted otherwise. However, if a construction site is fenced or marked “no trespassing,” you’re legally required to use an alternate route. Check local signage—if it’s unclear, ask the construction crew or your city’s transportation department.
What’s the minimum light brightness for construction-zone riding during the day?
Daytime visibility isn’t about lux (brightness in absolute terms)—it’s about flashing and contrast. A 100-lumen flashing light is more visible than a 500-lumen steady light during the day. For construction zones specifically, a 400–600-lumen light with a flashing mode ensures operators can see you even in shadows and dust. At night, 800+ lumens is reasonable for seeing hazards ahead.
If I get hit by construction equipment, who’s liable?
Liability depends on negligence, local laws, and site conditions. If a construction site was operating equipment negligently or didn’t adequately warn cyclists, they may bear liability. If you were trespassing or ignoring clear hazard warnings, your liability may be higher. Document the site conditions, get witness information, and consult a local attorney if you’re injured. Most construction sites have liability insurance, but proving negligence requires evidence.
Can I ride my road bike through construction, or do I need a gravel bike?
You can ride a road bike through light construction, but your safety margin decreases. If the surface is primarily asphalt with occasional debris, a road bike is fine with slower speed and extra caution. If the construction zone is mostly gravel, loose sand, or severely damaged pavement, a gravel or hybrid bike is meaningfully safer. The cost difference is small compared to a hospital visit.
Should I wear a mask in construction zones to avoid dust?
A dust mask or respirator prevents inhalation of fine particles but reduces airflow and can make breathing harder during exertion. For short commutes through light construction dust, a mask isn’t critical. For long commutes through heavy dust or active demolition, a fitted N95 mask is reasonable. If the dust is thick enough that visibility is severely reduced, the conditions are too hazardous for cycling anyway.
What’s the best line through construction debris?
The safest line is the one you can see clearly and that avoids the largest obstacles. Look ahead and trace your path 10–15 feet in advance. Avoid tight lines or shortcuts between equipment—take the wider, less direct path if it’s clearer. If you can’t see your path 10 feet ahead, you’re going too fast or the conditions are too hazardous.


