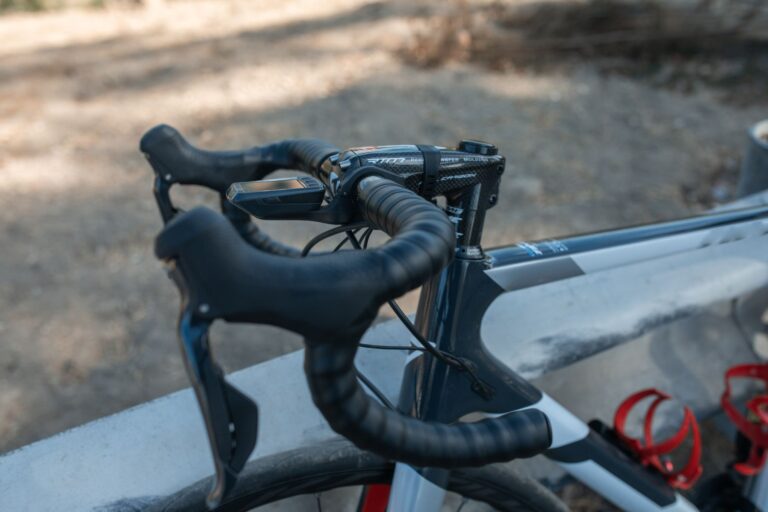
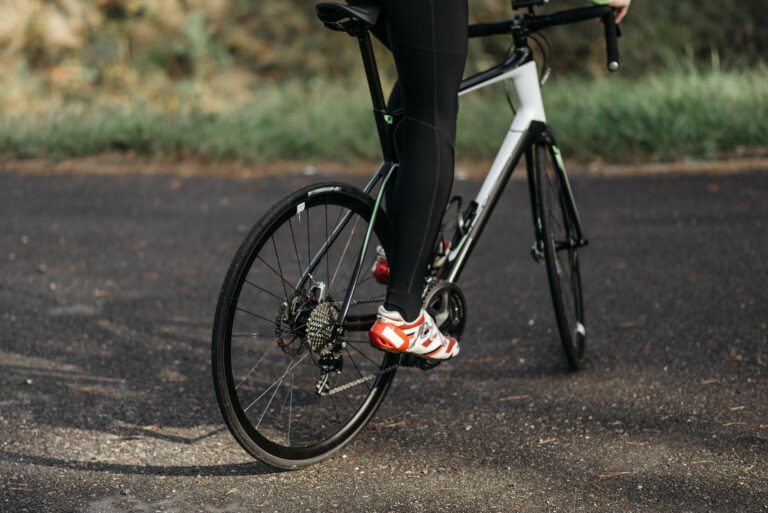
Pro cycling maintenance combines routine inspections, targeted cleaning, and strategic repairs to keep your bike safe and performing at its best. Whether you're a competitive rider or serious enthusiast, understanding the fundamentals—what to check before every ride, how to maintain your drivetrain, and when professional service pays for itself—means fewer breakdowns and a longer lifespan for your equipment. This guide walks through the inspection and maintenance steps that separate casual bike ownership from disciplined upkeep. The practices described reflect professional shop standards and are scaled for different riding volumes.
Table of Contents
- Pre-Ride Checks That Catch Failures Early
- Drivetrain Maintenance: Degreasing, Wear Measurement, and Sprocket Life
- Brake Pads and Frame Integrity
- Tire Tread Assessment
- Seasonal Deep Cleaning and Corrosion Prevention
- Professional Maintenance Scheduling and Costs
- Frequently Asked Questions
Pre-Ride Checks That Catch Failures Early
Before every ride, check brake function, tire pressure and sidewall integrity, chain tension, and quick-release security, according to Bike Tips. These checks catch wear progression that monthly full inspections might miss if performed alone. You're looking for obvious problems—spongy brakes, low tire pressure, chain slack—not thoroughness. A pre-ride check takes two minutes and prevents roadside failures.
Brake response should feel firm and immediate. A gradual squeeze that requires full-hand pressure signals pads approaching wear thresholds. Tire sidewalls should show no splits or punctures, and pressure should match your target range (check your tire sidewall for the recommended PSI). Chain should move smoothly without slack—a quarter-inch of play at the midpoint is normal, but more suggests dropouts or wear.
Drivetrain Maintenance: Degreasing, Wear Measurement, and Sprocket Life
Dirty chains that receive lube without initial degreasing attract additional contaminants and wear faster. Professional mechanics use dedicated bicycle-specific degreaser to remove thick buildup, then completely dry the chain before applying oil containing Teflon to repel dirt and water, according to REI Expert Advice. This two-step process is the foundation of drivetrain care. Chain wear is measured precisely. The standard metric measurement is 25.4cm for new chains; at 25.5cm chains remain good; beyond 25.7cm suggests worn sprockets requiring replacement alongside the chain, per Sheldon Brown.
Use a ruler or dedicated chain-wear tool to measure ten links from the center of one rivet to the center of the tenth rivet. If your measurement exceeds 25.7cm, both chain and sprockets should be replaced together to prevent skipping and cascading damage. Sprocket wear can be verified with calibrated tools. The Unior wear indicator applies ~10Nm of force to a calibrated chain draped over sprockets; if the link drops into the third tooth valley, the cog is serviceable; resistance indicates wear beyond safe operating range, according to Unior Tools and Trek Bikes. If you lack a wear indicator, a new chain installed on a worn sprocket will skip under load—a sign you've waited too long.
Brake Pads and Frame Integrity
Brake pad thickness determines both safety and rotor life. While 0.5mm is the absolute safety minimum, professionals recommend replacement when pads drop below 1mm to prevent damage to brake rotors and maintain stopping power; pads under 2.5mm should be replaced immediately, according to Bike Gremlin US. Check your pads monthly by looking through the caliper window or removing the wheel; pads wear fastest in wet conditions and on longer descents. Carbon frame damage requires a simple acoustic test.
A sharp, high-pitched tone when tapping the frame indicates healthy carbon; a dull, muffled tone signals delamination or internal voids that require further inspection, according to Outside Online. Tap the frame systematically with a coin, listening for changes in pitch. Any area that sounds dead or hollow should be inspected visually for cracks or separation. Delaminated carbon can fail suddenly under load.
Tire Tread Assessment
Professional tire inspection goes beyond visual inspection. Specialized gauge tools measure remaining tread beside lugs; depth indicators specify when tires are unsafe for front-wheel racing use, and a further depth threshold applies to rear wheels, per Pirelli.
A depth gauge costs $15–30 and eliminates guesswork. Visual groove assessment works for catastrophic wear, but racing and performance riding demand precision.
Seasonal Deep Cleaning and Corrosion Prevention
Salt, road grime, and brake dust corrode aluminum and carbon fiber over time. Professional shops perform thorough cleaning with drivetrain stripping at least twice yearly to remove contaminants from all moving parts, according to Bikeline Australia. This isn't just about appearance—seasonal deep cleaning extends frame life by years and prevents hidden corrosion from compromising component strength.
Professional Maintenance Scheduling and Costs
Annual professional tune-ups are recommended for 5,000–8,000 km annual riders, per Bike Tips. Combined with weekly chain lubrication and monthly inspections, annual overhauls cost $100–200 and prevent cascade damage.
Total annual maintenance budgets run $250–500 for regular training cyclists. Professional shops follow a 12-point workflow starting with safety diagnostics, including frame fatigue inspection, brake pad thickness check, and full degrease of drivetrain before any adjustments or repairs are performed, according to Bikeline Australia.
Frequently Asked Questions
How often should I clean and lube my chain?
Weekly lubrication keeps the chain protected. Deep degreasing and cleaning is needed when the chain visibly accumulates dirt or every 300–500 km of riding, whichever comes first.
What's the difference between a quick inspection and a professional tune-up?
Pre-ride checks catch obvious problems in minutes. Monthly inspections verify wear progression. Annual professional tune-ups ($100–200) include systematic frame assessment, component adjustments, and full drivetrain stripping that home maintenance typically misses.
Can I replace just the chain, or do I need new sprockets too?
If chain wear exceeds 25.7cm per 10 links, sprockets are already damaged. Installing a new chain on worn sprockets causes skipping and shortens the new chain's life. Replace both together.
How do I know if my carbon frame is damaged?
Tap the frame with a coin. A sharp, high-pitched tone is healthy; a dull, muffled tone signals delamination. Any dull area should be inspected visually for cracks or separation before further riding.