Paris–Nice riders and everyday cyclists should inspect braking, tires, wheels, steering, drivetrain, and structural parts before riding; clean gently after wet or dirty miles; and stop riding when damage or a safety-critical fault appears. Paris–Nice is a professional stage race, but its 2026 Stage 7 change shows why this routine matters: organizers shortened the stage and moved its start to avoid rain-dangerous descents, according to Paris–Nice organizer ASO. Treat maintenance as a sequence, not a single deep-cleaning day. A brief pre-ride check catches immediate problems, while cleaning and targeted repair protect parts after the ride.
Table of Contents
- Start with a safety check
- What should stop the ride?
- Clean without driving grit inward
- Service the chain before it damages other parts
- Repair limits: brakes, bolts, and flats
Start with a safety check
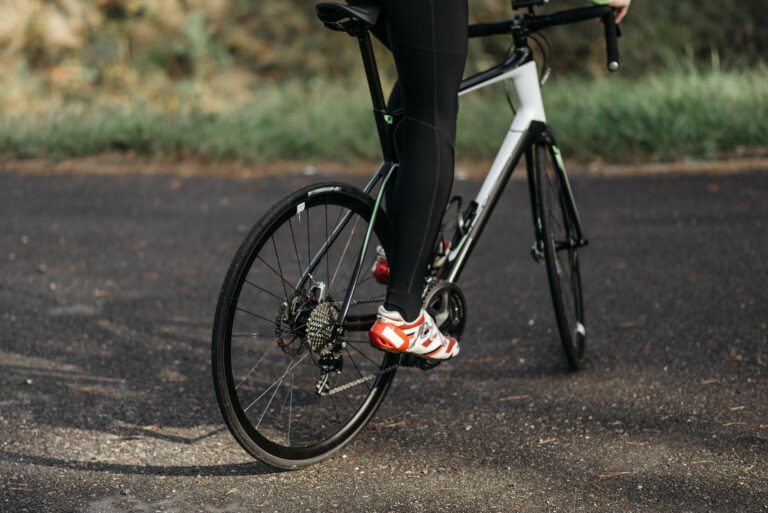
Check the tires first. Inflate them to the pressure appropriate for your tires and conditions, then look for cuts, embedded debris, and bulges. Spin each wheel and listen for rubbing; move it side to side to feel for bearing play. Next, squeeze both brake levers.
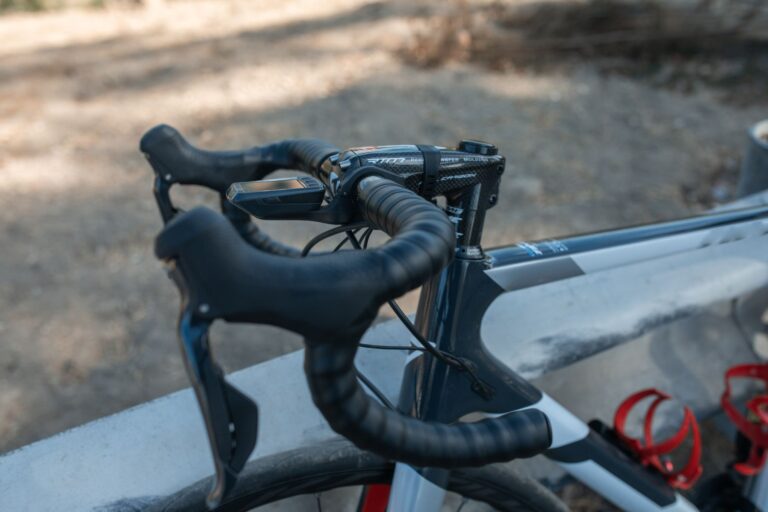
They should feel firm, and the wheels should spin without persistent rotor or pad rub. Check that the handlebar is secure, the chain is in usable condition, and the gears shift through their range before setting off; Park Tool's pre-ride guidance groups these checks as faults to correct before the ride. A strange noise deserves attention, especially if it repeats while pedaling, braking, or turning. Do not assume washing or extra lubricant will solve a loose, worn, or damaged part.
What should stop the ride?
inspect the frame and fork closely after a crash, transport mishap, or unexplained new noise. Focus on tube junctions and areas clamped by parts such as the stem, seatpost, and brakes. Look for dents, cracks, deformation, discoloration, or unusual noises.
Trek's owner's manual advises having a bike shop assess the bicycle before riding if you find these signs on the frame or fork, particularly around junctions and clamping areas. Trek's inspection guidance makes this a safety decision, not a cosmetic one. Do not try to hide a suspected crack with tape, paint, or a quick adjustment. The useful repair is a proper assessment and, if necessary, replacement of the affected part.
Clean without driving grit inward
Wash a dirty bike with soapy water, then rinse it with a low-pressure, wide spray. Dry it afterward, paying attention to the chain, cassette, brake hardware, and the spaces around moving parts. Avoid aiming a forceful stream at bearings, seals, or pivots.
Park Tool specifically recommends against blasting bearings with compressed air, because cleaning should remove grime rather than force water and grit into protected areas. Park Tool's washing method is especially useful after roads have been wet or sandy. Keep brake surfaces separate from oils and degreasers. If you are cleaning the drivetrain, use a rag or controlled application so runoff does not reach the rotors or pads.
Service the chain before it damages other parts
Check chain wear before cleaning. A chain that has passed its service life should be replaced rather than repeatedly cleaned and lubricated. For a serviceable chain, use degreaser, rinse with soapy water, dry it fully, lubricate each rivet, and wipe away excess lubricant.
That final wipe matters because surplus lube holds fresh dirt; Park Tool's chain-service instructions place wear measurement before cleaning for this reason. After servicing, shift through the gears while the bike is supported or during a cautious test ride. If shifting remains hesitant or noisy, inspect for a dirty or damaged drivetrain rather than adding more lubricant.
Repair limits: brakes, bolts, and flats
Use the brake manufacturer's instructions to judge pad replacement. Shimano specifies replacement at 0.5 mm pad thickness or after oil contamination, while Trek advises replacing disc pads thinner than 1 mm; the difference is why your own brake maker's manual takes priority. Shimano's pad limit and Trek's manual should not be blended into a single universal number.
Do not judge bolts by feel alone. Use a torque wrench and the specified torque for the component, particularly at the saddle, seatpost, stem, brake and shift levers, brakes, and suspension pivots. Carry a practical flat-repair kit: A tire boot over a cut casing can get you home, but it does not restore the tire's original casing strength; replace the damaged tire before relying on it again.
- Spare tube and patch kit
- Pump or cartridges
- Tire levers
- The appropriate wheel wrench, if your wheel needs one