Inspect a performance road bike by checking the frame and fork for damage, testing the wheels and bearings, measuring drivetrain wear, operating the brakes, and confirming the fit. Walk away from structural damage, uncertain carbon repairs, unsafe braking, or a size that requires extreme adjustments. Bring a bright light, clean rag, tire pump, and compatible chain-wear gauge. If the bike is expensive or its history is unclear, make the sale conditional on an independent mechanic's inspection.
Table of Contents
- Check the frame and fork for structural damage
- Test the wheels, tires, and bearings
- Measure drivetrain wear and test every gear
- Confirm the brakes stop smoothly
- Decide whether the bike fits and rides correctly
Check the frame and fork for structural damage
Start with a clean bike in bright light. Dirt can hide cracks, dents, paint disturbance, and corrosion. Compare the left and right sides, paying particular attention to joints and areas that commonly receive impacts. inspect these locations closely: On aluminum frames, deep dents, sharp creases, or cracks near welds are serious warnings. Steel can tolerate some cosmetic dents, but cracks, heavy corrosion, and bent tubes still require professional assessment. Titanium needs close inspection around welds and impact marks.
Carbon damage can appear as cracks, exposed fibers, soft spots, bulges, or paint lines that continue across structural areas. A simple coin-tap test cannot reliably prove that carbon is sound. Ask about crashes, transport damage, repairs, and component over-tightening; have any suspicious area examined by a qualified carbon-repair specialist. Check that the seatpost and stem move when their bolts are loosened correctly. A seized post can make fitting difficult, while a damaged carbon steerer may remain hidden beneath the stem and spacers. Confirm the frame's serial number is intact and matches any available receipt or ownership record.
- Fork blades, crown, and the area around the dropouts
- Head tube and the top and down tube junctions
- Bottom bracket shell and chainstay junctions
- Seat tube, seat cluster, and seatpost clamp
- Underside of the down tube and both chainstays
Test the wheels, tires, and bearings
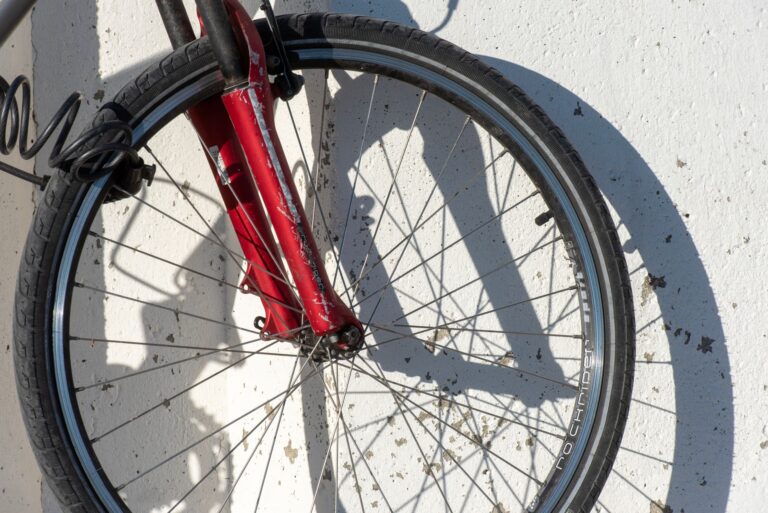
Lift each end of the bike and spin the wheel. The rim should track evenly without obvious side-to-side movement or repeated hops. A slight deviation may be serviceable, but a cracked rim, loose spoke pattern, damaged spoke hole, or severe flat spot can require replacement. Hold the rim and gently push it sideways. Play at the hub may indicate loose adjustment or worn bearings. Turn the axle or wheel slowly and feel for grinding, roughness, or binding.
Inspect carbon rims for cracks, delamination, impact marks, and heat damage. On rim-brake wheels, examine the brake track for deep grooves, concavity, or uneven wear. Some rims have wear indicators, but their design varies, so identify the wheel model before interpreting them. Check tires for cuts, exposed casing, dry cracking, flat spots, and embedded debris. Confirm that tubeless tires hold pressure and that valves are secure. Tire sealant can mask a small puncture, so look for dried sealant around the tread and sidewalls.
Measure drivetrain wear and test every gear
Inspect the chain with a gauge designed for its speed and type. A worn chain can accelerate wear on the cassette and chainrings, while a new chain that skips under load may reveal already-worn sprockets. Look for hooked or uneven chainring teeth, damaged cassette teeth, stiff chain links, and excessive dirt mixed with oily grit. Some modern tooth profiles are intentionally shaped for shifting, so compare suspicious teeth with neighboring repeated patterns rather than judging one tooth alone. Shift through every gear while pedaling the bike in a stand or during a careful test ride. The chain should move promptly without persistent rattling, dropping, or climbing toward the spokes.
Check that the rear derailleur hanger appears straight and that the derailleur does not approach the spokes in the easiest gear. Apply firm pedal pressure in several gears during the test ride. Skipping, cracking sounds, or a slipping crank can point to worn drivetrain parts, loose chainring bolts, or bottom-bracket problems. Rock each crank arm sideways and rotate the cranks slowly to check for play, grinding, and binding. Electronic shifting should operate every derailleur and control button consistently. Confirm that the charger and any removable batteries are included. Replacement parts may depend on the system generation, so identify the exact groupset before buying.
Confirm the brakes stop smoothly
Squeeze both brake levers before riding. They should move smoothly, feel secure, and retain clearance from the handlebar. A lever that reaches the bar may indicate poor adjustment, worn pads, cable problems, air in a hydraulic system, or a fluid leak. For disc brakes, inspect rotor surfaces for deep scoring, bends, and contamination. Look around calipers, hoses, fittings, and lever bodies for oily residue.
During the ride, each brake should slow the bike predictably without severe pulsing, persistent rubbing, or loss of power. For rim brakes, confirm that both pads contact the braking surface rather than the tire. Replace pads that are hardened, contaminated, cracked, or worn beyond their grooves. Inspect cables and housing for rust, fraying, sharp bends, and split outer casing. Do not treat every noise as proof of major damage; wet or contaminated components can make otherwise functional brakes noisy. However, uncertain braking performance must be diagnosed before the bike is ridden at speed.
Decide whether the bike fits and rides correctly
The frame size printed on the bike is only a starting point because sizing methods differ among brands and models. Compare stack and reach—the frame's vertical and horizontal dimensions—with a bike that already fits you. Stand over the bike, then check saddle height, saddle setback, handlebar reach, and handlebar drop. There should be enough adjustment range without exceeding the seatpost's minimum-insertion mark or placing the saddle and stem at extreme positions. Toe overlap can occur on some road bikes, but it should not surprise you during slow turns. Inspect the cockpit while checking fit.
Bars should not be cracked, crushed, or deeply scored near clamps. Make sure the stem, headset, and integrated cable-routing parts are compatible and available, since changing fit can be more involved on fully integrated bikes. On the test ride, listen for knocks and creaks while pedaling seated, pedaling standing, braking, and riding over a mild rough surface. Check that the bike tracks predictably and that the headset does not knock when you apply the front brake and rock the bike. A seller's explanation does not substitute for identifying the source of structural movement or noise. Before paying, list the required repairs and replacement parts rather than treating them as vague future maintenance. If the frame, fork, carbon wheels, hydraulic brakes, or integrated cockpit remain uncertain, arrange a mechanic's inspection before completing the purchase.