Choosing the right bike lights depends on three primary factors: the brightness level measured in lumens, the type of riding conditions you encounter, and where you’ll mount the lights on your bike. For commuting in urban areas with street lighting, a 200-400 lumen front light paired with a rear light is typically sufficient, while trail riding at night or riding in complete darkness requires 800-1200+ lumens to safely illuminate obstacles.
The goal isn’t always maximum brightness—it’s matching the light to your actual riding environment and legal requirements, since an overly bright light can waste battery and temporarily blind oncoming cyclists. This article walks you through evaluating your specific conditions, understanding the specs that matter, comparing different light types, and calculating what will actually work for your situation. Whether you’re upgrading a single light or building a complete system, you’ll learn the practical decisions that separate lights that solve your actual problem from lights that sit unused in a drawer.
Table of Contents
- Matching Light Brightness to Your Riding Environment
- Understanding Beam Pattern and Color Temperature
- Battery Life, Charging, and Power Management
- Mounting Position and How Light Placement Changes Everything
- Weather Resistance and Durability Concerns
- Budget Considerations and Getting Real Value
- Testing, Maintenance, and Planning for the Future
- Conclusion
- Frequently Asked Questions
Matching Light Brightness to Your Riding Environment
The most common mistake riders make is either underestimating how much light they need or buying more light than they’ll use. Urban commuting on lit streets is fundamentally different from trail riding in the woods or remote road riding at night. An urban commuter in a city with decent street lighting might get away with 200-300 lumens on the front, since the ambient light helps you see obstacles and helps others see you. A cyclist riding dark country roads, however, needs 800-1500 lumens minimum to actually see a pothole, rock, or animal before it becomes a hazard.
Mountain biking at night—especially on technical terrain—often requires 1500+ lumens on the front because the beam needs to illuminate terrain many feet ahead while you process what you’re riding over. However, if you’re primarily riding in well-lit urban areas, buying a 2000-lumen light is counterproductive; you’ll drain the battery in 2 hours and create glare for oncoming traffic. The real decision is whether your route has reliable street lighting, whether you ride when darkness is complete, and whether terrain complexity demands aggressive illumination. A commuter who rides the same lit route daily and occasionally needs a light for visibility has entirely different needs than someone doing weekend gravel adventures in remote areas where the light is the only illumination for miles.
Understanding Beam Pattern and Color Temperature
Light output matters less than how that light is distributed. Two lights with identical lumen ratings can perform very differently if one has a wide, diffuse beam and the other has a tight, focused spot. A wide flood pattern works well for urban riding and casual paths because it lights up the entire road and helps you stay visible to cross traffic. A tightly focused spot beam excels on unlit roads and trails because it throws light far ahead, letting you see obstacles from a distance.
Many serious cyclists use a combination: a flood light for peripheral vision and a spot light for distance, or they choose lights with an asymmetrical beam that throws light wide on the sides but far ahead in the center. Color temperature also affects how clearly you perceive the road. Warmer lights (around 3000K) reduce glare and feel more natural for casual riding, while cooler lights (5000K and above) appear brighter and help you spot hazards more quickly, though they can feel harsh and blue-white. However, if you’re riding on technical terrain or muddy trails, the color preference is almost irrelevant—what matters is whether the light actually illuminates the surface you need to ride over. Testing a light on your actual riding surface is worth more than any spec sheet, because a light that looks amazing on pavement might create confusing shadows on loose gravel or fail to show trail features clearly.
Battery Life, Charging, and Power Management
Battery capacity is measured in milliamp-hours (mAh) and directly affects how long your light runs before needing a charge. A light with a 2000 mAh battery running at full brightness might last two hours, while the same light at 50% brightness might last eight hours. This isn’t just about convenience; it’s about whether you’ll actually use the light consistently. If your light dies in 90 minutes and you have a 45-minute commute each way, you’re buying a light that becomes useless halfway through week two when you forget to charge it.
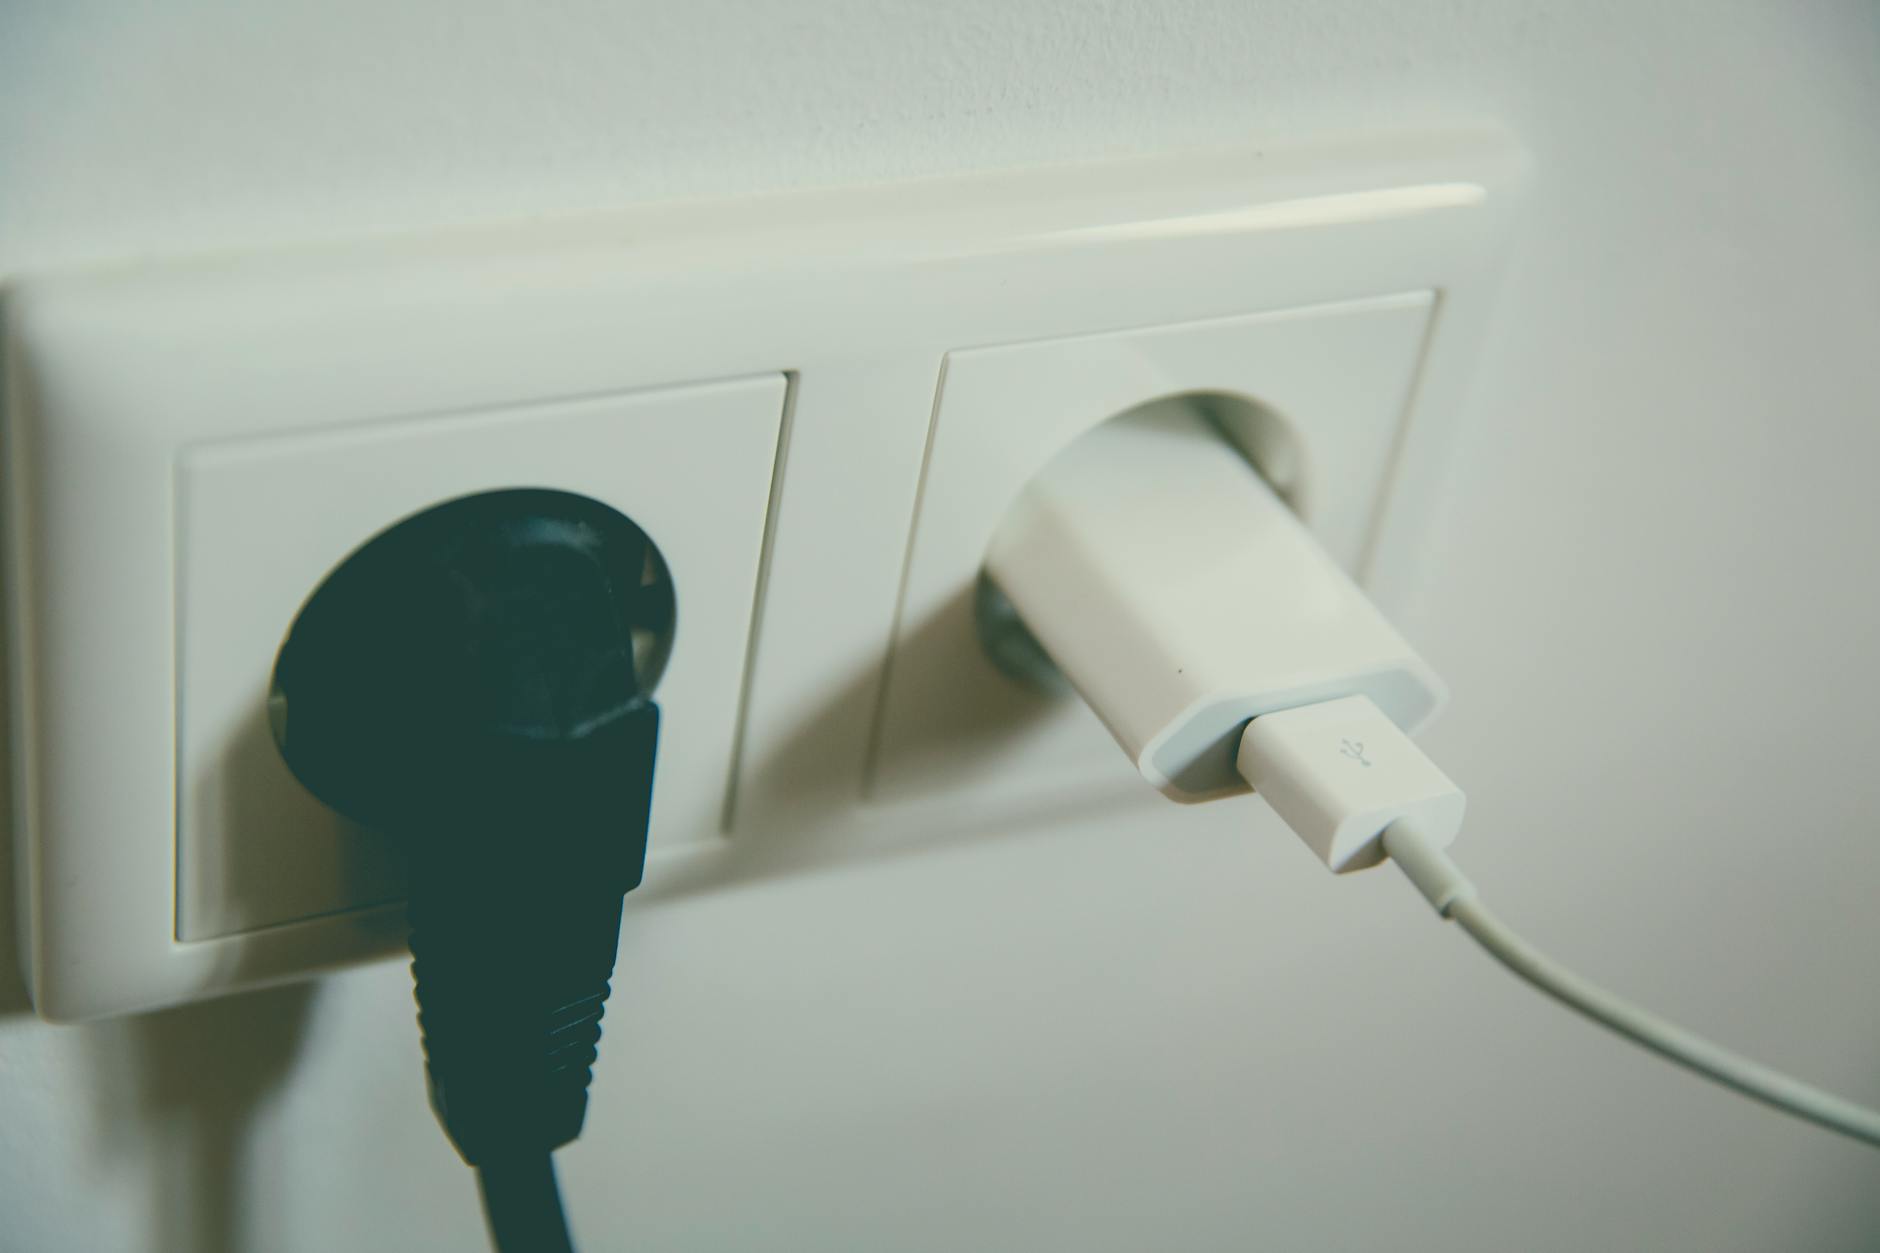
Modern bike lights typically charge via USB, which is convenient, but some cheaper models still use replaceable batteries. USB rechargeable lights are more economical over time and reduce waste, but they’re useless if you forget to charge them before a ride. Replaceable battery lights give you the option to carry spares, though high-end lithium batteries can be expensive—sometimes $5-10 per battery. Some lights offer power-saving modes or multiple brightness settings, which extend runtime significantly. A light with high, medium, and low modes lets you run at 30% brightness on lit streets (potentially lasting 12+ hours) and bump to full brightness when you hit dark sections, effectively giving you flexibility based on conditions rather than forcing you to choose one brightness level for the entire ride.
Mounting Position and How Light Placement Changes Everything
Where you mount your lights dramatically affects their utility. A front light mounted on the handlebars shines where you’re looking, which feels intuitive but creates a dead zone directly ahead because the light follows your eye line rather than the terrain ahead. A light mounted on your helmet shines wherever you look, making it superior for technical trails and spotting hazards, but helmet-mounted lights can blind other riders because the beam sweeps across them as you turn your head. For commuting, most riders use handlebar mounting for the front light because it’s stable and points ahead predictably.
Rear lights are equally important for being seen, and placement matters just as much. A seat-tube mounted rear light is visible to traffic directly behind you, but a seat-post or rear-rack mounted light is visible from a wider angle. Legally, most places require a red rear light, and brightness matters less for rear lights than for front lights—the purpose is visibility, not illumination. However, some rear lights pulse or have patterns, which improves visibility through motion, though some cyclists find this annoying when riding in a group. The comparison comes down to your riding style: if you’re commuting on busy roads, a bright rear light that’s visible in daylight is worth the battery cost; if you’re mostly on quiet paths at night, a dimmer rear light that lasts 20+ hours is fine.
Weather Resistance and Durability Concerns
Not all bike lights are built equally for wet conditions. A light rated IPX4 (splash-resistant) might survive casual rain but fail if you’re crossing a stream or riding through puddles. Lights rated IPX7 or IP67 are submersible and handle serious water exposure, which matters if you ride in heavy rain, through wet grass, or where water crossings are common. However, even waterproof lights can fail if the mounting system corrodes or water gets into the charging port. Sealed charging ports and aluminum or titanium bodies hold up better than plastic in wet conditions, but they cost more.
Another durability factor is vibration and impact resistance. A light mounted on the handlebar might loosen after hundreds of bumps, and some lights are more prone to developing loose connections than others. Some manufacturers use rubber shock-absorbing mounts while others rely on friction alone. If you’re commuting on rough city roads or riding off-road, a light that’s loosely mounted is almost as bad as no light, since it might turn off mid-ride or shine at an unusable angle. Testing the mount on your own bike, or reading reviews specifically about long-term durability, reveals these issues better than looking at the product photos.
Budget Considerations and Getting Real Value
You don’t need to spend $200 on lights, but you probably shouldn’t spend $15 either. Decent front and rear light combinations exist in the $50-100 range, offering reliable brightness, reasonable battery life, and adequate weather resistance. Premium lights ($150+) often add features like smartphone connectivity, advanced beam control, or exotic materials, but these don’t improve core function for most cyclists.
The real value sweetspot for commuters is usually $30-60 for a light that gives you 400-600 lumens, USB charging, and acceptable durability. One practical consideration: buying separate front and rear lights rather than a combo pack often saves money, because you can choose the right brightness for each direction independently. A 400-lumen front light paired with a 20-lumen rear light costs less than a matched pair and actually works better because you need different light outputs for the two functions. Checking reviews from actual commuters and trail riders in your local climate zone reveals whether a particular light justifies its price or fails prematurely in your conditions.
Testing, Maintenance, and Planning for the Future
Before committing to a light as your primary system, test it on your actual riding route at the time of day when you’d use it. A light that feels adequate in a parking lot might feel inadequate on a dark gravel road or feel uncomfortably bright on a lit urban street. Many local bike shops let you test lights, or you can order from retailers with good return policies and test at home.
Spending 30 minutes riding your actual route with a borrowed light or trial light saves the frustration of buying something and discovering it doesn’t solve your problem. Looking ahead, the bike light market continues adding features like integration with commuting apps (tracking when you ride in darkness) and improved battery chemistry that lasts longer and charges faster. However, the fundamentals—brightness matched to conditions, reliable mounting, adequate waterproofing, and consistent charging habits—haven’t changed. Investing in a good light system now that actually works for your riding style is smarter than chasing the latest feature, though knowing that better batteries and brighter LEDs appear annually means your next upgrade will be even more capable.
Conclusion
Choosing bike lights is ultimately about matching three things: the brightness your riding conditions actually require, the beam pattern that illuminates what you need to see, and the battery capacity that supports your riding schedule. Start by honestly assessing whether you ride in darkness regularly, how much street lighting exists on your route, and what terrain complexity you face. Then prioritize the light specs that address your actual gaps—if you’re battling darkness on unlit roads, brightness matters; if you’re mostly on lit streets, visibility and beam pattern matter more.
Your final step is testing your chosen light on your actual riding route before treating it as your main system. Bring it on multiple rides in different weather and times of night. A light that works brilliantly for a friend’s weekend trail rides might not solve your weeknight commute, and vice versa. The best light is the one you’ll actually use consistently, which usually means it’s matched to your real conditions and reliable enough that you trust it every time you clip it on.
Frequently Asked Questions
How many lumens do I actually need for commuting on a lit street?
For urban commuting with street lighting, 200-400 lumens on the front is usually adequate. The street lighting provides the baseline visibility, and your light mainly helps others see you and provides backup illumination. Test your route at the darkest time you ride to confirm this is sufficient; if you find yourself struggling to see obstacles, 600+ lumens is a better choice.
Can I use the same light for both daytime and nighttime riding?
Yes, though brightness requirements differ. A 500-lumen light is barely noticeable in full daylight but provides plenty of illumination at night. Using one light that works adequately in both conditions is simpler than swapping lights, though you sacrifice optimization in each scenario.
Do I need separate front and rear lights or can I use a combo light?
Separate front and rear lights typically give you more flexibility and better value. You can choose a high-brightness front light (where you need range) and a moderate-brightness rear light (where visibility matters more than illumination), adjusting each independently based on conditions. Combo lights are convenient but usually optimize neither direction perfectly.
How long can I safely leave a rechargeable light sitting before it dies permanently?
Most modern lithium-ion batteries in bike lights last 2-3 years of regular charging cycles and can sit uncharged for several months without permanent damage. Charge your lights at least monthly if not in use, and store them in a cool, dry place. Leaving a rechargeable light uncharged for more than six months can permanently reduce battery capacity.
Are helmet lights worth the additional investment?
Helmet lights are excellent for technical trail riding, especially mountain biking, because they point wherever you look and help you spot obstacles early. They’re less useful for commuting because they can blind oncoming riders. If you do mostly casual commuting, skip them; if you ride technical terrain at night, a good helmet light is worth the $40-80 investment as a supplement to your main front light.
What weather rating do I actually need?
IPX4 is adequate for light to moderate rain. IPX7 or better is worth paying for if you ride regularly in heavy rain, through water crossings, or in humid conditions where moisture builds up. If you’re in a dry climate, IPX4 is fine; if you’re in a wet climate, investing in IPX7-rated lights avoids frustration from premature failure.


