Getting your gravel bike ready for spring requires a systematic inspection of five critical areas: drivetrain wear, tire condition, brake function, cable integrity, and bearing health. After months of winter storage or wet-weather riding, these components accumulate damage that may not be immediately visible but can lead to mechanical failures on remote gravel roads. A thorough spring service typically takes two to three hours for a home mechanic and addresses the accelerated wear patterns that gravel riding creates””chain stretch from grit contamination, brake pad glazing from extended descents, and cable corrosion from road spray. Consider a rider who stored their bike after a muddy November ride without a proper cleaning.
By March, the chain has developed surface rust, dried mud has packed into the derailleur pulleys, and moisture trapped in the cable housing has caused the shift cables to fray internally. What looks like a bike ready to ride is actually a collection of problems waiting to strand someone miles from pavement. The difference between a bike that performs reliably and one that disappoints often comes down to this single spring maintenance session. This article covers the complete process of spring preparation, from initial assessment through test riding, including specific inspection techniques, component replacement decisions, and the tools required for each task. Whether your bike spent winter on a trainer, in cold storage, or riding through salt-treated roads, you will find the relevant guidance for your situation.
Table of Contents
- What Does Spring Gravel Bike Preparation Actually Require?
- Essential Drivetrain Inspection and Restoration
- Brake System Assessment for Gravel Conditions
- Tire Selection and Condition Evaluation
- Cable and Housing Replacement Decisions
- Bearing and Headset Inspection Techniques
- How to Prepare
- How to Apply This
- Expert Tips
- Conclusion
- Frequently Asked Questions
What Does Spring Gravel Bike Preparation Actually Require?
spring preparation differs from routine maintenance because it addresses both accumulated wear and storage-related degradation simultaneously. A bike ridden through winter faces contamination from road salt, sand, and moisture that accelerates component failure rates by 30 to 50 percent compared to dry-season riding. A bike in storage faces different challenges: lubricants migrate and dry out, tires develop flat spots, and hydraulic systems can introduce air bubbles as seals contract in cold temperatures. The core preparation checklist includes measuring chain wear with a gauge (replacement at 0.5 percent stretch for 11 and 12-speed drivetrains), inspecting brake pads for both thickness and contamination, checking tire sidewalls for cracking or cuts, testing cable tension throughout the full range of motion, and spinning each bearing by hand to detect roughness. For hydraulic brakes, this means checking lever feel for sponginess and reservoir fluid level.
For rim brakes, the inspection extends to wheel trueness and braking surface wear. A useful comparison: preparing a gravel bike takes roughly twice the attention required for a road bike covering similar mileage. Gravel riding introduces contamination at rates that road cycling cannot match. A single wet gravel ride can deposit more abrasive material into your drivetrain than a full season of dry road miles. This reality shapes every aspect of spring preparation, from the cleaning methods used to the replacement intervals applied.

Essential Drivetrain Inspection and Restoration
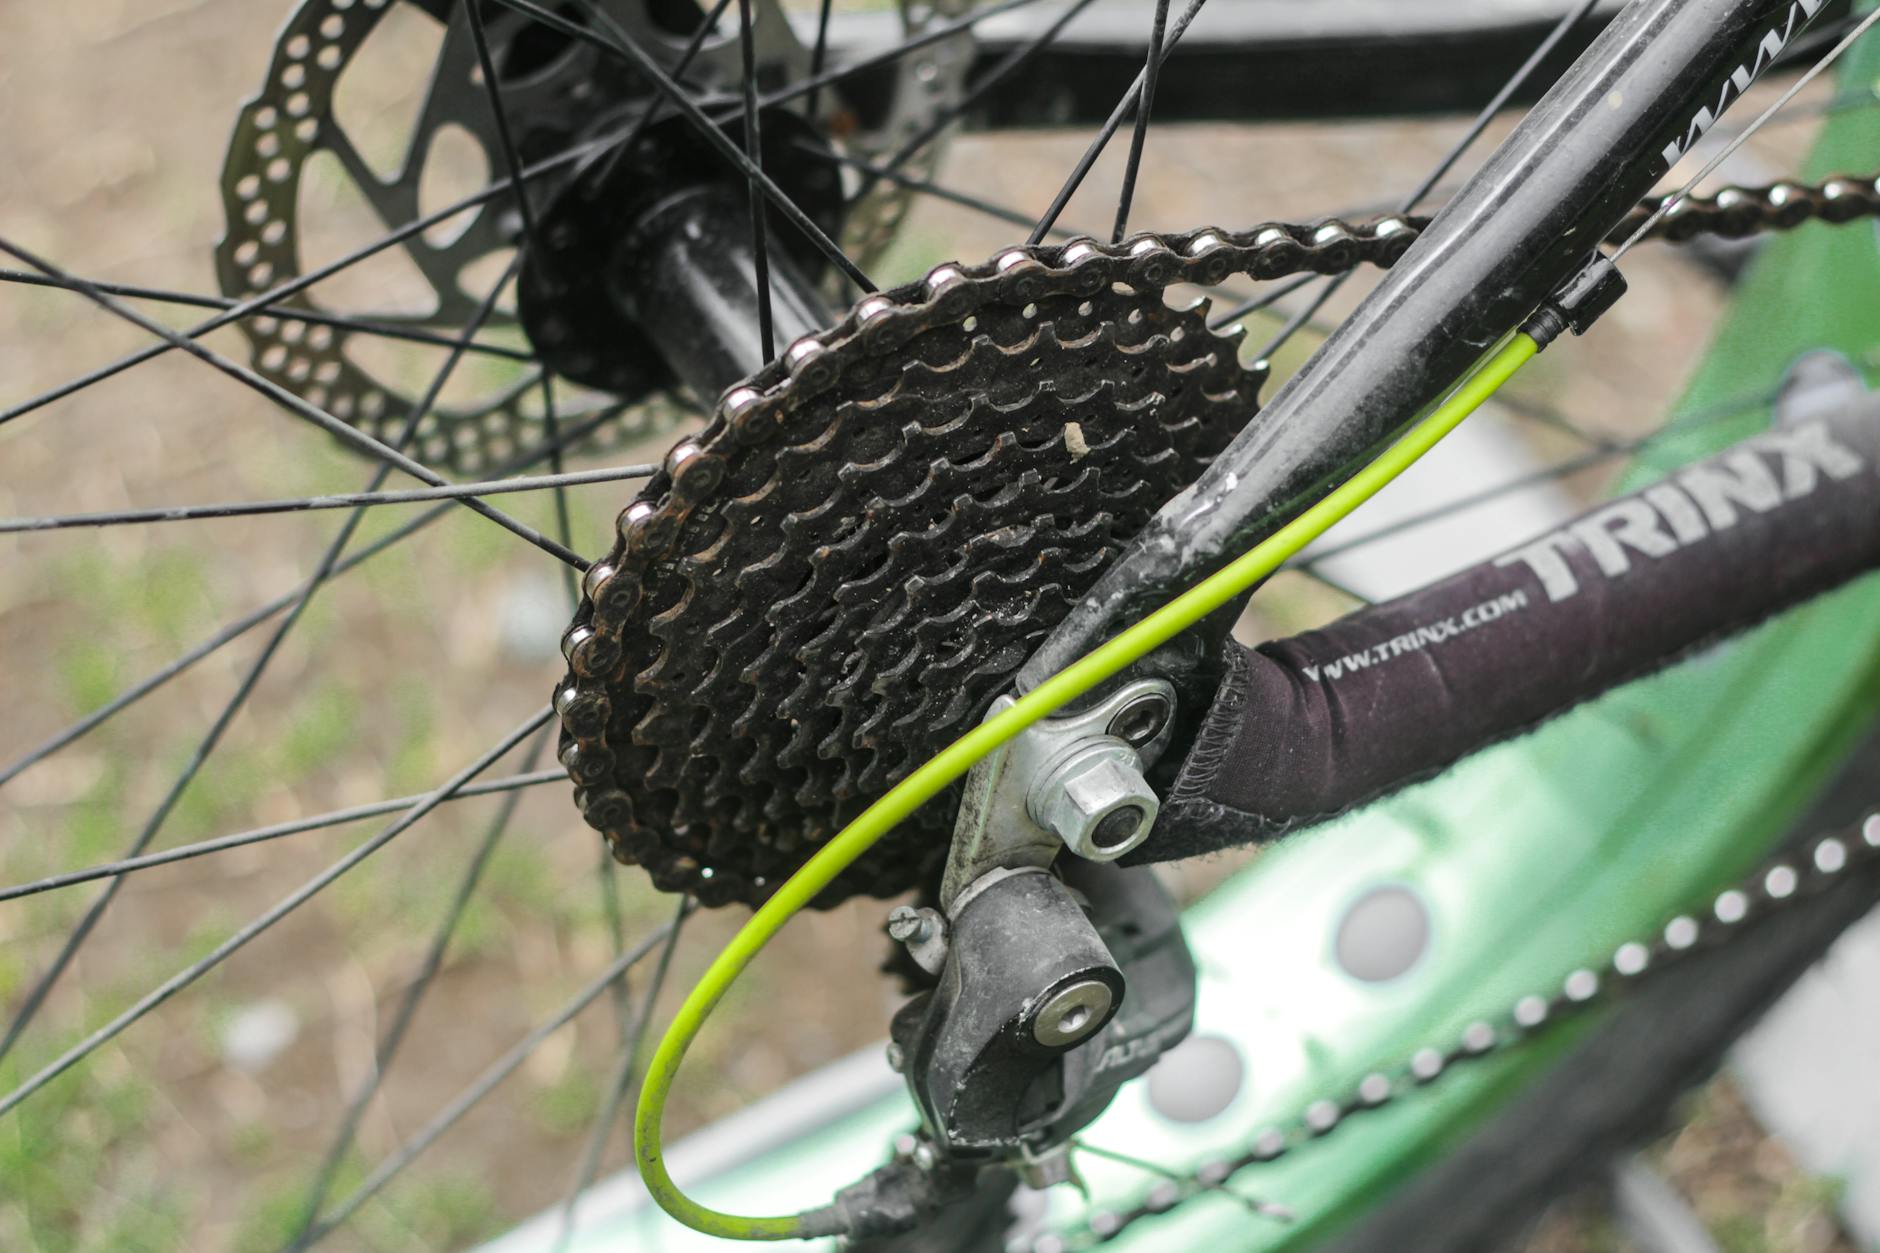
The drivetrain demands the most attention during spring preparation because it accumulates the most damage from gravel riding conditions. Chain wear measurement comes first: a chain checker tool inserted into the links will show stretch as a percentage, and chains measuring beyond 0.5 percent on 11 or 12-speed systems require replacement to protect the cassette and chainrings from accelerated wear. Continuing to ride a stretched chain is a false economy””it may save thirty dollars on a chain while causing two hundred dollars in cassette damage. Cassette inspection follows chain assessment. Look for shark-finning on the most-used cogs, where the tooth profile becomes asymmetrical from chain pull. On gravel bikes, this typically appears first on climbing gears used during long ascents.
Chainring wear shows similar patterns but concentrates on the teeth that engage during high-torque pedaling. Surface discoloration on aluminum components indicates corrosion that weakens the metal over time. However, if your bike spent winter on an indoor trainer with a dedicated trainer tire and was cleaned before storage, the drivetrain may need only fresh lubricant and a basic inspection. Trainer use produces minimal contamination, and the controlled environment prevents corrosion. The deciding factor is actual usage conditions, not calendar time. A bike ridden twice in November and stored clean may need less work than one used heavily through December then quickly put away.
Brake System Assessment for Gravel Conditions
Gravel descents place exceptional demands on braking systems, making thorough pre-season inspection essential for safety. Hydraulic disc brakes require checking pad thickness (minimum 1.5mm of compound remaining), rotor condition (look for scoring deeper than surface scratches), and fluid contamination. Brake fluid absorbs moisture over time, reducing its boiling point and creating potential for brake fade during extended descents. Most manufacturers recommend bleeding hydraulic systems annually, and spring provides the logical timing. Mechanical disc brakes need cable replacement if any fraying is visible at the barrel adjusters or pinch bolts. The cables experience significant tension and contamination in gravel use, and a failed brake cable during a descent represents a genuine safety hazard.
Pad inspection follows the same thickness standards as hydraulic systems, though mechanical brakes typically show uneven wear patterns requiring more frequent adjustment. A specific failure mode worth noting: contaminated brake pads from chain lubricant overspray or storage conditions. Contaminated pads produce squealing, reduced stopping power, and inconsistent feel. Light contamination sometimes responds to sanding the pad surface and cleaning the rotor with isopropyl alcohol. Heavy contamination requires pad replacement and thorough rotor cleaning. Attempting to burn off contamination by dragging the brakes generates heat that can warp rotors and is not recommended.
Tire Selection and Condition Evaluation
Tire choice represents one of the most consequential decisions in gravel bike preparation, affecting rolling resistance, grip, puncture protection, and comfort simultaneously. Spring riding often involves variable conditions””dry hardpack one day, muddy farm roads the next””making tire selection more complex than single-condition optimization. A 40mm tire at lower pressure provides the versatility most spring riding demands, though specific routes may benefit from narrower, faster-rolling options or wider, more aggressive treads. Existing tires require careful inspection before the season begins. Check sidewalls for cuts that expose the casing, cracks from UV degradation or age, and worn center treads that reduce grip and increase puncture vulnerability. Tubeless tires need sealant refresh; latex-based sealants typically remain effective for three to six months before requiring addition or replacement.
Dried sealant creates problems during puncture sealing, so simply adding fresh sealant on top of old provides incomplete protection. For example, a tire showing good tread depth but multiple small sidewall cuts from rocky terrain last season presents a difficult decision. Each cut represents a potential failure point, particularly during high-speed descents or when running lower pressures. The tire may survive spring riding without incident, or it may fail catastrophically at the worst possible moment. Conservative practice favors replacement, but budget constraints are real. A middle path involves relegating compromised tires to training use on familiar, less demanding routes while reserving newer tires for longer adventures.
Cable and Housing Replacement Decisions
Cables and housing degrade invisibly, making inspection particularly important before spring adventures take you far from assistance. Shift cables fail progressively, creating first sluggish shifting, then missed shifts, then complete failure to reach certain gears. Brake cables fail more dramatically, sometimes with little warning. Spring inspection should include running each cable through its full range of motion while feeling for roughness, checking exposed sections for fraying, and verifying that housing ends seat properly in frame stops. The comparison between replacing cables proactively versus waiting for failure tilts strongly toward proactive replacement for gravel bikes. A failed shift cable thirty miles from pavement means riding home in a single gear. A failed brake cable creates obvious safety implications.
Quality cables and housing cost fifteen to thirty dollars for a complete set. Professional installation adds labor cost but ensures proper routing and tension. The calculation favors prevention. Housing deteriorates faster than cables in many conditions. Moisture entering through worn ferrules causes internal corrosion that binds cable movement. Gravel vibration works housing loose from frame stops, creating inefficient cable paths. Compression of the housing coils over time reduces shift precision. If cables slide freely when disconnected but bind when installed, housing replacement resolves the problem more completely than cable replacement alone.
Bearing and Headset Inspection Techniques
Bearings throughout the bike””in the headset, bottom bracket, hubs, and pedals””wear gradually from gravel contamination and benefit from spring inspection. The headset check takes seconds: apply the front brake, rock the bike forward and back, and feel for clicking or knocking at the stem. Roughness when turning the bars indicates worn bearing surfaces. Bottom bracket assessment involves removing the chain and spinning the cranks; any grinding sensation or lateral play indicates bearing wear requiring service or replacement. Hub bearings receive less attention but affect ride quality significantly. Spin each wheel with the bike suspended and listen for grinding sounds.
Grab the rim and check for lateral play beyond what the quick-release or thru-axle should allow. Many modern hubs use sealed cartridge bearings that can be pressed out and replaced relatively inexpensively, though the tools required make this a shop task for most home mechanics. Pedal bearings warrant inclusion in this inspection. Spin each pedal on its axle and check for roughness or excessive play. Clipless pedals additionally need cleat engagement assessment””worn cleats or pedal mechanisms create unintended release during aggressive riding. Spring replacement of cleats provides an opportunity to reassess cleat position for the upcoming season.
How to Prepare
- **Complete a thorough cleaning before any inspection work.** Use a dedicated bike wash or diluted degreaser, a brush set, and low-pressure water. Remove wheels, clean the frame, then address the drivetrain with degreaser and brushes. Dry thoroughly before proceeding. Attempting to inspect or service components while dirty obscures wear and introduces contamination into bearings.
- **Measure chain wear and inspect cassette teeth.** Use a chain checker tool inserted into the chain while installed. Record the measurement. Visually inspect each cassette cog for shark-finning. Check chainring teeth for hooked profiles indicating wear.
- **Assess brake system condition systematically.** Remove pads to measure thickness and check for contamination. Inspect rotors for scoring and warping (a warped rotor causes pulsing at the lever). Test lever feel for sponginess indicating air in hydraulic systems.
- **Inspect tires, wheels, and tubeless systems.** Check tire sidewalls and tread. Spin wheels to assess trueness and hub bearing condition. For tubeless setups, check sealant level by removing the valve core and inserting a clean stick.
- **Run cables through full range while checking for binding.** Shift through all gears while feeling derailleur response. Apply each brake while checking for smooth lever travel. Inspect exposed cable sections for fraying.
How to Apply This
- **Replace worn components in the correct sequence.** If replacing both chain and cassette, install the cassette first. If cables need replacement, complete that work before derailleur adjustment. Following proper sequence prevents redundant work and ensures correct final adjustment.
- **Service or replace brake pads and bleed hydraulic systems as needed.** New pads require bedding-in before they achieve full stopping power. Plan a controlled bedding procedure””ten moderate stops from 15 mph followed by five firmer stops””before riding descents.
- **Refresh tubeless sealant and verify tire bead seating.** Add manufacturer-specified sealant quantity. Inflate to maximum sidewall pressure to fully seat beads, then reduce to riding pressure. Spin wheels horizontally to distribute sealant.
- **Lubricate the drivetrain appropriately for spring conditions.** Use wet lube if early-season rides involve mud and moisture, or dry lube for predominantly dry conditions. Apply one drop per chain link while turning the cranks backward, then wipe excess to prevent contamination attraction.
Expert Tips
- Photograph your derailleur settings and cable routing before disassembly, providing reference for reassembly and a baseline for future comparison.
- Do not skip the test ride before committing to longer adventures. A controlled fifteen-minute ride in your neighborhood reveals adjustment issues, brake noise, and shifting problems while solutions remain convenient.
- Keep a maintenance log with dates, mileage, and work performed. Patterns emerge over time that predict component life and inform purchasing decisions.
- Store spare tubes, a multi-tool, and tire plugs in a saddlebag year-round. Gravel flats happen miles from assistance, and prepared riders continue their adventures.
- Avoid the temptation to upgrade multiple components simultaneously during spring preparation. Changing tires, saddle, and handlebar position at once obscures the effect of each change and complicates troubleshooting if problems develop.
Conclusion
Spring gravel bike preparation combines systematic inspection with targeted maintenance to transform a winter-weary machine into a reliable adventure companion. The process addresses drivetrain wear from grit contamination, brake degradation from extended use and storage, cable corrosion from moisture exposure, and tire condition from both riding damage and age-related deterioration. Two to three hours of focused attention catches problems before they strand you on remote roads or compromise your safety on technical descents.
The investment in thorough preparation pays dividends throughout the riding season in reliability, performance, and confidence. A bike that shifts precisely, stops confidently, and rolls smoothly allows full attention on route-finding and scenery rather than mechanical concerns. Begin your spring preparation now, complete each inspection step honestly, and replace components that show meaningful wear rather than gambling on additional service life.
Frequently Asked Questions
How long does it typically take to see results?
Results vary depending on individual circumstances, but most people begin to see meaningful progress within 4-8 weeks of consistent effort. Patience and persistence are key factors in achieving lasting outcomes.
Is this approach suitable for beginners?
Yes, this approach works well for beginners when implemented gradually. Starting with the fundamentals and building up over time leads to better long-term results than trying to do everything at once.
What are the most common mistakes to avoid?
The most common mistakes include rushing the process, skipping foundational steps, and failing to track progress. Taking a methodical approach and learning from both successes and setbacks leads to better outcomes.
How can I measure my progress effectively?
Set specific, measurable goals at the outset and track relevant metrics regularly. Keep a journal or log to document your journey, and periodically review your progress against your initial objectives.
When should I seek professional help?
Consider consulting a professional if you encounter persistent challenges, need specialized expertise, or want to accelerate your progress. Professional guidance can provide valuable insights and help you avoid costly mistakes.
What resources do you recommend for further learning?
Look for reputable sources in the field, including industry publications, expert blogs, and educational courses. Joining communities of practitioners can also provide valuable peer support and knowledge sharing.


