Before your first spring ride, inspect your brakes by checking pad thickness (replace if under 1.5mm), examining rotors or rims for wear and contamination, testing lever feel for sponginess or excessive travel, and looking for cable fraying or hydraulic fluid leaks. A bike that sat through winter can develop seized cables, contaminated pads from garage fumes, or corroded pivot points that make braking unpredictable””problems you want to discover in your driveway, not descending a hill into an intersection. For example, a rider who stored their bike near a car all winter might find their disc brake pads have absorbed oil vapors, causing them to glaze over and lose up to 50 percent of their stopping power without any visible damage.
This article walks through a complete brake inspection process for both rim and disc brake systems, covering the specific wear indicators to look for, how storage conditions affect different components, and when a problem requires professional attention versus a simple adjustment. You’ll learn to assess pad wear accurately, check cable and hydraulic systems for hidden deterioration, evaluate rotor and rim condition, and test overall brake function before hitting the road. We’ll also address common spring-specific issues like moisture contamination and temperature-related seal degradation that don’t typically occur during regular riding season.
Table of Contents
- Why Should You Inspect Bicycle Brakes After Winter Storage?
- Checking Brake Pad Wear and Contamination
- Evaluating Disc Brake Rotors for Spring Riding
- Inspecting Rim Brake Surfaces and Components
- Testing Cable and Housing Condition
- Hydraulic Brake System Inspection and Maintenance
- Caliper Alignment and Adjustment Essentials
- How to Prepare
- How to Apply This
- Expert Tips
- Conclusion
- Frequently Asked Questions
Why Should You Inspect Bicycle Brakes After Winter Storage?
winter storage creates conditions that actively degrade brake performance even when the bike isn’t being used. Hydraulic systems can develop air bubbles as temperature fluctuations cause fluid expansion and contraction, seals may dry out or crack in low humidity environments, and cables can corrode internally where moisture penetrated before storage. Unlike frame components that simply sit inert, brake systems contain materials that react to their environment””rubber compounds harden, metal surfaces oxidize, and lubricants migrate or evaporate. The danger lies in how these problems manifest. A cable that corroded internally over winter might feel normal at the lever but have lost significant tensile strength, creating a failure risk under hard braking.
Hydraulic fluid that absorbed moisture through microscopic seal gaps will have a lower boiling point, potentially causing brake fade on your first long descent. Pad compounds that hardened in cold storage may feel fine initially but take significantly longer to reach operating temperature and effective friction. A cyclist in Minneapolis learned this the hard way when their seemingly functional brakes faded completely on a spring group ride descent””the pads had crystallized during storage and couldn’t generate adequate friction until they’d been worn down past the damaged surface layer. Contrast this with a bike that’s been ridden through winter: that bike’s components stayed lubricated through use, seals remained supple from regular fluid movement, and any developing problems would have been noticed gradually. The stored bike offers no such warning signs. Everything might feel acceptable during a parking lot test, only to fail when you need maximum stopping power at speed.

Checking Brake Pad Wear and Contamination
Brake pads have specific wear indicators that vary by type, and understanding these prevents both premature replacement and dangerous over-use. Rim brake pads typically have grooves or wear lines molded into the braking surface””when these grooves disappear, the pad needs replacement regardless of remaining material thickness. Disc brake pads should be replaced when the friction material reaches approximately 1.5mm thickness, though some manufacturers specify different minimums. Measuring requires removing the pads from the caliper, as visual inspection through the caliper slot often makes pads appear thicker than they actually are. Contamination presents a subtler problem than wear. Pads can absorb oils, cleaning products, or even airborne contaminants during storage that dramatically reduce friction without changing their appearance.
Signs include a glazed or shiny surface on the friction material, a chemical smell when braking generates heat, or inconsistent braking feel. Organic disc brake pads are particularly susceptible to contamination because their resin binders are porous. However, if you catch contamination early on organic pads, light sanding with 120-grit sandpaper can sometimes remove the contaminated surface layer””this approach rarely works on sintered metallic pads, which contaminate deeper into their structure. The bed-in process matters more after storage than during regular use. Even uncontaminated pads develop a thin oxidation layer during months of sitting. Plan to spend the first several minutes of your ride doing moderate, progressive stops to clean this layer and re-establish proper pad-to-rotor or pad-to-rim contact patterns. Skipping this step and immediately braking hard can glaze the pads or create uneven wear patterns that persist all season.
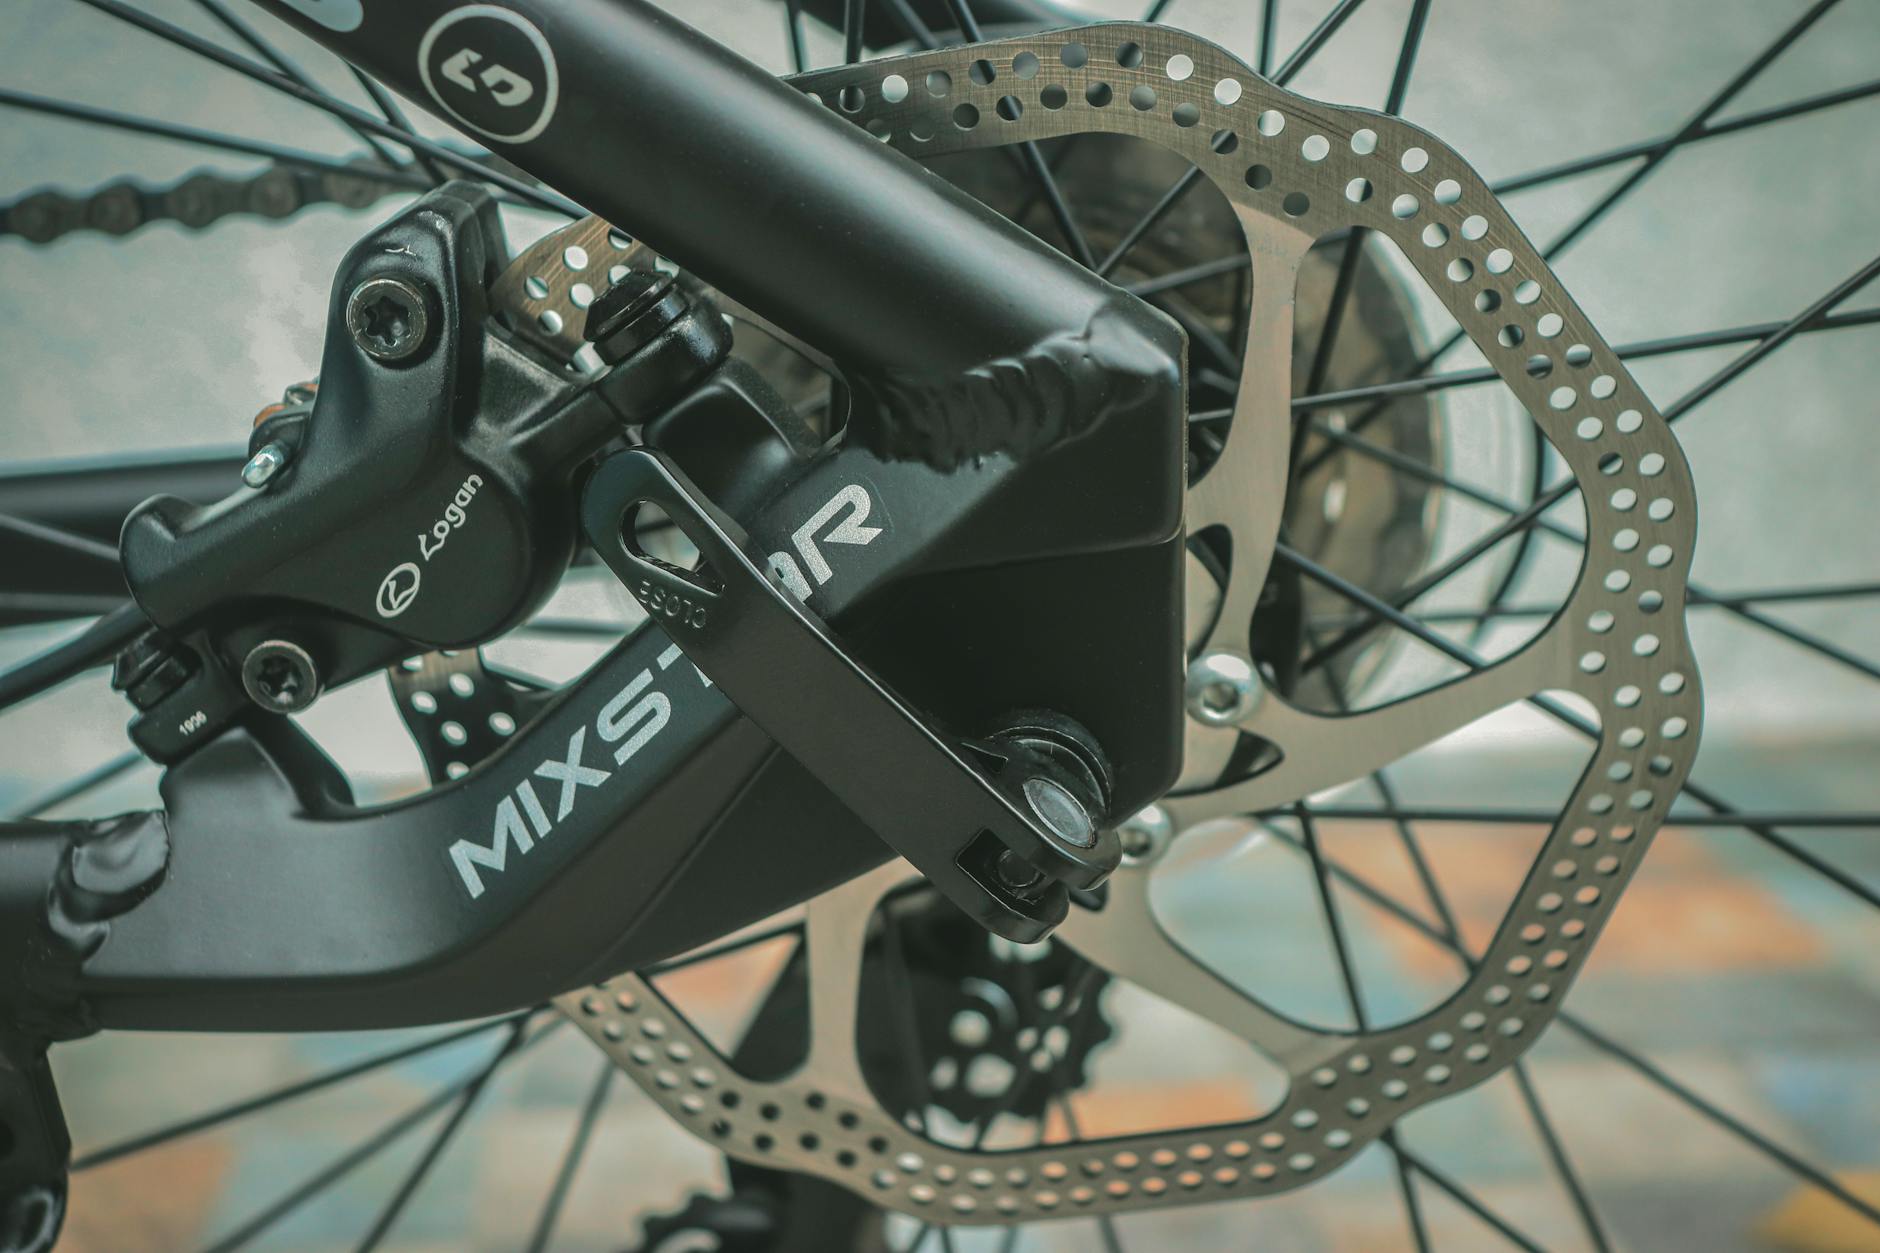
Evaluating Disc Brake Rotors for Spring Riding
Rotors endure storage better than pads but still require inspection for wear, warping, and contamination. Most rotors have a minimum thickness stamped on them, typically between 1.5mm and 1.8mm””measure with a caliper at several points around the rotor, as wear isn’t always uniform. A rotor that measures at or below minimum thickness will have reduced heat capacity and may warp under hard braking, creating a pulsing sensation at the lever and inconsistent stopping power. Rotor warping from storage is uncommon but does occur when a bike is stored with the wheel under lateral pressure or in an environment with significant temperature swings. Spin the wheel slowly while watching the rotor pass through the caliper””any visible wobble indicates warping.
Minor warping under 0.5mm can sometimes be trued using a rotor truing tool, but more significant warping or any warping on lightweight two-piece rotors generally necessitates replacement. Attempting to straighten a badly warped rotor usually creates stress points that lead to cracking. Contamination on rotors often comes from the same sources that affect pads. Clean rotors with isopropyl alcohol (90% or higher concentration) and clean rags, using a fresh section of rag for each wipe to avoid redistributing contaminants. Avoid automotive brake cleaners, which often leave residues incompatible with bicycle pad compounds. If contamination persists after cleaning””evidenced by continued squealing or poor braking despite new pads””the rotor surface may need to be sanded with fine-grit sandpaper to remove embedded contaminants, or replaced entirely if the contamination has penetrated the rotor’s surface treatment.
Inspecting Rim Brake Surfaces and Components
Rim brake systems require attention to both the brake mechanism and the rim braking surface itself. Check rims for the concave wear indicator groove present on many modern rims””if this groove has disappeared, the rim wall has thinned to the point of potential failure and the wheel needs replacement. Rims without wear indicators should be inspected for visible concavity in the braking surface or any bulging of the rim walls, which indicates dangerous thinning. The brake caliper mechanism can seize during storage, especially if road salt or winter grime wasn’t cleaned off before storage. Operate the brake lever and watch for symmetric arm movement””both brake arms should move equally and spring back evenly. Sticky or asymmetric movement indicates pivot points that need cleaning and lubrication.
Apply a small amount of light oil to the pivot bolts, then work the mechanism repeatedly to distribute the lubricant. For cantilever and V-brake systems, also check the mounting posts on the frame and fork for corrosion that might impede arm movement. Pad alignment deserves fresh attention after storage, as pads can shift slightly over time or may have been knocked during storage. Pads should contact the rim flat across their entire surface, with the leading edge perhaps 1mm closer to the rim than the trailing edge (called toe-in) to prevent squealing. The pad should never extend above the rim edge where it could contact the tire, nor below the rim where it could catch in the spokes. This is particularly important to verify because pad holders can creep over time, and what was a safe setup in fall may have become dangerous by spring.
Testing Cable and Housing Condition
Cables and housing are the most frequently overlooked components in spring inspections, yet they directly determine whether your input at the lever translates to braking force at the wheel. Start by operating each brake lever slowly and feeling for any catching, grinding, or sudden release””these indicate internal cable fraying or housing liner damage. A cable that feels smooth at the lever but provides inconsistent braking may have frayed where it’s not visible, typically inside the housing or at the anchor point. Examine housing for cracks, kinks, or corrosion at the ferrules. Compressionless housing used on brake systems is particularly vulnerable to damage because its wound-wire construction can separate if bent too sharply.
Even small cracks in the outer sheath allow moisture entry that accelerates internal corrosion. Compare the effort required to pull each brake lever””asymmetric effort suggests a cable or housing problem on the harder side, assuming the same pad type and adjustment on both brakes. Replacing cables and housing as a set is generally recommended if either component shows wear, since the surfaces have worn together and new cable in old housing often binds. However, if your housing is in excellent condition and only the cable shows wear, replacing just the cable is reasonable for non-critical applications. For dedicated road cycling or any riding involving significant descents, treat cables and housing as consumable items that warrant annual replacement regardless of appearance””the cost is minimal compared to the consequence of brake failure during hard use.

Hydraulic Brake System Inspection and Maintenance
Hydraulic disc brakes require a different inspection approach focused on fluid condition, seal integrity, and air contamination. Begin by checking the reservoir fluid level and condition. DOT fluid (used in many SRAM systems) should be clear or very light yellow””darkening indicates moisture absorption that lowers the boiling point. Mineral oil systems (Shimano, Magura, and others) maintain color better but should still appear clean and consistent. Low fluid levels suggest either a leak or pad wear that has pushed more fluid into the caliper, which is normal but worth noting. Squeeze the brake lever firmly and hold it for 30 seconds while watching the lever position. Any lever creep toward the handlebar indicates either a seal leak or air in the system.
Next, pump the lever rapidly several times””if the lever firms up with pumping then softens when held, air is almost certainly present. Air contamination is the most common hydraulic issue after storage and requires bleeding the system to remove. Some riders can perform bleeds at home, but the process varies significantly between brands and requires specific fluids and tools; attempting a bleed with incorrect fluid will destroy the seals. Check all hose connections and the hose itself for any signs of fluid weeping or external damage. Run your finger along the entire hose length feeling for soft spots, bulges, or abrasions. Where hoses route near the frame, look for rub marks that may have worn through the outer layer. Unlike cables, damaged hydraulic hoses should never be taped or patched””the pressures involved make any repair a failure risk. Budget for professional service if you identify hydraulic issues and lack the specific tools and experience for your brake system.
Caliper Alignment and Adjustment Essentials
Proper caliper alignment ensures even pad wear and consistent braking feel, and storage often shifts alignment slightly as bolts relax or components settle. For disc brakes, spin the wheel and listen for rotor rub””any scraping sound indicates the caliper is offset. Most calipers can be aligned by loosening the mounting bolts, squeezing the brake lever to center the caliper on the rotor, then carefully tightening the bolts while maintaining lever pressure. This works well for minor misalignment, but significant offset may indicate a bent rotor, warped mounting interface, or worn caliper bushings that require more involved repair. Rim brake alignment uses a similar principle but with visible reference points.
The pads should be parallel to the rim and equidistant from it on both sides. Most rim brakes have a small screw or knob that adjusts spring tension to center the brake arms. Adjust this while watching the pads until they sit equally spaced from the rim. If one pad consistently pulls closer than the other despite spring adjustment, the cable may be binding or the brake arm pivots may need servicing. The comparison between these systems highlights a meaningful tradeoff: disc brake alignment is more sensitive to small errors but easier to adjust without tools, while rim brake alignment is more forgiving but often requires multiple adjustments to optimize. Riders who frequently remove wheels for transport will appreciate disc brakes’ independent alignment, whereas rim brake users may need to readjust each time the wheel is reinstalled if the quick-release tension changes.
How to Prepare
- **Clean all braking surfaces and components.** Remove wheels and clean rotors or rim braking surfaces with isopropyl alcohol. Clean brake calipers externally, removing any road grime or storage dust that could migrate onto braking surfaces. This cleaning serves double duty: it prepares the components and gives you a close look at their condition.
- **Remove and measure brake pads.** Take pads out of the calipers to accurately measure remaining friction material. Look for contamination, glazing, or uneven wear patterns that indicate alignment problems. Replace any pads at or below the manufacturer’s minimum thickness.
- **Inspect rotors and rims for wear and damage.** Measure rotor thickness at multiple points. Check rims for wear indicator grooves and overall condition. Look for cracks, deep scoring, or warping that necessitates replacement.
- **Test cable and hydraulic systems.** For cable systems, check for smooth operation and examine housing condition. For hydraulics, verify firm lever feel and check fluid level and condition. Address any sponginess or lever creep before riding.
- **Reassemble and align.** Reinstall pads and wheels, then align calipers for proper clearance and even contact. Test brake function with progressively harder stops in a safe area before venturing into traffic.
How to Apply This
- **Perform a quick visual check before every ride.** Confirm pads aren’t worn to minimum, look for obvious fluid leaks or cable damage, and squeeze each lever to verify firm feel. This 30-second check catches developing problems before they become dangerous.
- **Listen for changes during rides.** New squealing, grinding, or pulsing sensations indicate alignment shifts, pad wear, or contamination that should be addressed promptly. Brakes that worked fine last week but feel different today have a specific cause worth investigating.
- **Clean braking surfaces after wet or dirty rides.** Water and grit accelerate wear and contamination. A quick wipe of rotors and pads after riding in rain or on dirty roads extends component life significantly.
- **Re-inspect thoroughly at mid-season.** Around midsummer, repeat your spring inspection process. Pad wear and cable stretch accumulate faster than many riders expect, and catching issues before they become critical prevents mid-ride failures.
Expert Tips
- Bed in new pads properly by performing 20-30 moderate stops before any hard braking; skipping this step causes glazing and poor long-term performance.
- Keep brake-specific tools separate from drivetrain tools to prevent cross-contamination from chain lubricants and greases, which destroy brake pad effectiveness.
- Don’t use compressed air to clean disc brake calipers, as this can blow contamination into the piston seals and cause premature wear or leaks.
- Store spare brake pads away from solvents, lubricants, and automotive areas; even fumes can contaminate organic compounds through packaging.
- Consider upgrading to sintered metallic pads if you consistently ride in wet or gritty conditions””they resist contamination better than organic pads and last longer, though they’re slightly noisier and harder on rotors.
Conclusion
Spring brake inspection bridges the gap between winter storage and safe riding, addressing the specific degradation that occurs when components sit unused in varying temperatures and humidity. The key areas””pad wear and contamination, rotor and rim condition, cable and hydraulic system integrity, and caliper alignment””each require attention because problems in any one area can cause brake failure regardless of the others’ condition. Taking an hour to work through these systems systematically is far preferable to discovering issues during an emergency stop.
Make this inspection a non-negotiable part of your spring routine, as important as pumping tires or lubricating the chain. The skills you develop become faster with practice, and the component familiarity you build helps you notice subtle changes throughout the season. If your inspection reveals problems beyond your comfort level, take the bike to a qualified mechanic””spring is the busiest season for bike shops, so scheduling early prevents delays that keep you off the road.
Frequently Asked Questions
How long does it typically take to see results?
Results vary depending on individual circumstances, but most people begin to see meaningful progress within 4-8 weeks of consistent effort. Patience and persistence are key factors in achieving lasting outcomes.
Is this approach suitable for beginners?
Yes, this approach works well for beginners when implemented gradually. Starting with the fundamentals and building up over time leads to better long-term results than trying to do everything at once.
What are the most common mistakes to avoid?
The most common mistakes include rushing the process, skipping foundational steps, and failing to track progress. Taking a methodical approach and learning from both successes and setbacks leads to better outcomes.
How can I measure my progress effectively?
Set specific, measurable goals at the outset and track relevant metrics regularly. Keep a journal or log to document your journey, and periodically review your progress against your initial objectives.
When should I seek professional help?
Consider consulting a professional if you encounter persistent challenges, need specialized expertise, or want to accelerate your progress. Professional guidance can provide valuable insights and help you avoid costly mistakes.
What resources do you recommend for further learning?
Look for reputable sources in the field, including industry publications, expert blogs, and educational courses. Joining communities of practitioners can also provide valuable peer support and knowledge sharing.


