Learning how to set up your gravel bike for bikepacking trips opens up a world of multi-day adventures that blend the efficiency of road cycling with the rugged capability of off-road exploration. Gravel bikes have become the preferred platform for bikepacking due to their versatile geometry, multiple mounting points, and ability to handle diverse terrain””from smooth tarmac to rocky fire roads and everything in between. Unlike dedicated touring bikes with their heavy frames and traditional racks, gravel bikes offer a lighter, more agile approach to carrying gear across long distances. The challenge many cyclists face when transitioning to bikepacking is understanding how to transform their gravel bike from a day-ride machine into a capable multi-day adventure rig without compromising handling or adding unnecessary weight.
Questions arise about bag selection, weight distribution, tire choices, gearing modifications, and what accessories actually matter versus what simply adds bulk. Getting these details wrong can lead to uncomfortable rides, handling problems, mechanical failures in remote locations, or simply carrying far more than necessary. By the end of this article, you will understand the complete process of configuring your gravel bike for bikepacking adventures of any length. This includes selecting and mounting the right bags, optimizing your drivetrain for loaded climbing, choosing appropriate tires, making cockpit adjustments for comfort, and fine-tuning your setup through testing. Whether you are planning a weekend overnighter or a month-long expedition across varied terrain, these principles will help you create a reliable, comfortable, and efficient bikepacking setup.
Table of Contents
- What Makes a Gravel Bike Suitable for Bikepacking Setup?
- Essential Bikepacking Bags and Weight Distribution for Gravel Bikes
- Gravel Bike Tire Selection for Loaded Bikepacking
- Drivetrain and Gearing Modifications for Bikepacking Gravel Bikes
- Cockpit Setup and Comfort Adjustments for Long-Distance Gravel Bikepacking
- Testing Your Gravel Bike Bikepacking Setup Before Major Trips
- How to Prepare
- How to Apply This
- Expert Tips
- Conclusion
- Frequently Asked Questions
What Makes a Gravel Bike Suitable for Bikepacking Setup?
gravel bikes possess several inherent characteristics that make them excellent candidates for bikepacking conversion. The frame geometry typically features a longer wheelbase than road bikes, providing stability when loaded with gear. Slacker head tube angles and longer chainstays create a planted, predictable feel even on technical descents with full bags. Most modern gravel frames include numerous mounting points””three-bolt mounts on the fork legs, multiple bottle cage bosses on the down tube and seat tube, and often additional mounts under the top tube and on the seat stays. Frame material plays a role in ride quality during loaded adventures. Steel frames offer natural compliance and are easier to repair in remote areas, while aluminum provides stiffness and value.
Carbon fiber gravel frames have become increasingly popular, offering weight savings without sacrificing durability when properly designed for the rigors of mixed-terrain riding. The dropout spacing on gravel bikes accommodates wider tires””typically 40mm to 50mm””which provides crucial traction and comfort on rough surfaces while carrying weight. Thru-axles front and rear add stiffness and make wheel removal straightforward even with frame bags installed. The riding position on gravel bikes strikes a balance between the aerodynamic stance of road cycling and the upright comfort of touring. Drop bars with flared drops offer multiple hand positions for all-day comfort while providing control on technical terrain. This geometry translates directly to bikepacking benefits:.
- Extended reach creates space for handlebar bags and top tube packs without interfering with knee movement
- Lower bottom brackets than mountain bikes maintain efficiency on pavement sections
- Disc brake mounts provide consistent stopping power regardless of weather conditions or rim contamination from trail debris
- Internal cable routing on many frames prevents interference with frame bag installation
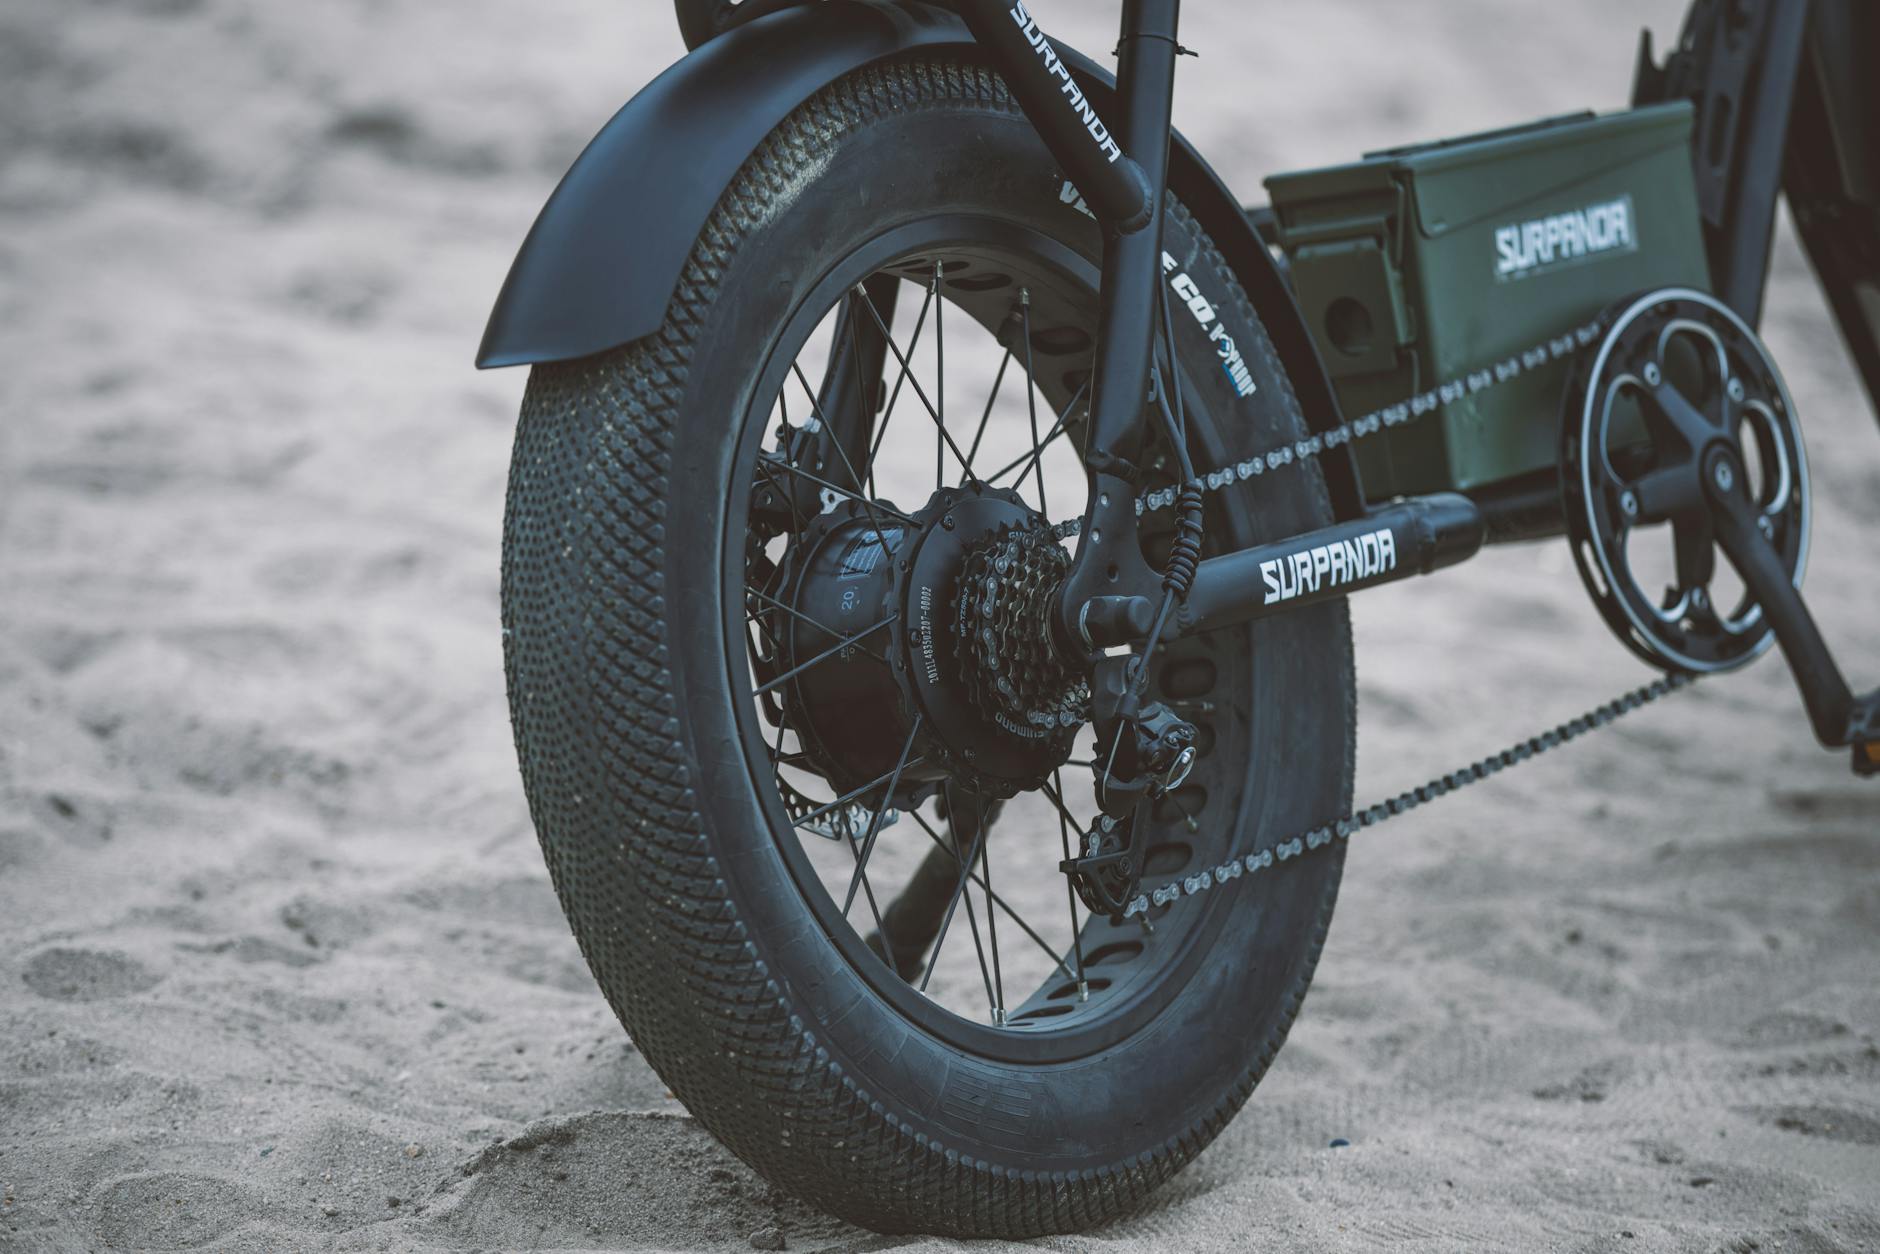
Essential Bikepacking Bags and Weight Distribution for Gravel Bikes
The bikepacking bag system differs fundamentally from traditional panniers by distributing weight closer to the bicycle’s center of mass rather than hanging it off the sides. This approach preserves handling characteristics and reduces the pendulum effect that can make heavily loaded touring bikes feel unwieldy on technical terrain. A complete gravel bike bikepacking setup typically includes three primary bags: a seat pack, a frame bag, and a handlebar roll or harness system. Seat packs attach to the saddle rails and seatpost, with capacities ranging from 5 liters for ultralight setups to 16 liters for expedition loads. These bags work best for lightweight, bulky items like sleeping bags, clothing, and shelters. The key to seat pack stability lies in proper packing””heavy items at the bottom, lighter items on top, and everything compressed tightly to minimize sway.
Frame bags fill the triangle formed by the top tube, down tube, and seat tube. Full-frame bags maximize storage but can interfere with water bottle access, while half-frame bags preserve one or two bottle positions. Frame bags handle the densest, heaviest items best: tools, spare tubes, food, and electronics. Handlebar bags and harness systems mount forward of the stem, keeping weight low and centered. Most riders use either a dry bag secured by straps and a separate harness or an integrated handlebar roll with built-in closure systems. Capacity ranges from 8 to 20 liters, suitable for items needed during the day: rain gear, snacks, and layers. Additional storage options expand capacity for longer trips:.
- Top tube bags provide quick access to nutrition, phone, and navigation devices
- Fork-mounted cargo cages carry water bottles, fuel canisters, or small dry bags
- Downtube bags and feedbags add accessible storage for frequently needed items
- Rear rack and trunk bags offer structured storage for those prioritizing organization over weight savings
Gravel Bike Tire Selection for Loaded Bikepacking
Tire choice significantly impacts the comfort, efficiency, and capability of a loaded gravel bike. The additional weight of bikepacking gear amplifies every characteristic of your tires””rolling resistance becomes more noticeable on pavement, traction limitations become more apparent on loose surfaces, and puncture risk increases due to higher contact patch pressure. Selecting the right tires for your specific route and conditions is one of the most impactful decisions in bikepacking setup. For mixed-terrain bikepacking where routes include significant pavement, tires in the 38mm to 42mm range with a file tread or small knob pattern offer an effective compromise. These tires roll efficiently on hard surfaces while providing adequate grip on packed dirt and light gravel. Routes with more technical terrain””loose rock, sand, mud, or steep gradients””benefit from wider tires in the 45mm to 50mm range with more aggressive tread patterns.
The increased volume allows lower tire pressures, improving traction and comfort over rough surfaces. Tubeless tire setups are nearly universal in bikepacking due to their puncture resistance and ability to run lower pressures without pinch flat risk. Tire pressure requires adjustment when riding loaded versus unloaded. The additional system weight””rider plus bike plus gear””demands higher pressures to prevent tire squirm and rim strikes, but excessive pressure creates a harsh ride and reduces traction. Most loaded gravel bikepackers find success running 5 to 10 psi higher than their unloaded preferences: Carry a quality mini pump or CO2 inflator plus tubeless repair plugs, a spare tube, and tire boots. Sidewall cuts from sharp rocks are the most common tire failures in remote bikepacking scenarios.
- Lighter setups with sub-10kg of gear: add 3-5 psi to normal pressures
- Medium loads of 10-15kg: add 5-8 psi
- Heavy expedition loads above 15kg: add 8-12 psi and consider wider tires
Drivetrain and Gearing Modifications for Bikepacking Gravel Bikes
The added weight of a bikepacking load transforms climbing efforts dramatically. A setup that feels comfortable on unloaded rides can become a grinding ordeal when 10 to 20 kilograms of gear joins the equation, particularly on steep or technical ascents. Evaluating and potentially modifying your drivetrain before a bikepacking trip prevents suffering and mechanical issues in the field. Most gravel bikes come equipped with either 1x or 2x drivetrains. Single-ring setups with wide-range cassettes have become dominant in the bikepacking community due to their simplicity””fewer components mean fewer failure points””and the availability of ultra-wide cassettes like 10-50t or 10-52t.
A 40t chainring paired with a 50t cassette produces a gear ratio of 0.8:1, low enough for most loaded climbing. Riders tackling mountainous routes or carrying heavy loads may benefit from dropping to a 38t or even 36t chainring. The 2x drivetrains offer wider overall range and closer gear spacing, beneficial on routes mixing steep climbs with fast descents, though at the cost of additional weight and complexity. When modifying gearing for bikepacking, consider the complete picture: Carrying a spare derailleur hanger and quick link addresses the most common drivetrain failures. A chain tool and knowledge of chain repair allows field fixes of broken links. For extended remote bikepacking, some riders carry a spare derailleur cable and housing sections.
- Cassette upgrades may require a new rear derailleur or derailleur hanger extender for larger cogs
- Chainring changes affect chainline and may require front derailleur adjustment on 2x systems
- Chain length must accommodate the largest gear combination plus suspension sag if applicable
- Verify compatibility between cassette, derailleur, and shifter before purchasing components
Cockpit Setup and Comfort Adjustments for Long-Distance Gravel Bikepacking
Multi-day riding exposes every ergonomic shortcoming in your bike setup. Minor discomforts that barely register on a two-hour ride become serious problems after eight hours in the saddle, day after day. Optimizing your cockpit for bikepacking means addressing hand, wrist, neck, and back comfort while accommodating the bags and accessories that define a bikepacking rig. Handlebar selection profoundly affects upper body comfort. Flared gravel bars in the 44cm to 50cm width range provide stability and multiple hand positions. The tops offer a relaxed position for easy spinning, the hoods suit most riding conditions, and the drops provide control on descents and into headwinds. Many bikepackers add bar tape with gel backing or double-wrap their bars for additional cushioning.
Ergonomic grips or supplemental bar tape on the flat sections reduce hand numbness on long days. Stem length and angle adjustments can shift your position forward or backward, higher or lower””a shorter stem and higher rise often suits loaded riding by reducing weight on the hands. Saddle issues plague many bikepackers. The saddle that works for unloaded riding may cause problems when a heavy seat pack changes the pressure distribution. Test your complete loaded setup before departure and consider: Lighting mounts require planning around handlebar bags. Helmet-mounted lights offer flexibility, while fork crown mounts position lights below bar bags. GPS units, phone mounts, and cycling computers need accessible locations that do not interfere with bag access.
- Saddle angle adjustments to maintain neutral pelvic position with a seat pack attached
- Chamois cream application for multi-day rides
- Saddle height verification””loaded suspension sag or tire pressure changes may alter effective saddle height
- Relief channel or cutout saddles if numbness occurs
Testing Your Gravel Bike Bikepacking Setup Before Major Trips
No amount of theoretical planning substitutes for real-world testing of a bikepacking configuration. Components interact in unexpected ways””a frame bag that fits perfectly on the showroom floor may rub your knees at the top of the pedal stroke, or a seat pack that felt secure on flat roads may sway alarmingly on rough descents. Systematic testing identifies and resolves these issues before they become trip-ending problems. Begin with a fully loaded shakedown ride that mimics expected conditions. If your planned route includes steep climbs, find steep climbs locally. If you will encounter rough, technical terrain, seek out similar surfaces for testing. Load your bags with actual gear weights, not approximations””a bag stuffed with towels does not behave like one packed with a sleeping bag and tent.
Ride for several hours minimum, preferably a full day, and take notes on any discomfort, handling issues, strange noises, or access problems with frequently needed items. Adjust bag positions, strap tensions, and packing arrangements based on findings. A second test ride confirms improvements and may reveal additional refinements. Overnight test trips provide the ultimate validation. A single night of camping reveals the practical realities of your gear selection, bag organization, and bike setup. Unpacking and repacking the bike in camp conditions””possibly in the dark, possibly in rain””exposes organizational problems that daytime testing misses. This practice also builds the skills and routines that make multi-day trips flow smoothly.
How to Prepare
- **Assess your frame’s mounting options** by cataloging every threaded insert, bolt hole, and potential strap attachment point. Count bottle cage bosses on the down tube, seat tube, and under the down tube. Check fork legs for three-bolt cargo cage mounts or standard two-bolt positions. Identify top tube mounts, seat stay mounts, and any proprietary attachment systems. This inventory determines your maximum carrying capacity and bag selection options.
- **Evaluate your current gearing against planned terrain** by researching route elevation profiles and calculating the low gear ratio you will need. Divide the chainring tooth count by the largest cassette cog””ratios below 1:1 suit most loaded climbing, while mountainous routes may require ratios approaching 0.7:1. Order any necessary cassettes, chainrings, or derailleur upgrades with sufficient lead time for installation and testing.
- **Select and purchase your bag system** based on the storage volume your trip requires and the mounting points available on your frame. Measure your frame triangle carefully if considering a frame bag, as sizes vary dramatically between manufacturers and frame sizes. Research bag attachment systems for compatibility with your specific bike””some seat packs require specific saddle rail types, and some handlebar harnesses conflict with certain stem designs.
- **Prepare your contact points for extended riding** by inspecting bar tape condition, saddle integrity, and grip surfaces. Replace worn bar tape with fresh wrap, adding gel padding if desired. Verify saddle rails and clamp for secure attachment. Install any ergonomic aids like aerobar attachments or additional hand positions appropriate to your planned terrain.
- **Service your drivetrain and braking systems** completely before bikepacking trips. Install a fresh chain if current chain wear exceeds 0.5%, as loaded riding accelerates chain stretch. Bleed hydraulic brakes and verify pad thickness sufficient for the planned distance. Replace cables and housing on mechanical systems showing any corrosion or fraying. Lubricate pivot points on derailleurs and brake calipers.
How to Apply This
- **Pack your bags using the weight distribution principle**: heaviest items low and centered in the frame bag, medium-weight items in the seat pack with denser objects at the bottom, and lightweight bulky items in the handlebar bag. Frequently accessed items go in top tube bags and pockets on main bags.
- **Perform a parking lot test** before your first loaded ride by mounting all bags and riding figure-eights, standing climbs, and technical maneuvers in a safe area. Check for knee strikes on the frame bag, heel rub on seat pack, and secure attachment of all bags during hard braking and rough surfaces.
- **Calibrate tire pressure for loaded conditions** by adding 5-10 psi to your normal pressures, then fine-tuning based on ride feel. Reduce pressure if the ride feels harsh and traction suffers; increase if tires feel squirmy or you experience rim strikes on obstacles.
- **Refine your setup after each ride** by keeping notes on what worked and what needs adjustment. Move problem items to different bags, adjust strap tensions, reposition accessories, and modify packing order until your system functions smoothly and comfortably.
Expert Tips
- **Weigh your complete loaded system** using a luggage scale to establish a baseline and track changes. Most gravel bikepackers find 10-15kg of gear appropriate for multi-day trips in moderate conditions; exceeding 20kg significantly impacts handling and climbing.
- **Photograph your packed bags** before departure so you can recreate the same packing arrangement throughout your trip. This documentation saves time at camp and ensures consistent weight distribution.
- **Carry redundant hydration capacity** beyond your anticipated needs. Fork-mounted cargo cages accept standard bottles or collapsible bladders, providing backup water when sources are uncertain. Dehydration ends trips faster than almost any mechanical problem.
- **Install valve extenders on deep-section wheels** if applicable, and verify your pump head is compatible with your valve type before departure. Tubeless valves with removable cores allow sealant top-ups in the field.
- **Practice roadside repairs while loaded** because accessing tools in a fully packed frame bag differs from reaching them in a workshop. Know the sequence for removing seat packs to access wheel quick-releases and how to work around a handlebar bag for brake adjustments.
Conclusion
Setting up a gravel bike for bikepacking trips involves thoughtful integration of bags, components, and accessories into a system that handles predictably, rides comfortably, and provides reliable access to everything you need. The process begins with understanding your frame’s capabilities and your route’s demands, then progresses through bag selection, weight distribution, gearing optimization, tire selection, and cockpit refinement. Each element affects the others””a heavier gear load demands lower gearing and higher tire pressures, which in turn affects handling and comfort””making systematic testing essential before committing to major adventures.
The reward for this preparation is access to experiences that neither road cycling nor car-supported touring can match. A properly set up gravel bike carries you efficiently across mixed terrain, allowing multi-day exploration of routes that might include fire roads, singletrack, village lanes, and paved highways in a single journey. The skills and knowledge gained through preparing one bikepacking setup transfer to future trips, making each subsequent adventure easier to plan and execute. Start with a local overnight trip, refine your system based on real experience, and gradually extend your range as confidence and competence grow.
Frequently Asked Questions
How long does it typically take to see results?
Results vary depending on individual circumstances, but most people begin to see meaningful progress within 4-8 weeks of consistent effort. Patience and persistence are key factors in achieving lasting outcomes.
Is this approach suitable for beginners?
Yes, this approach works well for beginners when implemented gradually. Starting with the fundamentals and building up over time leads to better long-term results than trying to do everything at once.
What are the most common mistakes to avoid?
The most common mistakes include rushing the process, skipping foundational steps, and failing to track progress. Taking a methodical approach and learning from both successes and setbacks leads to better outcomes.
How can I measure my progress effectively?
Set specific, measurable goals at the outset and track relevant metrics regularly. Keep a journal or log to document your journey, and periodically review your progress against your initial objectives.
When should I seek professional help?
Consider consulting a professional if you encounter persistent challenges, need specialized expertise, or want to accelerate your progress. Professional guidance can provide valuable insights and help you avoid costly mistakes.
What resources do you recommend for further learning?
Look for reputable sources in the field, including industry publications, expert blogs, and educational courses. Joining communities of practitioners can also provide valuable peer support and knowledge sharing.


