Replacing bike brake pads is a straightforward maintenance task that most cyclists can complete at home with basic tools””primarily a 4mm Allen wrench and about 10 to 15 minutes of time for rim brakes, slightly longer for disc systems. The process involves removing the worn pads from their holders, resetting any pistons that have advanced to compensate for wear, and installing new pads with proper orientation before testing the system. A rider who notices their disc brake lever pulling closer to the handlebar than usual, or sees that the wear indicator grooves on their rim brake pads have disappeared, has clear signals that replacement time has arrived.
The specific steps differ between rim and disc brake systems, but both follow a logical sequence that becomes second nature after you’ve done it once or twice. Consider a commuter cyclist who rides through a rainy autumn season””wet conditions accelerate pad wear dramatically, and they might go from full pads to replacement territory in just a few weeks. Catching this early prevents the more expensive problem of worn pads damaging rotors or rims. This article covers how to identify when your pads need replacement, the tools required for both brake types, step-by-step processes for disc and rim systems, and critical compatibility warnings that can save you from costly mistakes.
Table of Contents
- When Should You Replace Worn Bike Brake Pads?
- Tools and Materials Needed for Brake Pad Replacement
- Step-by-Step Disc Brake Pad Replacement Process
- Rim Brake Pad Replacement: Cartridge and One-Piece Systems
- Brake Pad Compatibility: Why Material Matching Matters
- Avoiding Contamination During Pad Installation
- When to Seek Professional Help
- Conclusion
When Should You Replace Worn Bike Brake Pads?
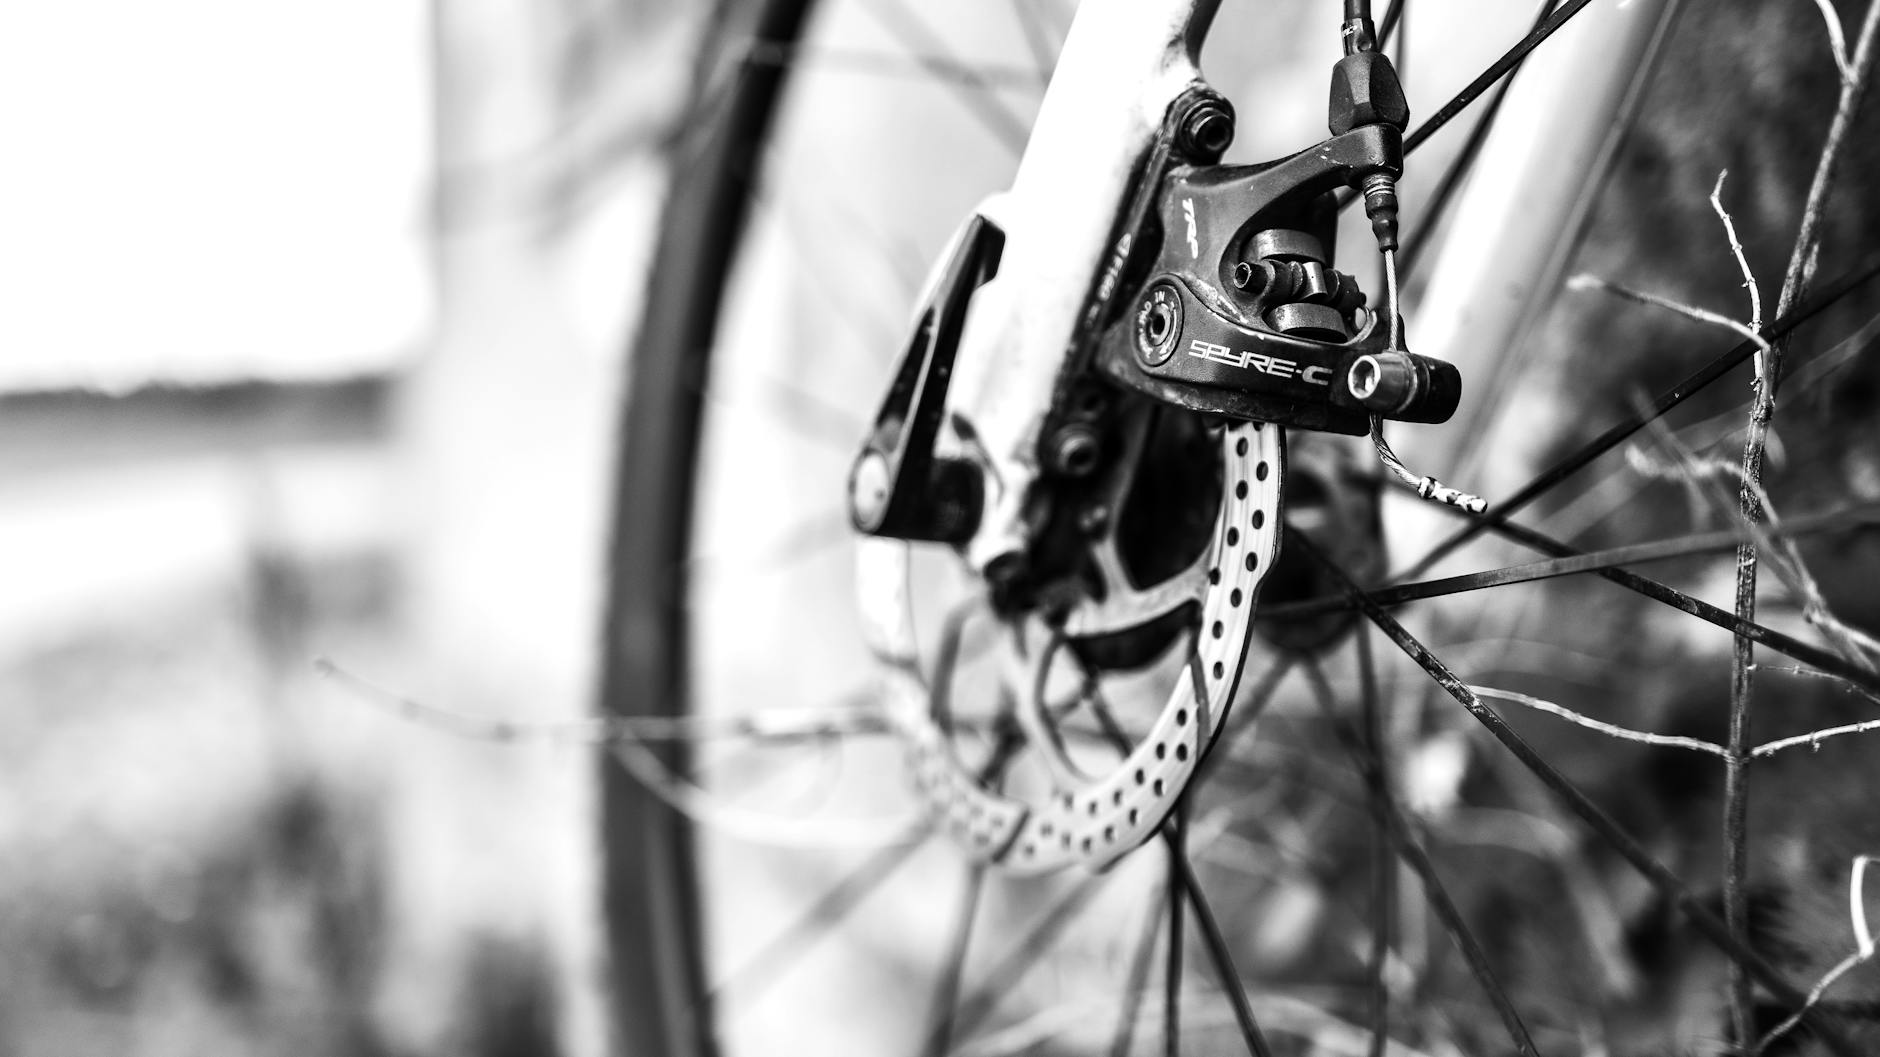
The timing of brake pad replacement depends on your brake type and how you inspect them. Rim brake pads feature vertical slotted wear indicator lines molded into the braking surface””once these lines disappear, the pad material has worn past its safe limit. Disc brake pads follow a simpler measurement: they should maintain at least 1mm of pad material thickness. If you lack calipers, stack three standard business cards together to create an approximate 1mm gauge. Warning signs often appear before visual inspection confirms the problem.
With disc brakes, screeching or howling sounds during dry-weather braking suggest contamination or excessive wear. Reduced braking power that requires harder lever pulls, or lever travel that brings the lever uncomfortably close to the handlebar, both indicate pads approaching end of life. These symptoms can also indicate contaminated pads, which require replacement regardless of remaining thickness. However, if you ride primarily in clean, dry conditions on flat terrain, your pads may last months longer than a mountain biker descending steep trails in muddy weather. A recreational rider doing weekend spins might get a full season from one set of pads, while a daily bike commuter in a hilly, wet city could wear through pads in six to eight weeks. Inspect your pads monthly as a baseline, increasing frequency during demanding riding periods.
Tools and Materials Needed for Brake Pad Replacement
Most brake pad work requires only a 4mm Allen wrench, which handles the retaining pins on disc brake calipers and the mounting bolts on many rim brake systems. Some pad retention mechanisms use a 2.5mm Allen wrench instead, particularly on certain aftermarket or older designs. Before starting, verify which size your brakes require””attempting to use an incorrect wrench risks stripping bolt heads. A plastic tire lever serves an important secondary function during disc brake pad replacement. New pads are thicker than worn ones, meaning the caliper pistons must be pushed back into their bores before the new pads will fit around the rotor.
A plastic tire lever provides the leverage needed without risking damage to the piston faces or seals. Metal tools can scratch or nick pistons, compromising seal integrity over time. The limitation here involves hydraulic disc brake systems specifically. while the piston reset is mechanically simple, one critical mistake can create expensive complications: never squeeze the brake lever while the wheel is removed from the bike. Doing so can force the pistons beyond their normal travel limits, introducing air into the hydraulic system and requiring a brake bleed to restore proper function. Keep your fingers away from the levers during the entire pad swap process.
Step-by-Step Disc Brake Pad Replacement Process
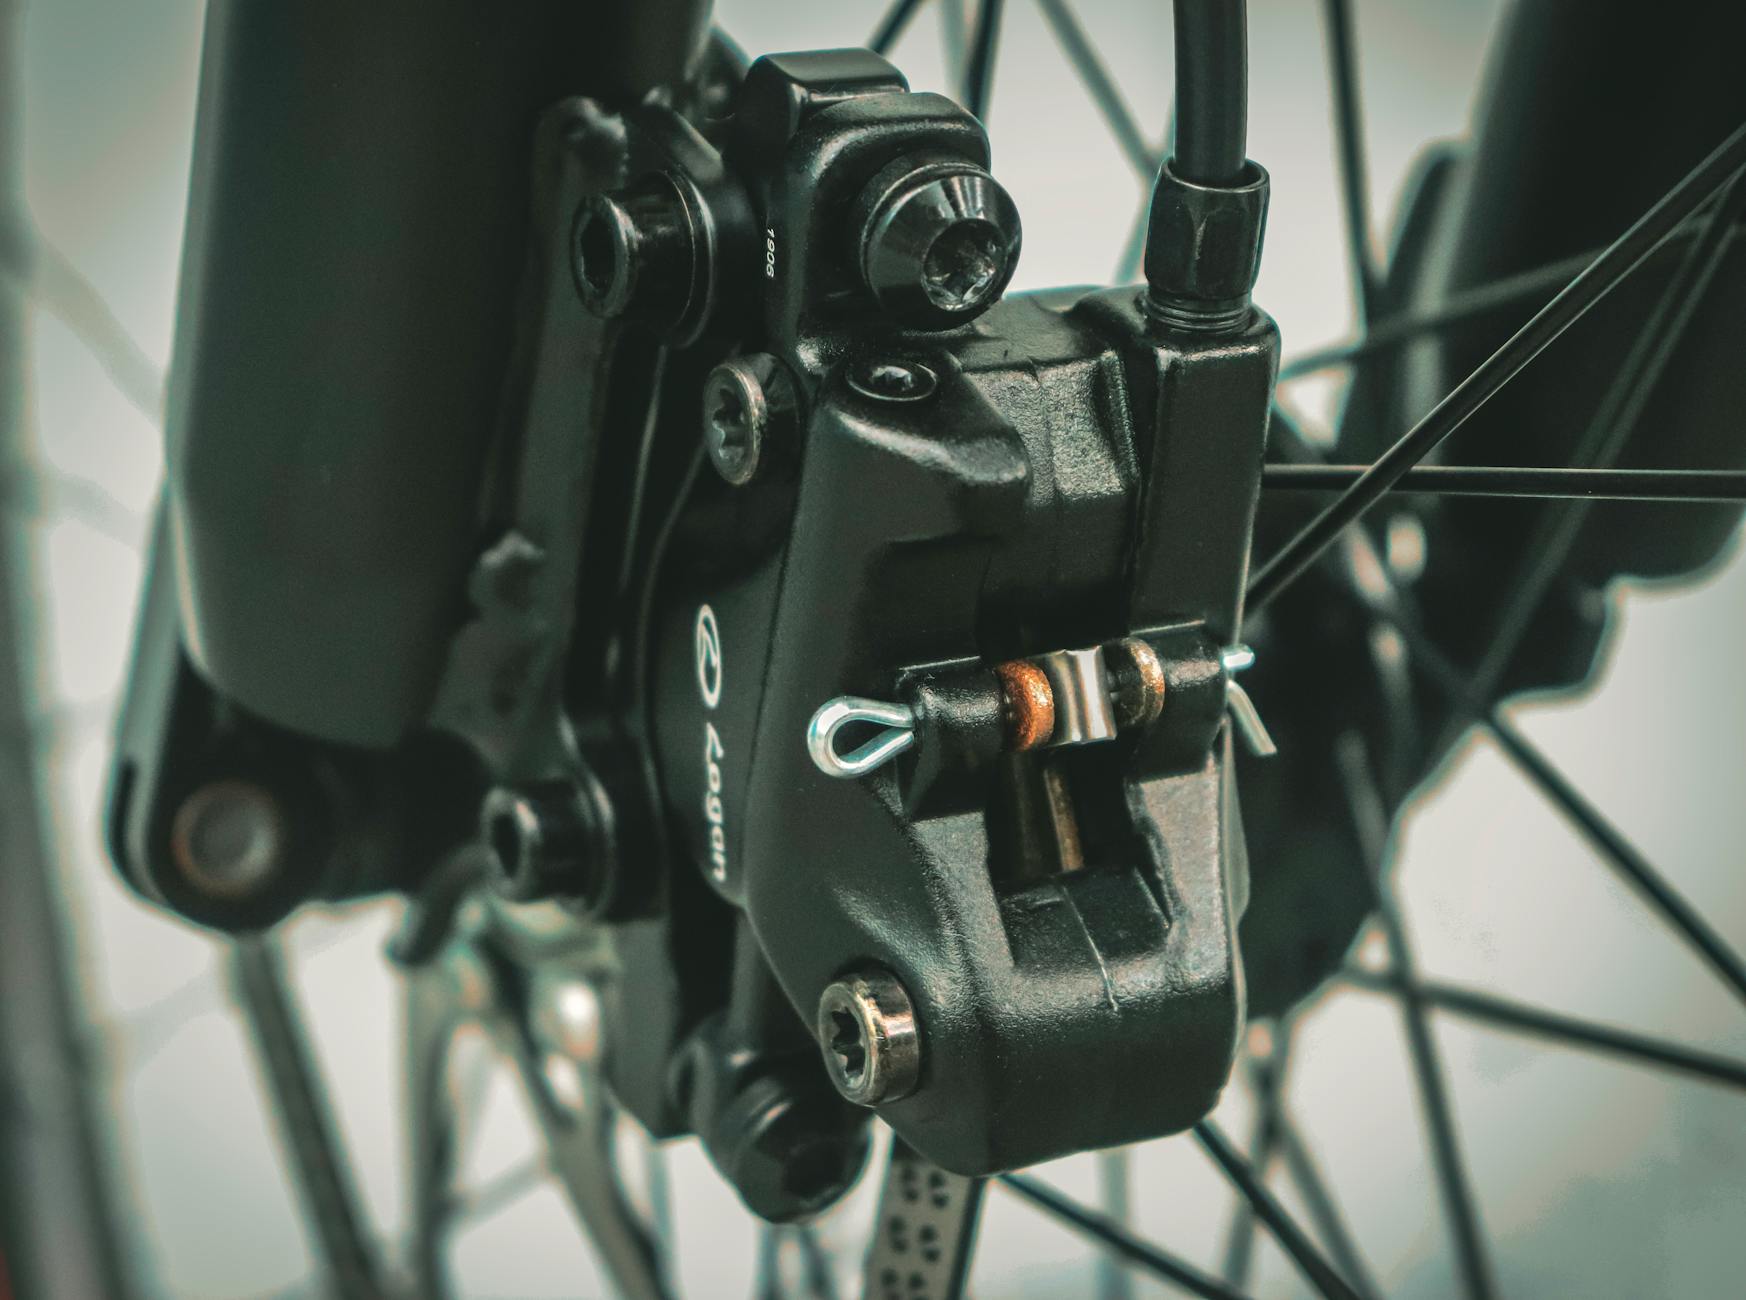
Begin by removing the wheel to access the caliper. Locate the retaining pin that holds the pads in position””this small bolt screws into the caliper body and, once removed, allows the pads to slide out. Some pads are directional or left/right-specific, so note their orientation before removal. Taking a quick photo with your phone provides a reference if you forget which pad sits on which side. Before installing new pads, reset the pistons by gently pushing them back into the caliper body using a plastic tire lever. Insert the lever between the old pads or directly against each piston face, applying steady pressure until the pistons sit flush with the caliper bore.
This creates the clearance needed for the thicker new pads. clean any debris from the caliper interior while you have access. Handle new pads with care””and ideally with clean gloves or a clean rag. Skin oils from bare fingers can contaminate the friction material, reducing braking performance and potentially causing noise. Slide the new pads into position with any directional markings aligned correctly, reinsert the retaining pin, and reinstall the wheel. Squeeze the brake lever several times to advance the pistons against the new pads before riding.
Rim Brake Pad Replacement: Cartridge and One-Piece Systems
Cartridge-style rim brake pads, common on modern road and hybrid bikes, allow you to replace just the rubber insert rather than the entire pad holder. A small grub screw or pin at one end of the cartridge secures the pad in place. Remove this fastener, slide the worn pad out through the open end of the holder, and slide the new pad in. The closed end of the holder always faces forward””toward the front of the bike””to prevent the pad from sliding out under braking force. One-piece pads, still found on many entry-level bikes and older models, require loosening the entire brake arm to replace.
This involves more adjustment afterward to ensure proper pad alignment with the rim. Whether cartridge or one-piece, check new pads for directional arrows printed on the rubber and left/right markings. Installing a left pad on the right side, or a rear-facing pad forward, can result in poor braking or accelerated wear. The 10-to-15-minute estimate for this job assumes a cartridge system in good condition. If your brake calipers have seized fasteners, corroded adjustment hardware, or bent components, expect complications. Penetrating lubricant and patience address most seized bolts, but significantly damaged brake hardware may require professional attention or replacement.
Brake Pad Compatibility: Why Material Matching Matters
Rim brake pads are not interchangeable across wheel types. Alloy rims, carbon rims, and ceramic rims each require specific pad compounds formulated for that braking surface. Installing alloy-specific pads on carbon rims can overheat and damage the carbon structure””an expensive mistake when quality carbon wheelsets cost hundreds or thousands of dollars. Similarly, pads designed for carbon lack the abrasiveness needed for effective alloy braking. Disc brake compatibility involves both pad shape and friction material. Pads must physically fit your caliper model, and they come in organic (resin), metallic (sintered), and semi-metallic compounds.
Each material interacts differently with the rotor surface. If you switch from organic to metallic pads, you should ideally also replace the rotor, or at minimum sand the rotor surface to remove the organic material glazed onto it. Running mismatched materials can cause noise, reduced performance, and accelerated wear. The comparison between organic and metallic compounds reflects different riding priorities. Organic pads offer quieter operation and gentler rotor wear but fade faster under sustained heavy braking””a concern for mountain bikers on long descents. Metallic pads withstand heat better and last longer in demanding conditions but produce more noise and wear rotors faster. Most recreational riders do fine with organic pads; aggressive riders in steep terrain benefit from metallic.
Avoiding Contamination During Pad Installation
Contamination represents the most common reason new brake pads underperform immediately after installation. Disc brake pads are particularly sensitive””a single fingerprint on the friction surface can cause squealing, reduced power, and uneven wear. Work with clean hands, or better yet, disposable nitrile gloves. If you must handle pads directly, touch only the backing plate, never the friction material. Cleaning products pose another contamination risk.
Spraying lubricants or degreasers near brake components can deposit residue on pads or rotors. When cleaning your drivetrain, cover brake calipers with a rag or remove the wheels entirely. A rider who carefully installs new pads only to spray chain lubricant that drifts onto the rotor will experience the same symptoms as worn pads within their first ride. If contamination does occur, mild cases on rotors can sometimes be addressed with isopropyl alcohol and a clean rag, followed by sanding with fine-grit sandpaper. Contaminated pads, however, rarely recover fully””the oils absorb into the friction material rather than sitting on the surface. At that point, replacement is the reliable solution.
When to Seek Professional Help
Not every brake pad replacement goes smoothly, and recognizing when to involve a shop prevents small problems from becoming larger ones. If you squeeze the brake lever with the wheel removed and the pistons advance too far, pushing them back may introduce air bubbles that require bleeding””a more complex procedure involving specific fluids and tools. Most home mechanics can learn bleeding, but first-timers may prefer professional guidance.
Similarly, if your pads wear unevenly””significantly thicker on one side than the other””this indicates a caliper alignment issue that new pads alone won’t solve. The caliper needs centering over the rotor so both pads contact simultaneously. This adjustment is straightforward but requires patience and understanding of your specific caliper design.
Conclusion
Replacing brake pads ranks among the most accessible maintenance tasks for home mechanics, requiring minimal tools and offering immediate safety benefits. The key points to remember: inspect pads regularly using wear indicators for rim brakes and the 1mm thickness threshold for disc brakes, handle new pads without touching friction surfaces, ensure material compatibility with your wheels or rotors, and never actuate hydraulic brake levers with wheels removed.
Building comfort with pad replacement saves money over time and keeps you connected to your bike’s condition. Each replacement teaches you more about how your braking system works, making it easier to diagnose problems early and maintain stopping power through every season of riding.


