To measure bike chain wear, use a chain checker tool or a standard ruler. With a ruler, measure 12 complete links from pin center to pin center—a new chain measures exactly 12 inches. If your measurement exceeds 12 1/16 inches, the chain needs replacement. For most riders with 10-speed drivetrains or fewer, replace the chain when wear reaches 0.75%. Those running 11 or 12-speed systems should replace earlier, at 0.5% wear, to protect their more expensive cassettes and chainrings from accelerated damage.
The timing of chain replacement matters more than many cyclists realize. A rider who replaces their chain at 0.5% wear on a high-end 12-speed groupset might get three or four chains through a single cassette. Wait until 1.0% wear, and that same cassette might be destroyed after just one chain. The math favors early replacement—chains cost a fraction of what cassettes do, and chainrings cost even more. This article covers the two primary methods for checking chain wear, explains why replacement thresholds differ based on your drivetrain’s speed count, and details which tools work best for different chain types. We’ll also address a common measurement problem specific to SRAM’s newer road and gravel chains.
Table of Contents
- What Causes Bike Chain Wear and How Do You Measure It Accurately?
- When Should You Replace Your Chain Based on Drivetrain Speed?
- Why Does Chain Wear Affect Shifting Performance and Component Longevity?
- Which Chain Checker Tools Work Best for Different Drivetrains?
- What Special Considerations Apply to SRAM 12-Speed Flat-Top Chains?
- How Often Should You Check Your Chain for Wear?
- What’s the Real Cost of Ignoring Chain Wear?
- Conclusion
What Causes Bike Chain Wear and How Do You Measure It Accurately?
chain “stretch” is a misnomer that persists in cycling vernacular. Chains don’t actually stretch—the steel plates and rollers aren’t elongating under load. What’s really happening is internal bushing wear. As you pedal, the bushings inside each link wear against the chain pins, gradually increasing the chain’s pitch (the distance between links). This wear accumulates across dozens of links, making the chain measurably longer than when it was new. The ruler method offers a no-cost way to check this wear. Place a ruler or tape measure against your chain with the zero mark centered on any pin.
Count 24 rivets (which equals 12 complete links) and check where the 12-inch mark falls. On a new chain, it should align perfectly with a pin center. If the pin center has moved beyond 12 1/16 inches, your chain has exceeded acceptable wear. This method works on any chain type without special tools. Chain checker tools provide more precision and easier interpretation. The Park Tool CC-4.2, for example, measures at three specific thresholds: 0.5%, 0.75%, and 1.0% elongation. You simply insert the tool into the chain—if one end drops fully between the rollers, you’ve reached that wear level. The advantage over a ruler is repeatability and speed; the disadvantage is the upfront cost and the need to ensure your tool is compatible with your specific chain type.
When Should You Replace Your Chain Based on Drivetrain Speed?
Replacement thresholds vary significantly based on how many speeds your drivetrain has, and ignoring these differences can prove expensive. For single-speed and two-speed bikes, chains can run until 1.0% wear without consequence—the wider tolerances in these systems accommodate more elongation before problems emerge. Riders with 10-speed drivetrains or fewer should replace their chains as they approach 0.75% wear. The calculus changes dramatically for 11 and 12-speed systems. These drivetrains use narrower chains, tighter tolerances, and often more expensive components.
The current recommendation for these setups is replacement at 0.5% wear—and some mechanics advocate for even earlier replacement on high-end groupsets. The logic is straightforward: a chain costs perhaps $30-60, while a 12-speed cassette might run $100-400 depending on the groupset level. However, if you’re riding an entry-level 11-speed bike with a basic cassette, the urgency diminishes somewhat. The 0.5% guideline assumes you’re protecting components worth protecting. A rider on a $50 cassette might reasonably push closer to 0.75% and accept more frequent cassette replacement as part of the cost equation. Context matters—the goal is minimizing total drivetrain expense over time, not adhering to rules for their own sake.
Why Does Chain Wear Affect Shifting Performance and Component Longevity?
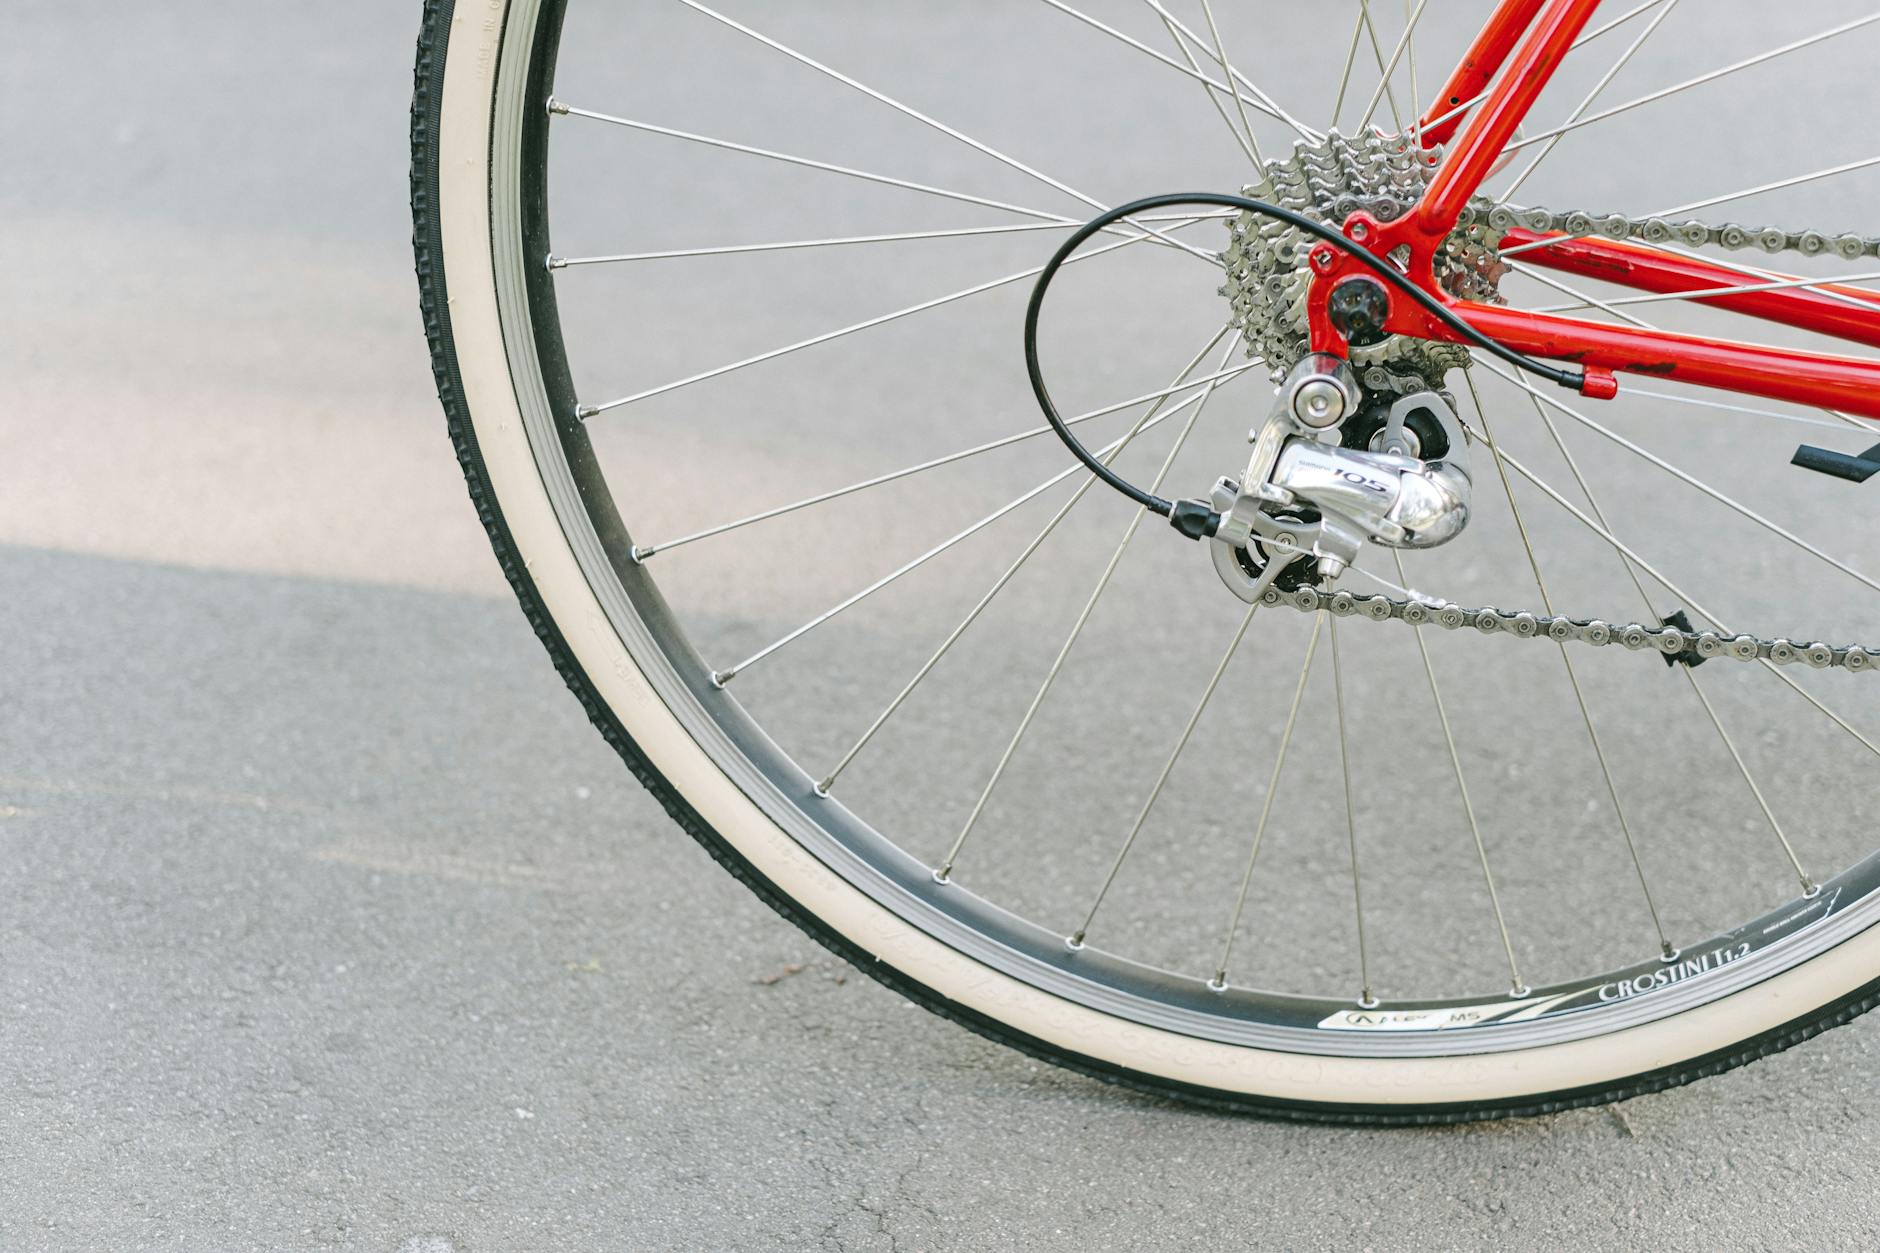
A worn chain develops an elongated pitch that no longer matches the spacing of teeth on your cassette and chainrings. When you pedal, the chain rides higher on the teeth than it should, concentrating force on fewer contact points. This mismatch causes the sloppy, hesitant shifting that riders often attribute to cable stretch or derailleur adjustment when the real culprit hangs right in front of them. The damage compounds over time. As a worn chain repeatedly loads the same high spots on cassette teeth, those teeth begin to wear into a hook shape that matches the elongated chain.
Once this happens, installing a new chain doesn’t solve the problem—the new chain’s correct pitch won’t mesh properly with the deformed teeth, causing skipping under load. At this point, you’re buying both a chain and a cassette, and potentially chainrings as well. For example, a gravel rider who covers 3,000 miles per season might go through three chains at 0.5% wear intervals while keeping the same cassette for two full seasons. The same rider replacing chains at 1.0% might need a new cassette with every chain, tripling their component costs despite buying fewer chains. The relationship between chain wear and drivetrain longevity isn’t linear—it’s exponential once you cross certain thresholds.
Which Chain Checker Tools Work Best for Different Drivetrains?
The Park Tool CC-4.2 has become the default recommendation for most cyclists, and for good reason. It measures at the three most relevant wear thresholds (0.5%, 0.75%, and 1.0%) and works across 5 through 12-speed chains, including the increasingly common SRAM AXS 12-speed systems. At roughly $15-20, it pays for itself after preventing a single premature cassette replacement. The Abbey Bike Tools chain checker occupies the premium end of the market, offering exceptional build quality and precision for shops and serious home mechanics. SRAM also produces their own chain checker designed specifically for their drivetrains, which addresses compatibility concerns with their unique chain designs.
For most home mechanics, however, the Park Tool strikes the right balance of accuracy, versatility, and cost. The tradeoff between dedicated tools and the ruler method comes down to convenience versus expense. A ruler costs nothing if you already own one, but requires more careful technique and doesn’t give you precise percentage readings. A chain checker delivers instant, repeatable results but adds another tool to your collection. If you own multiple bikes or check your chain monthly during riding season, the tool earns its place quickly. For occasional checks on a single bike, the ruler method works fine.
What Special Considerations Apply to SRAM 12-Speed Flat-Top Chains?
SRAM’s 12-speed flat-top chains—found on their road, gravel, and Transmission mountain bike drivetrains—use a different internal architecture than traditional chains. These chains employ larger-diameter rollers, which changes how they interact with chain checker tools. Many standard chain checkers, including older Park Tool models, can give inaccurate readings on these chains, typically showing more wear than actually exists. This matters because a false reading might prompt unnecessary chain replacement, wasting money, or might cause you to distrust your tools and delay replacement too long.
If you’re running SRAM AXS Eagle, Rival, Force, or Red AXS, verify that your chain checker is explicitly rated for flat-top compatibility. The Park Tool CC-4.2 addresses this issue and provides accurate readings on SRAM’s modern chains. When in doubt with SRAM flat-top chains, fall back to the ruler method. The fundamental physics haven’t changed—12 links still equal 12 inches on a new chain, regardless of internal roller diameter. This approach eliminates tool compatibility questions entirely, though it requires more careful measurement technique to achieve reliable results.

How Often Should You Check Your Chain for Wear?
Checking frequency depends on your riding volume and conditions. A commuter logging 100 miles weekly in varied weather should check monthly, as road grit and moisture accelerate wear. A fair-weather recreational rider covering the same distance might check every two to three months. Racing cyclists and those training seriously often check weekly during peak season, treating chain maintenance as part of their regular bike prep.
Conditions matter as much as mileage. Wet, muddy rides—common in cyclocross, gravel racing, and mountain biking—can accelerate chain wear dramatically compared to dry road miles. A cross racer might wear through a chain in 500 miles of race and training conditions that would last a road cyclist 2,000 miles. Adjust your checking frequency to match your riding environment, not just your odometer.
What’s the Real Cost of Ignoring Chain Wear?
The economics of chain maintenance favor prevention decisively. Consider a typical scenario: an 11-speed Shimano 105 cassette costs around $50-70, while a compatible chain runs $25-35. Replacing chains at 0.5% wear might require three chains ($75-105 total) before the cassette shows significant wear. Waiting until 1.0% each time might mean replacing the cassette with every chain, potentially costing $150-210 for the same riding period.
The calculation becomes starker with high-end components. A SRAM Red AXS cassette exceeds $400; Shimano Dura-Ace sits in similar territory. At these price points, chain replacement at 0.5% wear isn’t maintenance pedantry—it’s financial common sense. The modern shift toward earlier replacement thresholds reflects the reality that drivetrain components have grown more expensive while chains remain relatively affordable.
Conclusion
Measuring chain wear requires nothing more than a ruler or an inexpensive chain checker tool, and the technique takes seconds once learned. The key is matching your replacement threshold to your drivetrain: 1.0% for single and two-speed setups, 0.75% for systems with 10 speeds or fewer, and 0.5% for the 11 and 12-speed drivetrains that dominate modern bikes. When using SRAM’s flat-top 12-speed chains, verify your measuring tool’s compatibility or default to the ruler method.
Regular chain checks—monthly for most riders, more frequently for high-mileage or harsh-condition cycling—protect your investment in the rest of your drivetrain. A worn chain damages cassettes and chainrings progressively, and the damage isn’t reversible. Spending $30 on a new chain before it reaches critical wear beats spending $200 on a cassette that a timely replacement would have saved.


