Maintaining your gravel bike after dusty or muddy rides comes down to a consistent post-ride routine: rinse off debris within a few hours, dry the bike completely, re-lubricate the chain, and inspect key wear points like brake pads and tire sidewalls. The single biggest mistake riders make is letting mud dry overnight, which transforms into concrete-like deposits that are far harder to remove and can work their way into bearings, pivot points, and cable housing. A rider who spends ten minutes cleaning their bike after a wet gravel race will have components that last twice as long as someone who tosses their bike in the garage and deals with it next weekend. The type of dirt matters more than most people realize. Fine silica dust from dry desert trails acts like sandpaper on drivetrain components, while clay-based mud holds moisture against metal surfaces and accelerates corrosion.
A gravel rider in the Pacific Northwest dealing with constant wet conditions needs a different maintenance approach than someone riding the crushed limestone paths of the Midwest. This article covers the specific cleaning techniques for different soil types, which components need the most attention, how to protect your bike before rides, and the warning signs that indicate deeper maintenance is needed. Beyond the immediate post-ride cleaning, proper gravel bike maintenance involves understanding how off-road conditions stress components differently than road riding. Dust infiltrates sealed bearings, mud packs into brake calipers, and grit embeds itself in bar tape and saddle rails. The following sections break down each maintenance task by priority and explain which shortcuts are acceptable and which will cost you in premature component wear.
Table of Contents
- What Happens to Your Gravel Bike When You Skip Post-Ride Cleaning?
- The Essential Post-Ride Rinse: Techniques That Protect Rather Than Damage
- Drivetrain Cleaning: Beyond the Basic Wipe-Down
- Protecting Bearings and Pivot Points From Contamination
- Brake System Maintenance After Dirty Rides
- Frame and Component Inspection for Hidden Damage
- Pre-Ride Protection Strategies
- How to Prepare
- How to Apply This
- Expert Tips
- Conclusion
- Frequently Asked Questions
What Happens to Your Gravel Bike When You Skip Post-Ride Cleaning?
Neglecting post-ride maintenance creates a cascade of problems that compound over time. Dried mud traps moisture against frame tubes, promoting oxidation on steel and titanium frames and degrading paint and clear coat on aluminum and carbon. Chain lubricant mixes with dust to form a grinding paste that accelerates wear on chainrings, cassette cogs, and derailleur pulleys. One study by a major drivetrain manufacturer found that chains run in contaminated conditions can lose up to 75% of their functional lifespan compared to chains kept clean. The mechanical consequences extend beyond the drivetrain. Grit works into headset bearings, bottom brackets, and hub internals, creating notchy feel and premature play.
Hydraulic disc brake systems are particularly vulnerable because fine dust can contaminate brake pads, leading to glazing that causes squealing and reduced stopping power. Riders who commute on gravel paths through construction zones often report needing brake pad replacements at three times the normal rate. Cable-actuated systems suffer differently but no less severely. Mud and dust infiltrate cable housing, increasing friction and degrading shift quality. Internal cable routing, common on modern gravel bikes, makes this problem worse because contamination is invisible until performance degrades noticeably. A bike that shifted crisply in April can feel sluggish and imprecise by September if cables were never flushed or replaced after dirty rides.

The Essential Post-Ride Rinse: Techniques That Protect Rather Than Damage
The first rule of washing a gravel bike is avoiding high-pressure water. Pressure washers and even strong garden hose nozzles can force water past bearing seals and into hub internals, bottom brackets, and headsets. The correct approach uses low-pressure water or a bucket and sponge, focusing on removing surface contamination without driving debris deeper into components. A gentle spray setting on a garden hose, held at arm’s length from the bike, provides enough force to dislodge mud without the penetrating pressure that damages seals. However, if your bike has been submerged in creek crossings or ridden through deep puddles, the seals have already been compromised and a gentle rinse is the least of your concerns.
In these cases, a more thorough wash followed by bearing inspection and regreasing becomes necessary. Many professional mechanics recommend removing wheels and running water through the frame’s drainage ports after truly soaked rides to prevent pooling inside tubes. Temperature matters during cleaning. Washing a bike immediately after a ride while components are still warm allows lubricants to flow more freely, which can be a problem when water contact washes protective oils out of chain links and pivot points. Letting the bike cool for fifteen minutes before washing, then applying fresh lubricant immediately after drying, preserves protection while still removing harmful debris before it sets.
Drivetrain Cleaning: Beyond the Basic Wipe-Down
The drivetrain deserves special attention because it’s simultaneously the most expensive wear system on the bike and the most affected by contamination. A proper post-ride drivetrain cleaning involves degreasing the chain, cassette, and chainrings, then re-lubricating with a product appropriate to your conditions. Dry lubes work better for dusty conditions because they don’t attract additional particles, while wet lubes provide longer-lasting protection in muddy, rainy environments but collect more grime. Specific technique matters for chain cleaning. Running the chain backward through a clean rag removes surface contamination but leaves grinding paste inside the rollers where most wear occurs.
Chain cleaning devices that use solvent-filled chambers do a more thorough job, but over-degreasing can strip factory lubricants from internal surfaces. The compromise is using a chain cleaner with a mild citrus degreaser every few dirty rides rather than after every ride, with simple rag wipes in between. For example, a rider doing three gravel rides per week in mixed conditions might deep-clean the drivetrain every two weeks while performing quick chain wipes and re-lubrication after each ride. This balances thorough cleaning against the time investment and the risk of stripping too much protective lubrication. Riders in extremely dusty conditions like Arizona or Nevada may need to deep-clean more frequently, while those in moderate climates can extend intervals.
Protecting Bearings and Pivot Points From Contamination
Modern gravel bikes rely on numerous bearing systems that are vulnerable to dust and mud infiltration. Headsets, bottom brackets, hub bearings, and suspension pivot points on bikes with front suspension all require periodic inspection and protection. The first line of defense is ensuring seals are intact before rides. A thin layer of waterproof grease applied to bearing seals creates an additional barrier against contamination. Headsets are particularly vulnerable on gravel bikes because of the riding position and the bike’s tendency to throw debris forward.
Inspecting headset function monthly involves lifting the front wheel off the ground and feeling for any notchiness or grinding as the bars are turned. A headset that feels rough needs immediate attention because continued riding deepens bearing damage exponentially. Repacking or replacing headset bearings typically costs between forty and eighty dollars at a shop, while replacing a damaged headset and fork steerer can exceed three hundred dollars. Bottom brackets present different challenges depending on the standard. Press-fit bottom brackets common on carbon gravel frames are notorious for creaking when contaminated, while threaded bottom brackets on steel and titanium frames resist contamination better but still require periodic service. Riders who frequently cross streams or ride in heavy rain should consider installing a frame protection device that shields the bottom bracket shell from direct water spray.
Brake System Maintenance After Dirty Rides
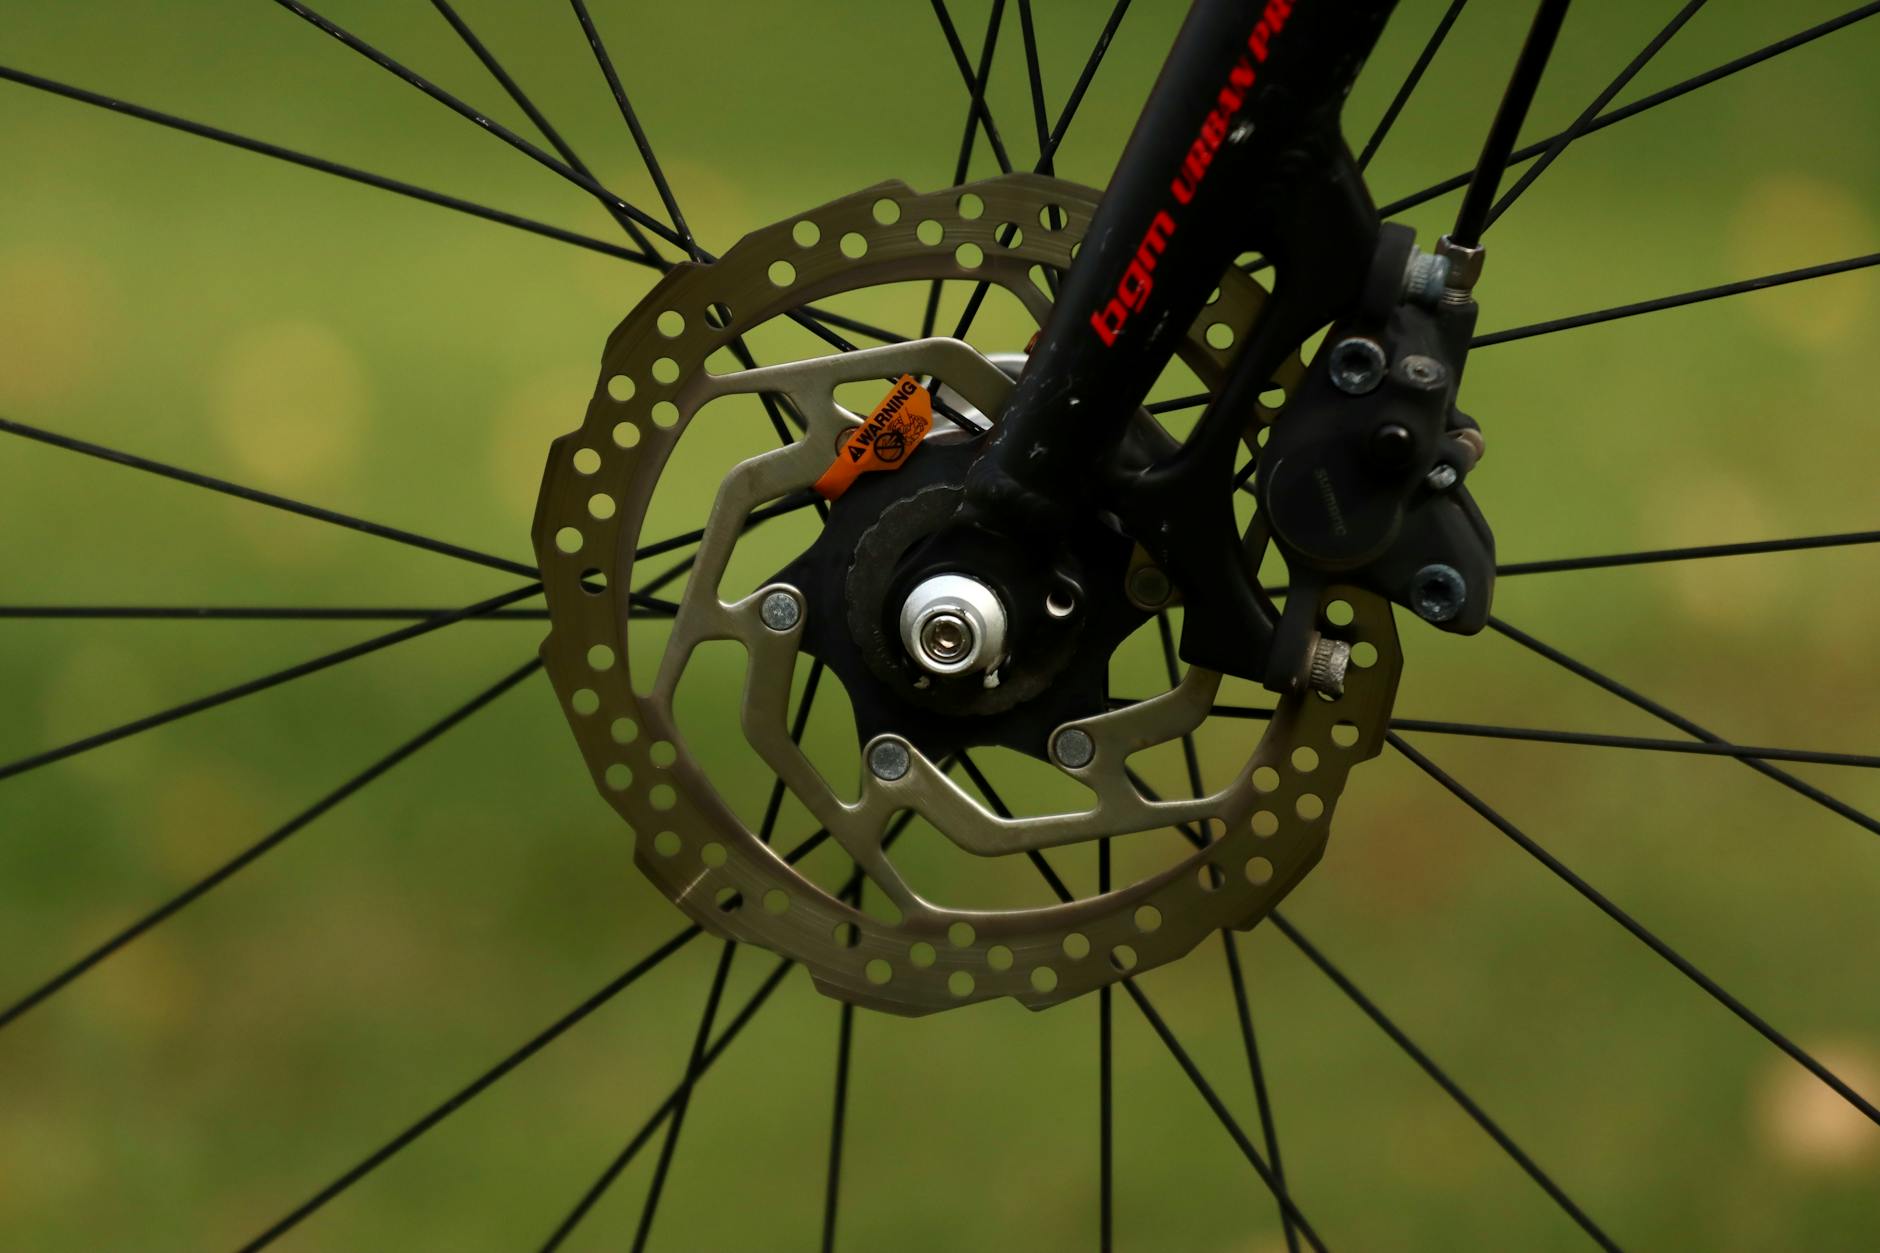
Disc brakes require specific attention after muddy rides because contamination affects both performance and safety. Brake rotors should be wiped with isopropyl alcohol after washing to remove any residue, including oils from skin contact. Contaminated brake pads present a more difficult problem. Once organic or semi-metallic pads absorb oil or certain types of mud, they often cannot be fully restored. The warning sign of contaminated brake pads is a squealing sound combined with reduced stopping power that doesn’t improve with bedding attempts.
Some riders have success sanding the top layer off pads with fine-grit sandpaper and cleaning rotors with brake cleaner, but this fix is temporary at best. Heavily contaminated pads should be replaced rather than nursed along, particularly for riders who descend technical terrain where braking reliability is safety-critical. Hydraulic brake systems also need bleeding periodically, especially on bikes ridden in extremely dusty conditions. Fine dust can work past caliper seals over time, and brake fluid absorbs moisture from the air, degrading performance. Annual bleeding is sufficient for most recreational riders, but racers and those riding in harsh conditions may need more frequent service. Mineral oil systems used by Shimano and Magura are more tolerant of moisture contamination than DOT fluid systems used by SRAM.
Frame and Component Inspection for Hidden Damage
Post-ride cleaning provides an opportunity to inspect the frame and components for damage that might otherwise go unnoticed. Gravel riding subjects frames to impacts from rocks, root strikes, and the cumulative stress of rough surfaces. Cracks in carbon frames often originate near dropouts, bottom bracket shells, and head tubes. Careful visual inspection after cleaning, when the frame is dry and well-lit, can catch developing problems before catastrophic failure. For example, a rider noticed a small paint crack near the seat tube junction of their carbon gravel frame during a post-ride wash.
What appeared cosmetic turned out to be a structural crack that the manufacturer warrantied. Had the rider not been in the habit of inspecting during cleaning, the crack could have propagated until the frame failed during a ride. Aluminum frames are less prone to sudden failure but can develop fatigue cracks around weld areas. Steel and titanium frames are the most forgiving but should still be inspected for dents, particularly on thin-walled tubes. Beyond the frame, inspect fork dropouts for wear, through-axle threads for damage, and derailleur hangers for bending. A slightly bent derailleur hanger causes frustrating shifting problems that many riders incorrectly attribute to cable stretch or derailleur adjustment.
Pre-Ride Protection Strategies
Protecting your bike before dirty rides reduces post-ride maintenance burden significantly. Frame protection film on high-impact areas like the down tube, chainstays, and fork lowers prevents paint damage from rock strikes and makes mud removal easier. Some riders apply a light coating of spray protectant or bike polish to the frame before muddy rides, which prevents mud from bonding directly to paint. Cable housing ports and frame openings benefit from small applications of frame sealant or grease that block dust and water entry. Fully sealed housing systems, while adding cost, dramatically reduce contamination of shift and brake cables.
On bikes with internal routing, periodic cable replacement is simpler than attempting to clean cables in place. The tradeoff with protective measures is weight, cost, and appearance. A fully taped and protected gravel bike may resist damage better but looks less clean and adds measurable grams. Riders who prioritize racing performance often skip protection to save weight, accepting higher maintenance and component costs as a consequence. Recreational riders focused on longevity typically benefit more from comprehensive protection.
How to Prepare
- Establish a washing area with a hose connection, drainage, and a bike stand or hooks that keep the bike stable and at working height. Apartment dwellers can use a bucket-and-sponge setup on a balcony or in a bathtub, though the latter requires thorough bathroom cleaning afterward.
- Stock biodegradable bike wash, degreaser, chain lubricant appropriate to your conditions, isopropyl alcohol for brake rotors, and a selection of brushes including a stiff brush for tires, a soft brush for the frame, and a narrow brush for cassette cogs and derailleur pulleys.
- Keep clean rags readily available. Old cotton t-shirts work well for general drying, while lint-free microfiber cloths are better for brake rotors and optical surfaces. Avoid using the same rag for degreasing and drying to prevent spreading contamination.
- Prepare a small toolkit with hex wrenches, a chain checker, tire pressure gauge, and torque wrench for checking critical bolt tightness. Post-cleaning inspection often reveals loose bolts that need attention.
- Create a maintenance log, either digital or paper, to track cleaning dates, lubricant applications, and component wear. This warning is critical: riders who rely on memory consistently underestimate how long it’s been since their last thorough maintenance, leading to preventable component failures.
How to Apply This
- Immediately after returning from a ride, rinse the entire bike with low-pressure water while mud is still wet. Focus on the drivetrain, brake rotors, and anywhere debris has accumulated. If you cannot wash immediately, at minimum hose off the worst accumulation to prevent hardening.
- Once rinsed, use bike wash and appropriate brushes to remove remaining contamination. Clean the drivetrain last to avoid spreading grease onto freshly cleaned frame surfaces. Rinse again with clean water after using cleaning products.
- Dry the bike thoroughly using clean rags, paying special attention to areas where water pools such as around bottom bracket shells, inside quick-release skewers, and in saddle rail clamps. Bouncing the bike gently helps dislodge trapped water from internal frame areas.
- Apply chain lubricant while slowly backpedaling to work the lubricant into rollers, allow it to penetrate for five minutes, then wipe the chain exterior clean. Lube on the outside of the chain only attracts dirt; the critical lubrication happens inside the rollers.
Expert Tips
- Store your gravel bike in a dry location rather than a damp garage or outdoor shed. Humidity promotes corrosion even on clean bikes, and temperature swings cause condensation that accelerates bearing damage.
- Do not lubricate your chain when it’s still wet from washing. Water trapped inside chain rollers dilutes lubricant and accelerates wear. Ensure the chain is completely dry, using a hair dryer on a cool setting if necessary, before applying lubricant.
- Rotate between two chains on the same drivetrain to extend cassette and chainring life. When one chain shows 0.5% wear, swap it out and install the other. Both chains wear together, matching the cassette, rather than one chain wearing alone.
- Inspect tire sidewalls after every muddy ride for cuts and embedded debris. Small cuts in supple sidewalls often go unnoticed until they result in a sliced tire during the next ride. Remove embedded thorns and glass immediately.
- Keep a dedicated toothbrush for cleaning around brake caliper pistons and derailleur pivot points. These tight spaces accumulate grime that standard brushes can’t reach, and contamination in these areas directly affects braking and shifting performance.
Conclusion
Consistent maintenance after dusty and muddy gravel rides is the single most effective way to extend component life, preserve performance, and prevent costly repairs. The core routine is straightforward: rinse while debris is fresh, dry thoroughly, lubricate the chain, and inspect for damage. Building this habit takes perhaps fifteen minutes per ride and pays dividends in reliability and reduced long-term costs.
The key is matching your maintenance intensity to your riding conditions. Riders in dry, dusty climates need to focus on drivetrain contamination and bearing protection, while those in wet, muddy environments face greater challenges with brake contamination and frame corrosion. Understanding your specific conditions and adjusting your approach accordingly produces better results than following generic advice. Your gravel bike is designed to handle rough conditions, but it needs your help to recover from them.
Frequently Asked Questions
How long does it typically take to see results?
Results vary depending on individual circumstances, but most people begin to see meaningful progress within 4-8 weeks of consistent effort. Patience and persistence are key factors in achieving lasting outcomes.
Is this approach suitable for beginners?
Yes, this approach works well for beginners when implemented gradually. Starting with the fundamentals and building up over time leads to better long-term results than trying to do everything at once.
What are the most common mistakes to avoid?
The most common mistakes include rushing the process, skipping foundational steps, and failing to track progress. Taking a methodical approach and learning from both successes and setbacks leads to better outcomes.
How can I measure my progress effectively?
Set specific, measurable goals at the outset and track relevant metrics regularly. Keep a journal or log to document your journey, and periodically review your progress against your initial objectives.
When should I seek professional help?
Consider consulting a professional if you encounter persistent challenges, need specialized expertise, or want to accelerate your progress. Professional guidance can provide valuable insights and help you avoid costly mistakes.
What resources do you recommend for further learning?
Look for reputable sources in the field, including industry publications, expert blogs, and educational courses. Joining communities of practitioners can also provide valuable peer support and knowledge sharing.


