Building a custom gravel bike from a frameset requires selecting compatible components across eight major categories: groupset (drivetrain and brakes), wheelset, cockpit (handlebars, stem, seatpost), bottom bracket, headset, and finishing touches like bar tape and pedals. The process starts with verifying your frameset’s specifications””bottom bracket standard, headset size, axle spacing, and brake mount type””then systematically sourcing parts that match those specs while staying within your budget. A typical build takes between four and eight hours of wrench time for someone with intermediate mechanical skills, though the research and parts-sourcing phase often stretches across several weeks.
Consider the example of building up a Salsa Cutthroat frameset: you’d need to confirm it uses a 73mm threaded bottom bracket, 1-1/8″ to 1-1/2″ tapered headset, 12x142mm rear thru-axle, and flat-mount disc brakes before ordering a single component. Getting any of these wrong means returns, delays, and frustration. This article walks through the complete build process, from evaluating whether a frameset build makes financial and practical sense for your situation, to selecting each component category, to the final assembly sequence. We’ll cover compatibility pitfalls that trip up first-time builders, tool requirements, and honest assessments of where professional help might save you money in the long run.
Table of Contents
- What Components Do You Need to Build a Complete Gravel Bike From a Frameset?
- Frameset Compatibility: The Critical Specifications You Must Verify
- Groupset Selection: Mechanical Versus Electronic and 1x Versus 2x
- Wheels, Tires, and the Real-World Impact on Ride Quality
- Tools Required for a Complete Frameset Build
- When to Use Professional Assembly Services
- Conclusion
What Components Do You Need to Build a Complete Gravel Bike From a Frameset?
A frameset typically includes only the frame and fork, meaning you need to source everything else. The complete parts list breaks down into: groupset (shifters, derailleurs, crankset, cassette, chain, and brakes), wheelset with appropriate rotors, bottom bracket matched to your crankset and frame, headset sized to your frame’s head tube, handlebar, stem, seatpost, saddle, bar tape, and pedals. Some framesets include a headset, seatpost collar, or thru-axles””always verify exactly what’s in the box before ordering additional parts. The groupset represents your largest single expense and most consequential decision. Shimano GRX, SRAM Rival/Force/Red XPLR, and Campagnolo Ekar are the dominant gravel-specific options, each with distinct shifting feel and parts availability.
A complete Shimano GRX 810 2x groupset runs approximately $900-1,100 at retail, while SRAM Rival XPLR AXS (wireless electronic shifting, 1x) costs $1,200-1,400. Mechanical groupsets cost less upfront but require more frequent cable maintenance. Hydraulic disc brakes are now standard on gravel bikes, and mixing brake standards (pairing Shimano levers with SRAM calipers, for instance) is generally not possible without adapter systems that add complexity and potential failure points. Beyond the groupset, wheel choice dramatically affects ride quality and durability. A capable alloy wheelset like the DT Swiss G 1800 costs around $500-600 and handles rough terrain reliably, while carbon options from brands like Reserve or ENVE start around $1,800 and climb past $2,500. For a first build, alloy wheels make sense””they’re more affordable to replace if damaged and perform well enough that most riders won’t feel limited by them.
- —
Frameset Compatibility: The Critical Specifications You Must Verify
Before purchasing any components, document these frameset specifications exactly: bottom bracket shell width and threading standard, head tube diameter (straight or tapered), seat tube diameter, front and rear axle dimensions, brake mount type, and maximum tire clearance. A single mismatch can render expensive components unusable. The Open U.P.P.E.R. frameset, for example, uses a T47 threaded bottom bracket””a newer standard that requires specific cranks or adapters, unlike the ubiquitous BSA threading found on frames from Surly or All-City. Bottom bracket standards cause the most confusion for new builders. BSA/English threading (68mm or 73mm shell width) remains the most service-friendly option and works with the widest range of cranksets.
Press-fit standards like BB86, PF30, or BB386 require specialized installation tools and can develop creaking issues if not installed precisely. If your frameset uses press-fit, budget an extra $50-100 for a shop to install the bottom bracket, or $80-150 for the proper press tools if you insist on doing it yourself. However, if you plan to build multiple bikes over time, owning quality installation tools eventually pays for itself. Headset sizing follows two main patterns: straight 1-1/8″ steerer tubes (increasingly rare on modern gravel frames) or tapered steerers that transition from 1-1/8″ at the top to 1-1/2″ at the bottom. A tapered fork cannot be installed in a frame designed for straight steerers. Integrated headset cups””where the bearings sit directly against machined frame surfaces””have become common on higher-end frames, while external cup headsets appear on steel and titanium frames with traditional head tube construction. Chris King, Cane Creek, and Wolf Tooth all produce quality headsets across multiple standards.
- —
Groupset Selection: Mechanical Versus Electronic and 1x Versus 2x
The mechanical versus electronic debate involves tradeoffs beyond price. Electronic shifting (Shimano Di2, SRAM AXS) offers precise, consistent shifts regardless of cable condition, weather, or frame routing””a genuine advantage on muddy gravel rides where cables accumulate grit. SRAM’s wireless AXS system eliminates internal cable routing entirely, simplifying builds on frames with complex internal passages. The downside: electronic systems require battery management, and field repairs are essentially impossible. A mechanical derailleur can be adjusted trailside with a multi-tool; a dead Di2 battery means walking home. The 1x versus 2x drivetrain choice depends on your terrain and riding style.
A 1x setup with a 40-tooth chainring and 10-44 cassette provides a 440% gear range””sufficient for most gravel riding but potentially limiting on steep climbs or fast group rides. A 2x setup like GRX 810 (48/31 chainrings, 11-34 cassette) delivers over 600% range, letting you spin up 15% grades then hammer descents without running out of gears. Riders in mountainous regions or those who mix road and gravel typically benefit from 2x. Flat-terrain riders or those prioritizing simplicity and weight savings gravitate toward 1x. The Canyon Grizl, for instance, sells well in both configurations precisely because neither is universally “better.” One often-overlooked factor: parts availability during repairs. Shimano GRX components remain easier to source in most markets than SRAM XPLR parts, which share little with SRAM’s mountain bike lineup. If you ride in areas with limited bike shop access, this practical consideration might outweigh shifting preferences.
- —
Wheels, Tires, and the Real-World Impact on Ride Quality
Wheelset selection involves balancing weight, durability, aerodynamics, and cost””and for gravel riding, durability deserves emphasis. Carbon wheels offer compliance benefits and weight savings but demand careful inspection after impacts that alloy wheels would shrug off. The Hunt 35 Carbon Gravel Disc wheelset ($1,099) represents a reasonable middle ground: lighter than most alloy options but priced so that replacement after a rock strike doesn’t devastate your budget. Internal rim width determines which tires work optimally. For gravel riding, internal widths between 21mm and 25mm suit tire sizes from 35mm to 50mm, the typical gravel range. A rim with 19mm internal width technically fits a 45mm tire but creates a lightbulb profile that handles poorly in corners. Conversely, a 25mm internal rim makes a 32mm tire feel twitchy and unsupported. The Panaracer GravelKing series illustrates this: their 43mm tire performs best on 23-25mm internal rims but feels vague on narrower hoops. Tubeless compatibility is now expected on quality gravel wheelsets, and running tubeless offers genuine puncture resistance benefits on rough terrain. However, if your riding consists mostly of well-maintained gravel roads without sharp debris, tubes work fine and eliminate the hassle of sealant maintenance. The weight penalty of tubes””roughly 100-150 grams per wheel””matters less on a gravel bike than on a race-focused road machine.
## Common Build Mistakes and How to Avoid Them The most expensive mistakes happen before wrenches touch metal. Ordering a crankset before confirming bottom bracket compatibility, assuming all flat-mount brake calipers fit all flat-mount frames, or forgetting that your new carbon seatpost requires a different collar diameter than the stock post””these errors create cascading delays and expenses. Create a spreadsheet listing every component with its specific compatibility requirements, and cross-reference each new purchase against it. This fifteen-minute exercise prevents hundred-dollar mistakes. Internal cable routing presents the second most common frustration. Some frames include guide tubes or magnets that simplify routing; others are hollow voids where cables disappear for hours. Before ordering cables, confirm your frame’s internal routing situation. The 3T Exploro, for example, uses a proprietary internal system that essentially requires their specific cables and housing””aftermarket alternatives may not route correctly. For truly difficult frames, Park Tool’s IR-1.2 Internal Cable Routing Kit ($35) pays for itself in saved aggravation. A limitation worth acknowledging: not every build project makes sense. If your frameset costs $600, requires a $50 headset, $120 bottom bracket, and you’re buying all parts at retail, you might spend more than a comparable complete bike while receiving a worse warranty. Frameset builds make financial sense when you’re upgrading from a complete bike and transferring components, finding significant component discounts, or specifically want parts combinations unavailable on production bikes.
- —
- —
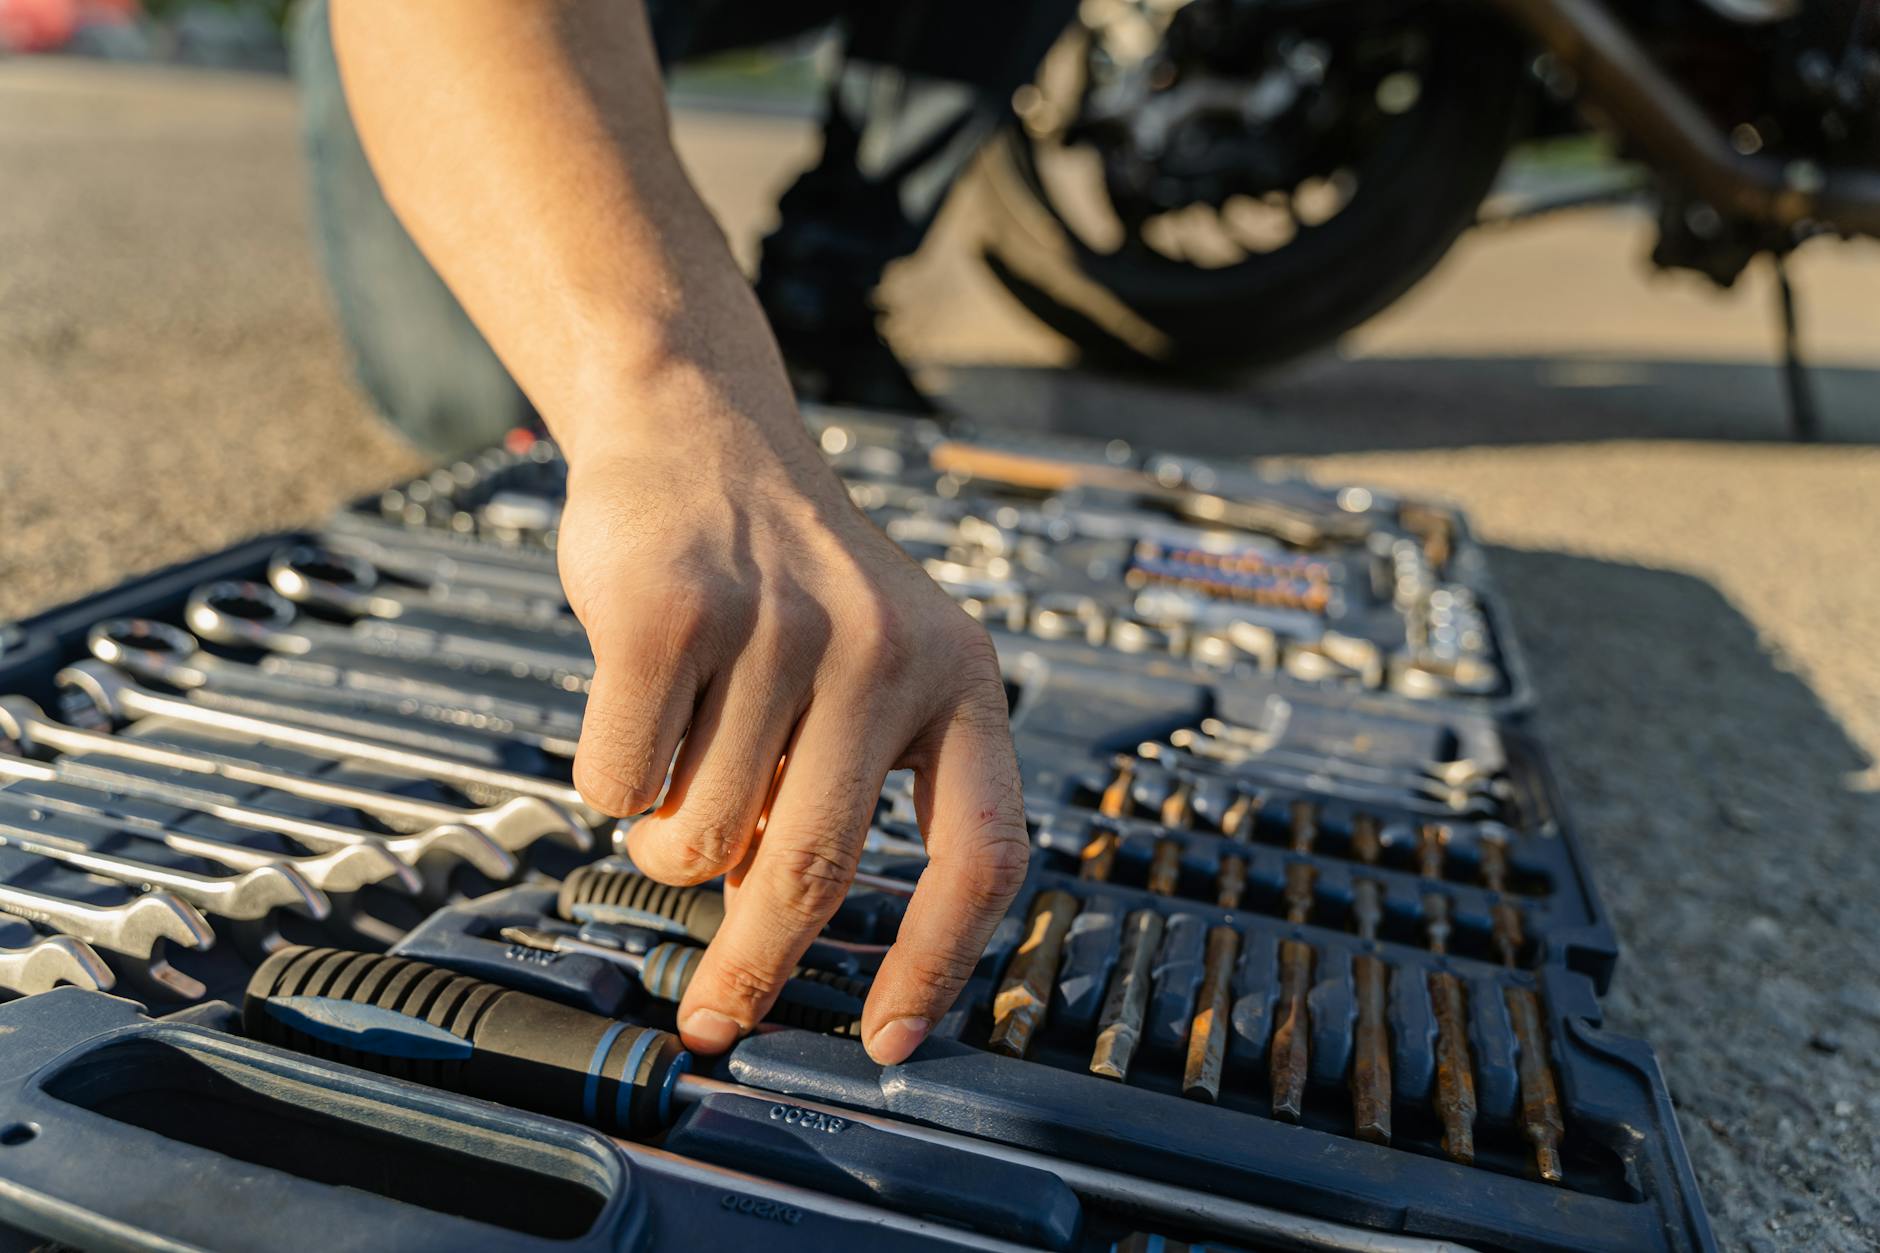
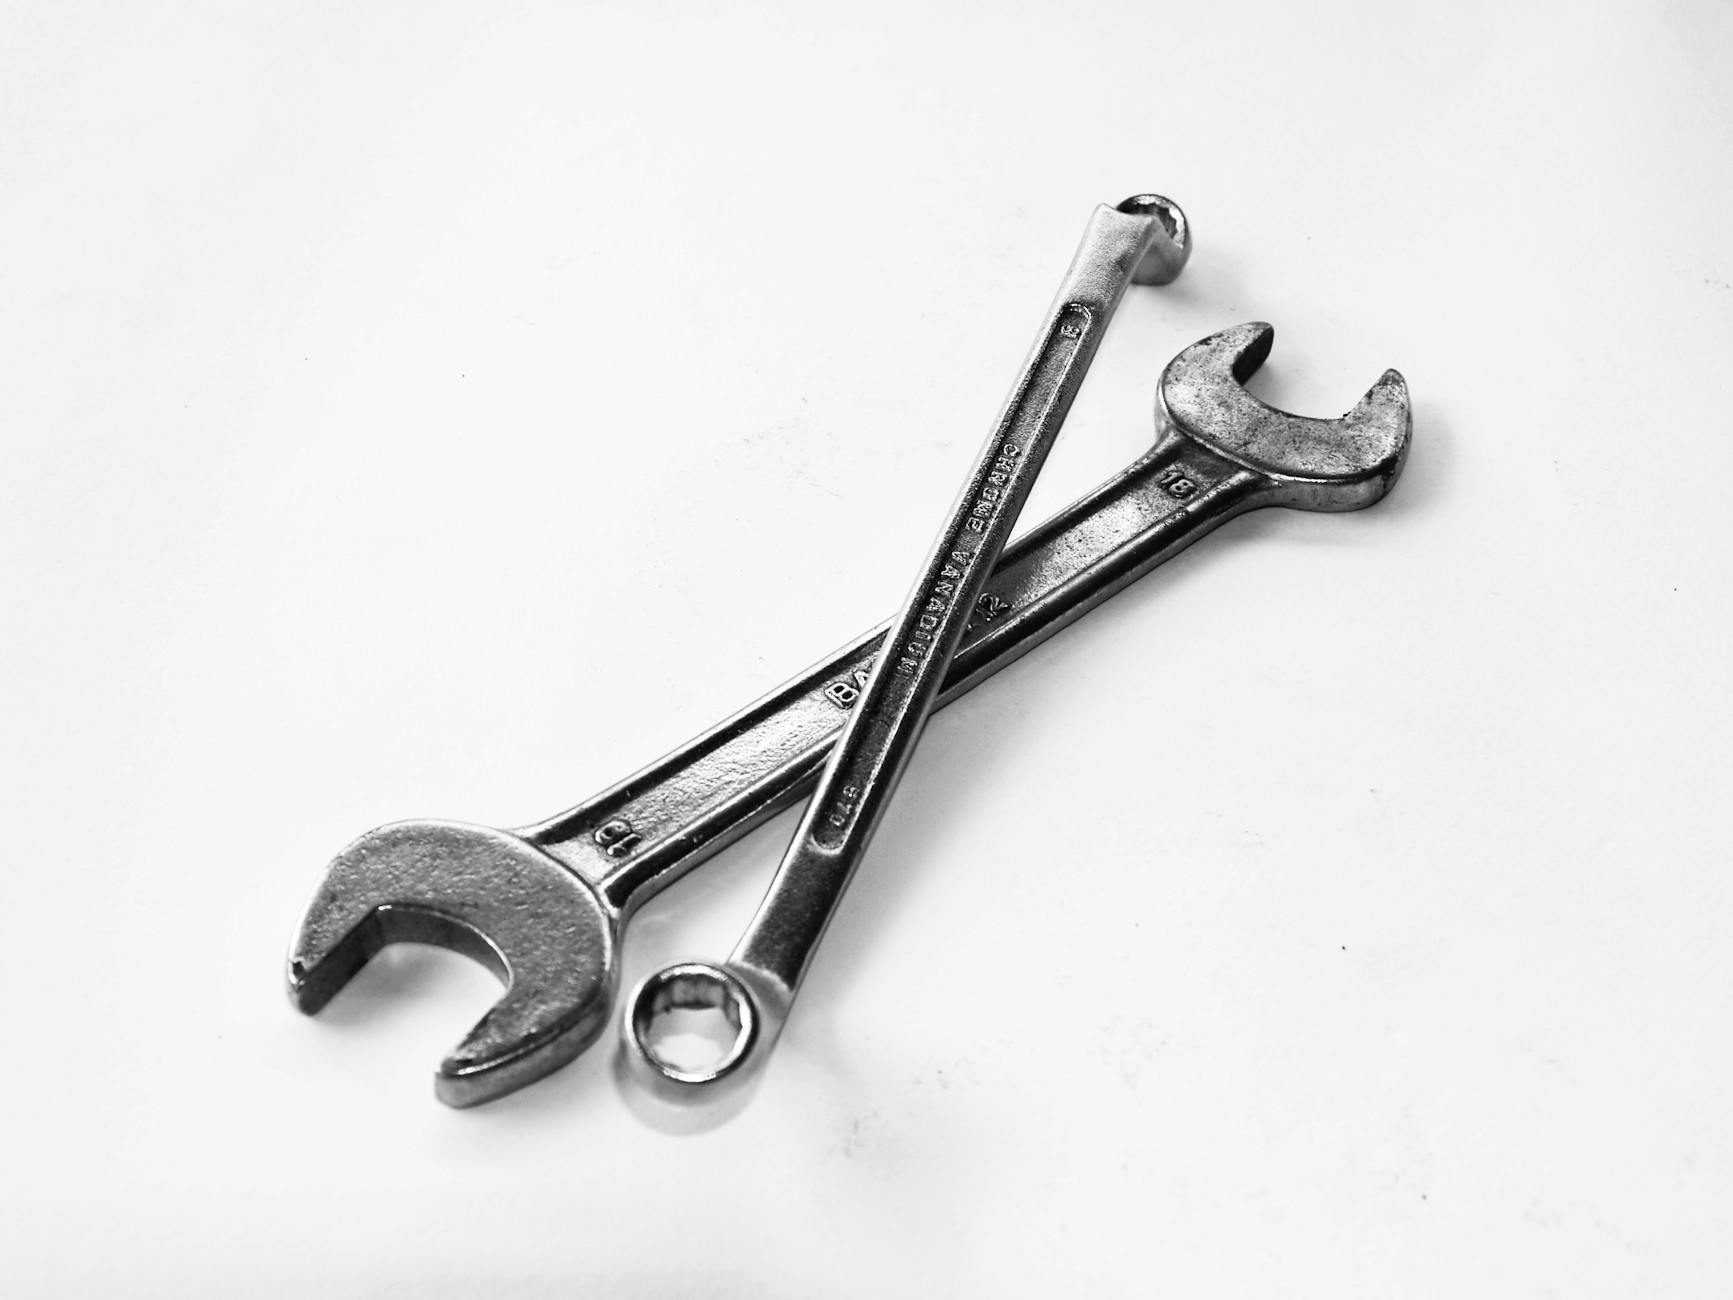
Tools Required for a Complete Frameset Build
Beyond basic hex wrenches and screwdrivers, a frameset build requires specialty tools: a headset press (Park Tool HHP-3, around $180) or headset installation service from a shop ($20-40), a star nut setter if using a threadless headset ($15), a bottom bracket tool matching your specific standard ($25-60), and a torque wrench covering the 4-12 Nm range common in cycling ($50-150 for a quality unit). Cable cutters capable of clean housing cuts run $30-50 for competent models like the Park Tool CN-10. For most first-time builders, renting or borrowing the headset press and bottom bracket tools makes sense unless you anticipate future builds.
Many bike shops rent specialty tools or perform specific installation tasks while letting you complete the rest at home. Having a shop press in your headset and bottom bracket might cost $40-60 total and guarantees correct installation on the components most likely to creak or work loose if installed incorrectly. This approach combines professional precision where it matters most with hands-on building experience throughout the rest of the bike.
- —
When to Use Professional Assembly Services
Certain build stages benefit from professional execution regardless of your mechanical aptitude. Hydraulic brake bleeding requires specific fluids (DOT for SRAM, mineral oil for Shimano””never mix them), syringes, and practice to achieve a firm lever feel without contaminating pads. A shop brake bleed costs $25-40 per end and ensures you’re starting with properly functioning brakes rather than hoping you got it right.
Similarly, wheel truing and spoke tensioning demand experience and a quality truing stand to execute properly. While factory-built wheels arrive reasonably true, adding cassettes and rotors, then subjecting wheels to the stresses of gravel riding, often reveals tension inconsistencies within the first few hundred miles. A professional check after your first major rides catches issues before they cause spoke failures or permanent rim damage. This hybrid approach””building yourself, then having key systems verified””captures most of the satisfaction and learning from a self-build while maintaining the safety margins that matter.
- —
Conclusion
Building a gravel bike from a frameset combines mechanical challenge with the satisfaction of creating something uniquely suited to your riding. The process demands careful attention to compatibility specifications across eight major component categories, honest assessment of which tasks match your skills, and patience during the parts-sourcing phase. Financial savings compared to buying a complete bike aren’t guaranteed””they depend on your access to discounted components and willingness to transfer parts from previous bikes.
The knowledge gained through a frameset build extends well beyond the project itself. You’ll understand your bike’s systems intimately, diagnose problems more accurately, and approach future maintenance with confidence. For riders who view the mechanical side of cycling as part of the hobby rather than a nuisance, building from a frameset represents one of the most engaging projects in the sport. Start with a detailed compatibility spreadsheet, invest in the specialty tools you’ll use repeatedly, and don’t hesitate to involve a shop for the tasks that benefit from experience and specialized equipment.