Bleeding hydraulic disc brakes involves removing air bubbles from the brake system by forcing fresh fluid through the lines until the lever feels firm and responsive again. The basic process requires attaching a syringe filled with brake fluid to the caliper, opening the bleed port at the lever, and pushing fluid through until no bubbles emerge””then closing everything up and testing the lever feel. For Shimano brakes, this typically means using mineral oil and their funnel-based gravity bleeding method, while SRAM and most other brands require DOT fluid and a two-syringe push-pull technique.
A rider who notices their brake lever pulling closer to the handlebar over several weeks, or who experiences a spongy, inconsistent feel when braking hard on descents, almost certainly has air in the system that needs bleeding. This is one of the most common maintenance tasks for any bike with hydraulic brakes, yet many riders avoid it because it seems complicated. The reality is that with the right tools and a methodical approach, bleeding brakes at home takes about 20 to 30 minutes per brake once you understand the process. This article covers why brakes need bleeding in the first place, walks through the specific steps for the two most common bleeding methods, explains the critical differences between brake fluid types, addresses common mistakes that cause problems, and helps you decide whether a particular brake issue actually requires a full bleed or something simpler.
Table of Contents
- Why Do Hydraulic Disc Brakes Need Bleeding?
- Tools and Fluid: What You Need Before Starting
- Step-by-Step: The Shimano Gravity Bleed Method
- Step-by-Step: The SRAM Syringe Method
- Diagnosing Problems When Bleeding Does Not Fix Soft Levers
- Avoiding Contamination: The Silent Brake Killer
- When to Seek Professional Help
- The Future of Brake Maintenance
- Conclusion
Why Do Hydraulic Disc Brakes Need Bleeding?
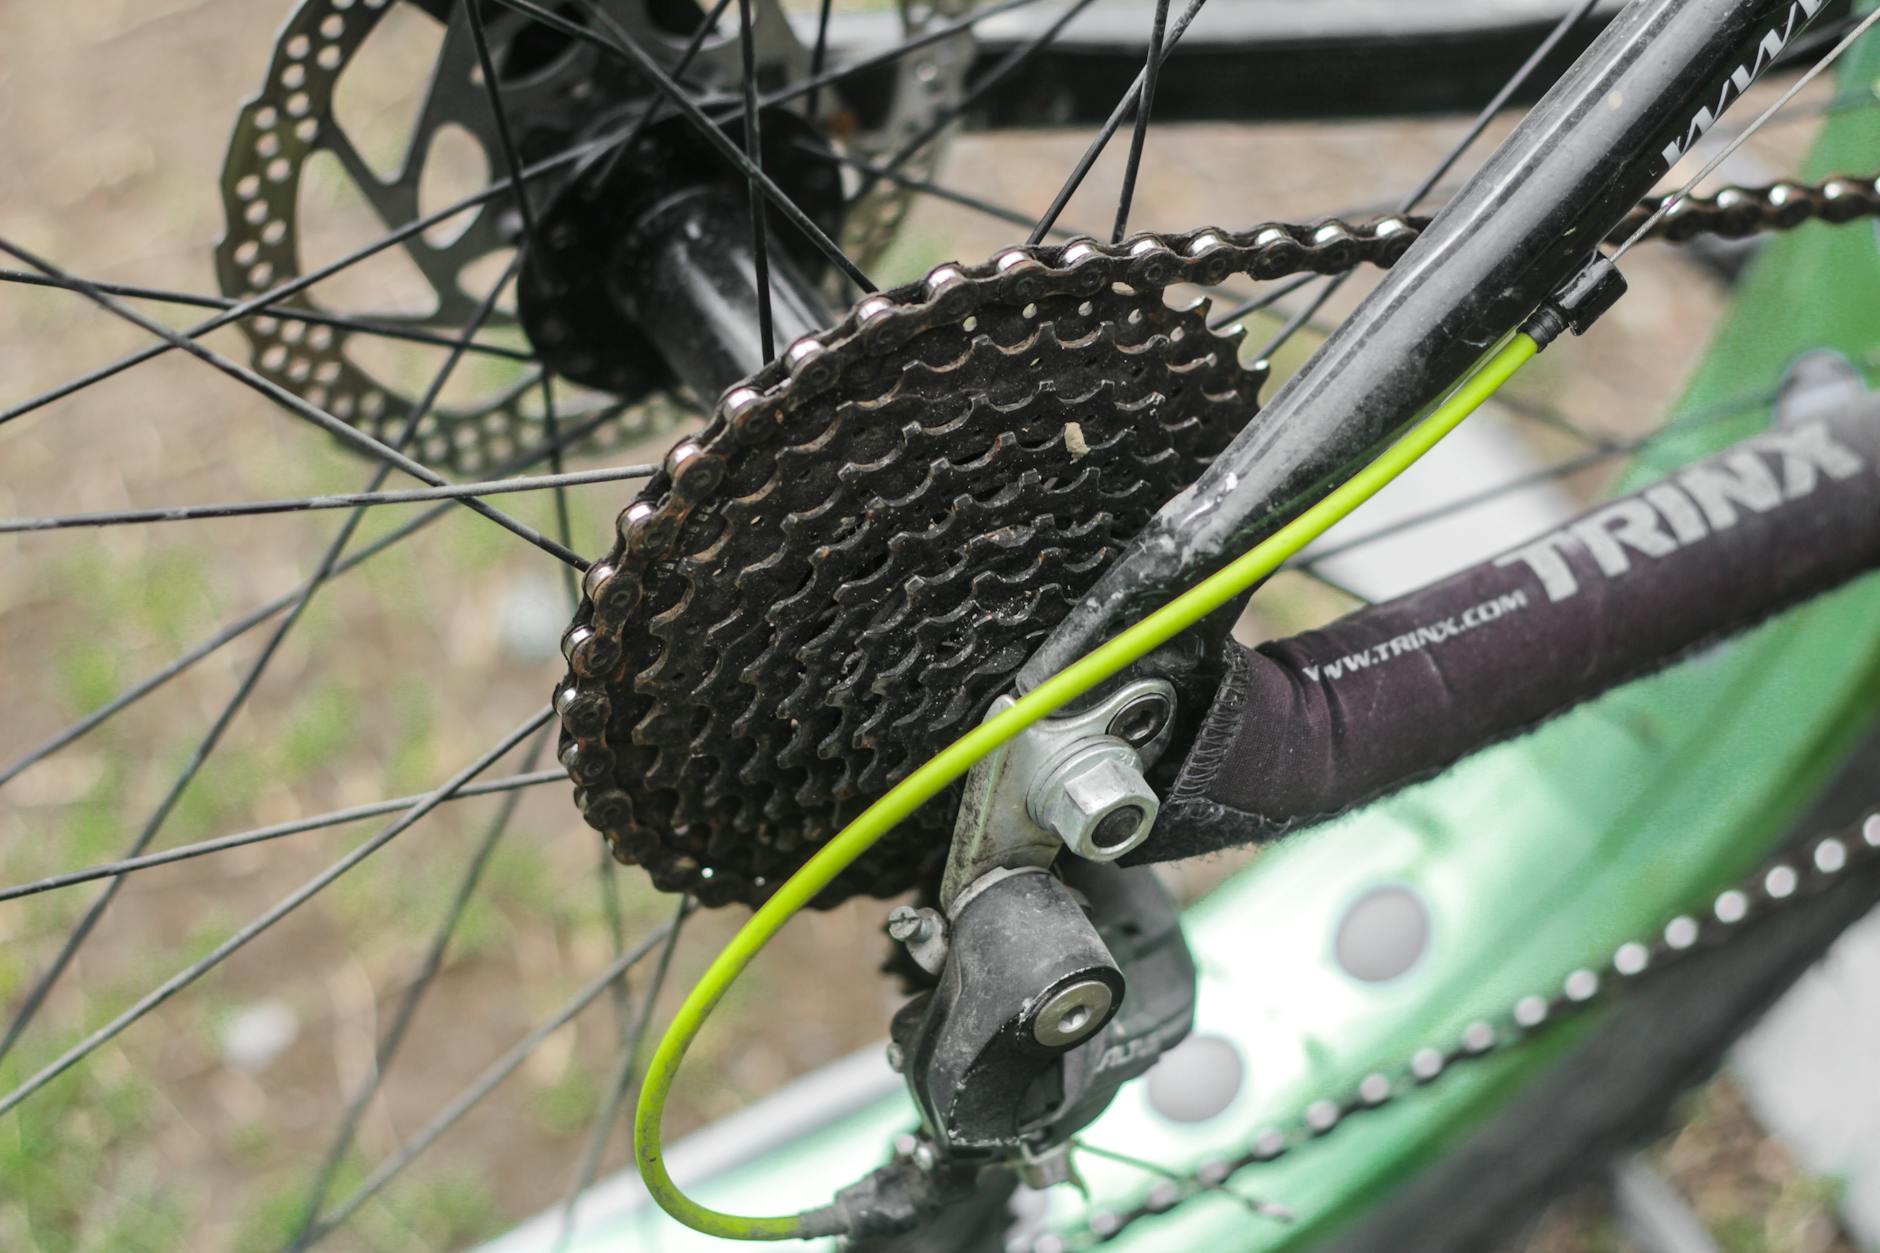
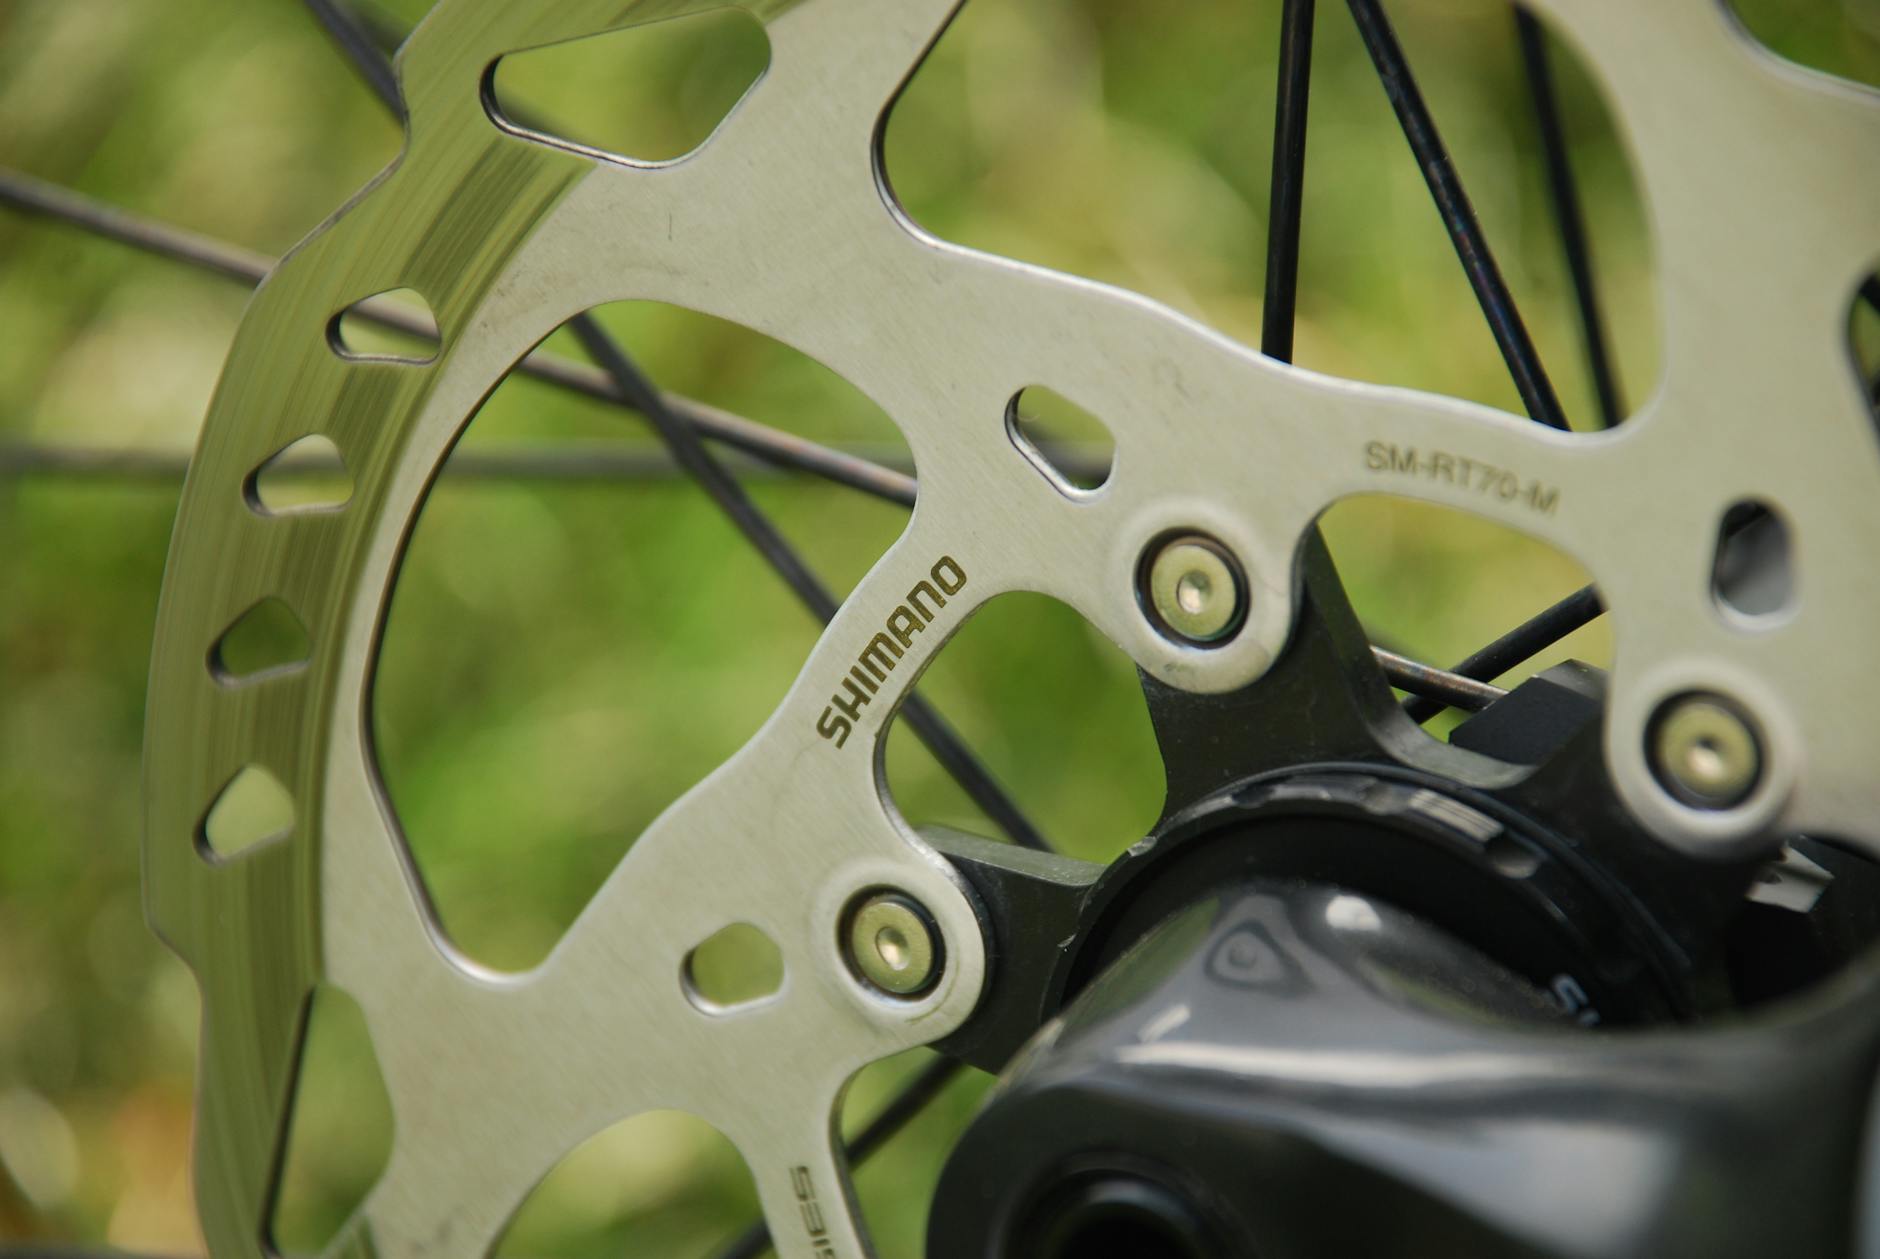
Hydraulic brake systems work by transmitting force through an incompressible fluid. When you squeeze the lever, a piston pushes fluid through the hose, which in turn pushes the pistons in the caliper against the rotor. This only works correctly when the system contains nothing but fluid””no air. Air is compressible, so any bubbles in the line absorb some of your lever force instead of transmitting it to the brake pads. The result is a lever that feels soft, travels too far toward the bar, or requires pumping to build pressure. Air enters the system in several ways. The most common is during pad changes or wheel removal when the pistons get pushed back and tiny amounts of air sneak past the seals.
Fluid also absorbs moisture from the atmosphere over time, particularly DOT fluid, which is hygroscopic. This moisture can eventually cause micro-bubbles to form as it heats up during hard braking. A crash that damages a hose fitting or a loose bleed port can also introduce air. Some riders bleed their brakes annually as preventive maintenance, while others wait until they notice performance issues””both approaches are reasonable depending on how much you ride and how demanding your terrain is. However, not every soft lever means you need a bleed. If only one brake feels off, check that the pads have sufficient material and that the caliper pistons are moving freely. Contaminated pads or a glazed rotor can reduce stopping power without affecting lever feel, so diagnose carefully before committing to a bleed procedure.
Tools and Fluid: What You Need Before Starting
The bleeding kit you need depends entirely on your brake brand, and mixing up fluid types will destroy your seals. Shimano brakes use mineral oil, which is relatively benign and won’t damage paint or components if spilled. SRAM, Hayes, Formula, and most other brands use DOT fluid””specifically DOT 4 or DOT 5.1 depending on the model. DOT fluid is mildly corrosive, attacks paint finishes, and absorbs moisture from the air, so it requires more careful handling and should be stored in sealed containers. Never use DOT 5 (silicone-based) in any bicycle brake system, even though the numbering makes it seem like an upgrade. Each manufacturer sells brand-specific bleed kits, and these are worth buying despite the markup.
A Shimano bleed kit includes the funnel that attaches to the lever, bleed blocks to keep the pistons spaced correctly, and the right fittings. SRAM’s kit includes two syringes with their proprietary fittings and specific DOT 5.1 fluid. Aftermarket kits exist at lower prices, but fitment issues with bleed fittings can introduce air rather than remove it””exactly the opposite of what you want. Budget around 30 to 50 dollars for a proper kit plus fluid, which will last through many bleed cycles. Beyond the kit, you need clean rags, isopropyl alcohol for cleanup, nitrile gloves to protect your hands from fluid exposure, and a way to secure your bike with the lever positioned correctly. A repair stand helps enormously. If you are working with DOT fluid, have water nearby since it is water-soluble and washes off skin and painted surfaces before causing damage.
Step-by-Step: The Shimano Gravity Bleed Method
Shimano’s bleeding process relies on gravity rather than pressure, making it arguably the easiest system to work on. Start by removing the wheel and installing a bleed block between the brake pads””this prevents the pistons from pushing out during the procedure. Position the bike so the lever is the highest point in the system, typically by rotating the handlebar. Remove the lever’s bleed port screw using a 2.5mm Allen key, then thread in the plastic bleed funnel with the included o-ring seal. Fill the funnel about halfway with Shimano mineral oil. At the caliper, locate the bleed nipple””a 7mm fitting on most models””and attach a short length of tubing leading to a catch bottle. Open the nipple a quarter turn and watch fluid begin to flow downward.
Gently squeeze the brake lever to encourage fluid movement, then flick the hose and caliper to dislodge any stubborn bubbles. You will see air bubbles rise through the funnel as fresh oil descends. Keep adding oil to the funnel so it never runs dry, which would suck air back into the system. Once bubbles stop appearing for 30 seconds or so of gentle lever pumping, close the caliper bleed nipple while holding the lever lightly squeezed. Remove the funnel, reinstall the bleed port screw with its o-ring, and wipe away any spilled fluid. The lever should now feel firm within the first centimeter of travel. If it still feels soft, repeat the process””sometimes stubborn air pockets require two or three cycles to fully evacuate, particularly if the brake was run dry or the hose was disconnected.
Step-by-Step: The SRAM Syringe Method
SRAM and other DOT-fluid brakes use a pressurized two-syringe system that actively pushes fluid through rather than relying on gravity. This method is faster but less forgiving of mistakes. Begin by removing the wheel and installing the bleed block. Unlike Shimano, the bike position matters less here since you are forcing fluid through mechanically, though keeping everything relatively level helps. Prepare both syringes: fill one about three-quarters full with DOT fluid and leave a small air gap at the top, while the second syringe should be mostly empty with just a bit of fluid coating the inside. Attach the full syringe to the caliper bleed port and the empty syringe to the lever bleed port.
With both ports open, slowly push fluid from the caliper syringe upward toward the lever. You will see the lever syringe fill with fluid and any air bubbles present in the system. The key is moving slowly””rapid pressure changes create turbulence that can break large bubbles into tiny ones that are harder to remove. Once the fluid runs clear into the lever syringe with no visible bubbles, pull gently on the lever syringe while pushing on the caliper syringe to create a pressure differential that draws out stubborn air. Close the lever bleed port first while maintaining slight pressure from below, then close the caliper port. This sequence prevents air from sneaking back in as you remove the syringes. SRAM recommends using fresh fluid for each bleed because DOT fluid absorbs moisture quickly once exposed to air””reusing old fluid can introduce the very contamination you are trying to eliminate.
Diagnosing Problems When Bleeding Does Not Fix Soft Levers
Sometimes you bleed the brakes correctly, yet the lever still feels spongy or travels too far. This usually points to a problem beyond air contamination. Worn brake pads are the most common culprit””as pads thin out, the pistons must travel farther to make contact with the rotor, which uses up more lever travel even with a perfectly bled system. Check that your pads have at least 1 to 2 millimeters of friction material remaining before the backing plate. Caliper piston issues also masquerade as bleeding problems. If one piston sticks while the other moves freely, the brake applies unevenly and the lever feel suffers. Push both pistons back carefully with a plastic tire lever, then squeeze the lever repeatedly to cycle them in and out while watching their movement.
They should extend at roughly the same rate. Sticky pistons can sometimes be freed by cleaning around their edges with isopropyl alcohol, but badly corroded pistons require caliper replacement or professional rebuild. Master cylinder seal failure presents the most serious issue. If the seals inside the lever assembly are worn, fluid leaks past them internally rather than generating pressure. The symptom is a lever that firms up when you pump rapidly but fades to the bar when held steady. This requires replacing the lever internals or the entire lever assembly, and no amount of bleeding will help. On older brakes or those exposed to harsh conditions, seal failure becomes increasingly common after five or more years of use.
Avoiding Contamination: The Silent Brake Killer
Contaminated brake pads and rotors cause more brake problems than air in the lines, yet many riders accidentally contaminate their brakes while performing maintenance. Hydraulic fluid of any type””mineral oil or DOT””will ruin brake pads instantly if it contacts the friction material. Even a fingerprint of skin oil on a rotor can cause noise and reduced performance. During any brake work, cover the rotor or remove the wheel entirely, and never touch the braking surface of pads or rotors with bare hands. A rider performing their first brake bleed at home often fails to realize that the tiny drip of fluid that ran down the caliper has now contaminated their pads. The symptom shows up on the next ride: the brakes squeal horribly and stopping power is inconsistent, sometimes grabbing and sometimes barely working.
At this point, the pads must be replaced. Some people attempt to salvage contaminated pads by sanding the surface and baking them in an oven to burn off oil, and this sometimes works temporarily, but the contamination usually wicks deep into the pad material and returns. If you suspect contamination but cannot see visible fluid, clean the rotor thoroughly with isopropyl alcohol and try the brakes. If they still squeal or grab inconsistently, replace the pads. Given that a decent set of brake pads costs between 15 and 40 dollars, replacement is almost always worthwhile over attempting questionable salvage procedures. Consider keeping a spare set of pads on hand specifically for this situation.
When to Seek Professional Help
Not every brake issue is appropriate for home repair, and recognizing when to visit a shop saves both frustration and potential safety problems. Hose replacement, in particular, requires careful cutting, insertion of olives and barbs, and precise torque on compression fittings””mistakes here create dangerous failure points. If you suspect a hose is damaged internally or a fitting is compromised, let an experienced mechanic handle it.
Certain older or boutique brake systems also have unusual bleed procedures that differ substantially from Shimano and SRAM methods. Magura brakes use their own mineral oil formula, while some Hayes and TRP models have specific quirks. If your brakes are not responding to standard bleeding techniques, consult the manufacturer’s service manual or take them to a shop familiar with that brand. A mechanic who bleeds brakes daily can also diagnose internal issues like master cylinder problems far faster than someone troubleshooting at home for the first time.
The Future of Brake Maintenance
Brake technology continues to evolve toward lower maintenance requirements. Newer systems feature better seal designs that resist air intrusion, and some manufacturers are experimenting with semi-sealed systems that can go years between bleeds under normal use. Electronic integration is also appearing, with some high-end brakes now incorporating sensors that monitor pad wear and system pressure, alerting riders to maintenance needs through connected apps.
For now, though, knowing how to bleed your own brakes remains one of the most valuable skills for any serious cyclist. It provides independence from shop schedules, saves money over time, and builds mechanical confidence that carries over into other maintenance tasks. The initial learning curve is real””your first bleed might take an hour and leave you uncertain about the results””but by the third or fourth time, the process becomes routine.
Conclusion
Bleeding hydraulic disc brakes is a straightforward maintenance task once you understand your specific brake system’s requirements. The fundamental process involves pushing fresh fluid through the system while providing an escape route for air bubbles, whether through Shimano’s gravity-based funnel method or SRAM’s pressurized syringe technique. Success depends on using the correct fluid type, positioning everything properly, working slowly and methodically, and avoiding contamination throughout the process.
If your brakes feel soft or the lever pulls too close to the bar, bleeding should be your first troubleshooting step after confirming adequate pad thickness. Invest in the proper brand-specific bleed kit, set aside 30 minutes per brake, and work in a clean space where drips will not cause problems. Once you have done it successfully a few times, brake bleeding becomes just another routine task””like changing a tire or adjusting a derailleur””that keeps your bike performing safely and reliably.