A properly configured gravel bike cockpit combines a handlebar width of 42-46cm matched to your shoulder breadth, a stem length that places your hands 5-10mm lower than road positioning, and brake lever angles tilted 5-15 degrees outward from parallel””these three elements form the foundation for all-day comfort and confident handling on mixed terrain. The specific setup that works for you depends on your riding style: a rider tackling technical singletrack benefits from wider bars and a shorter stem (around 70-80mm), while someone grinding long gravel centuries often prefers narrower bars with a slightly longer stem (90-100mm) for better aerodynamics and reduced shoulder fatigue. Consider the case of a rider switching from road to gravel who kept their narrow 40cm bars and found their steering twitchy on loose descents””widening to 44cm bars immediately improved stability without sacrificing climbing efficiency.
Beyond these fundamental measurements, your cockpit setup involves several interconnected decisions about flare angle, bar drop, stem rise, and lever positioning that must work together as a system. This article examines each component in detail, from selecting the right handlebar shape to positioning your brake levers for confident stopping on steep descents. You’ll learn how reach and stack measurements interact with stem choice, why hood angle matters more on gravel than road, and how to diagnose common fit problems that cause hand numbness, shoulder pain, or unstable handling.
Table of Contents
- What Handlebar Width Provides the Best Gravel Bike Control?
- Stem Length and Rise: Finding Your Optimal Reach
- Brake Lever Position: The Overlooked Comfort Factor
- How Bar Tape and Grip Padding Reduce Hand Fatigue
- Cockpit Setup for Bikepacking and Long-Distance Events
- How to Prepare
- How to Apply This
- Expert Tips
- Conclusion
- Frequently Asked Questions
What Handlebar Width Provides the Best Gravel Bike Control?
Handlebar width directly affects steering precision, breathing capacity, and weight distribution across your hands””and getting it right requires looking beyond the simple “match your shoulder width” rule that works well enough on pavement. For gravel riding, most cyclists benefit from bars 2-4cm wider than their road setup because the additional width creates a longer lever arm for controlling the bike through loose or uneven surfaces. A rider with 40cm shoulders who uses 40cm road bars typically finds 42-44cm gravel bars more stable without feeling awkward. The trade-off becomes apparent on long rides and in headwinds: wider bars catch more air and require your arms to extend further outward, which can fatigue your shoulders and upper back over multi-hour efforts. Riders who primarily tackle smooth gravel roads or rail trails may prefer staying closer to their road width, while those venturing onto chunky doubletrack or technical descents benefit from the extra width.
Testing matters here””many shops have demo bars in 42cm, 44cm, and 46cm widths, and even a short parking lot test reveals which feels most natural. Flare angle complicates the width question because manufacturers measure handlebars at different points. A bar listed as 42cm with 16 degrees of flare measures 42cm at the hoods but significantly wider at the drops””sometimes over 50cm at the ends. This gives you the best of both worlds: a relatively compact position for climbing and cruising, with added width and stability when you drop into the hooks for descents. However, excessive flare beyond 20 degrees can feel unwieldy for riders with narrower shoulders and may force uncomfortable wrist angles during extended drop-bar riding.
Stem Length and Rise: Finding Your Optimal Reach
Stem selection determines how stretched or compact your position feels, and gravel bikes generally favor shorter, higher stems than their road counterparts. A stem between 70-90mm with 6-17 degrees of rise suits most gravel riders, keeping weight balanced between the wheels while maintaining enough front-end stability for technical terrain. Compare this to road setups where stems of 100-120mm with zero or negative rise create the aerodynamic stretched position prized for speed. The interaction between stem length and handling characteristics deserves attention: shorter stems quicken steering response while longer stems provide stability.
For primarily technical riding””singletrack, rocky descents, and steep terrain””a 70mm stem keeps the front wheel planted and responsive. For gravel racing or long-distance events with less technical demands, an 80-90mm stem balances responsiveness with comfort and stability at higher speeds. However, if your bike’s head tube is already tall or your frame is sized on the larger end for you, adding rise through the stem may push your position too upright, reducing power transfer and making the bike feel wallowy on climbs. In this case, a shorter stem with less rise””or even a negative rise stem flipped to a positive angle””might create a better position. Frame geometry and stem choice must work together; you can’t compensate for a frame that’s fundamentally too large by shortening the stem indefinitely without making the handling unpredictable.
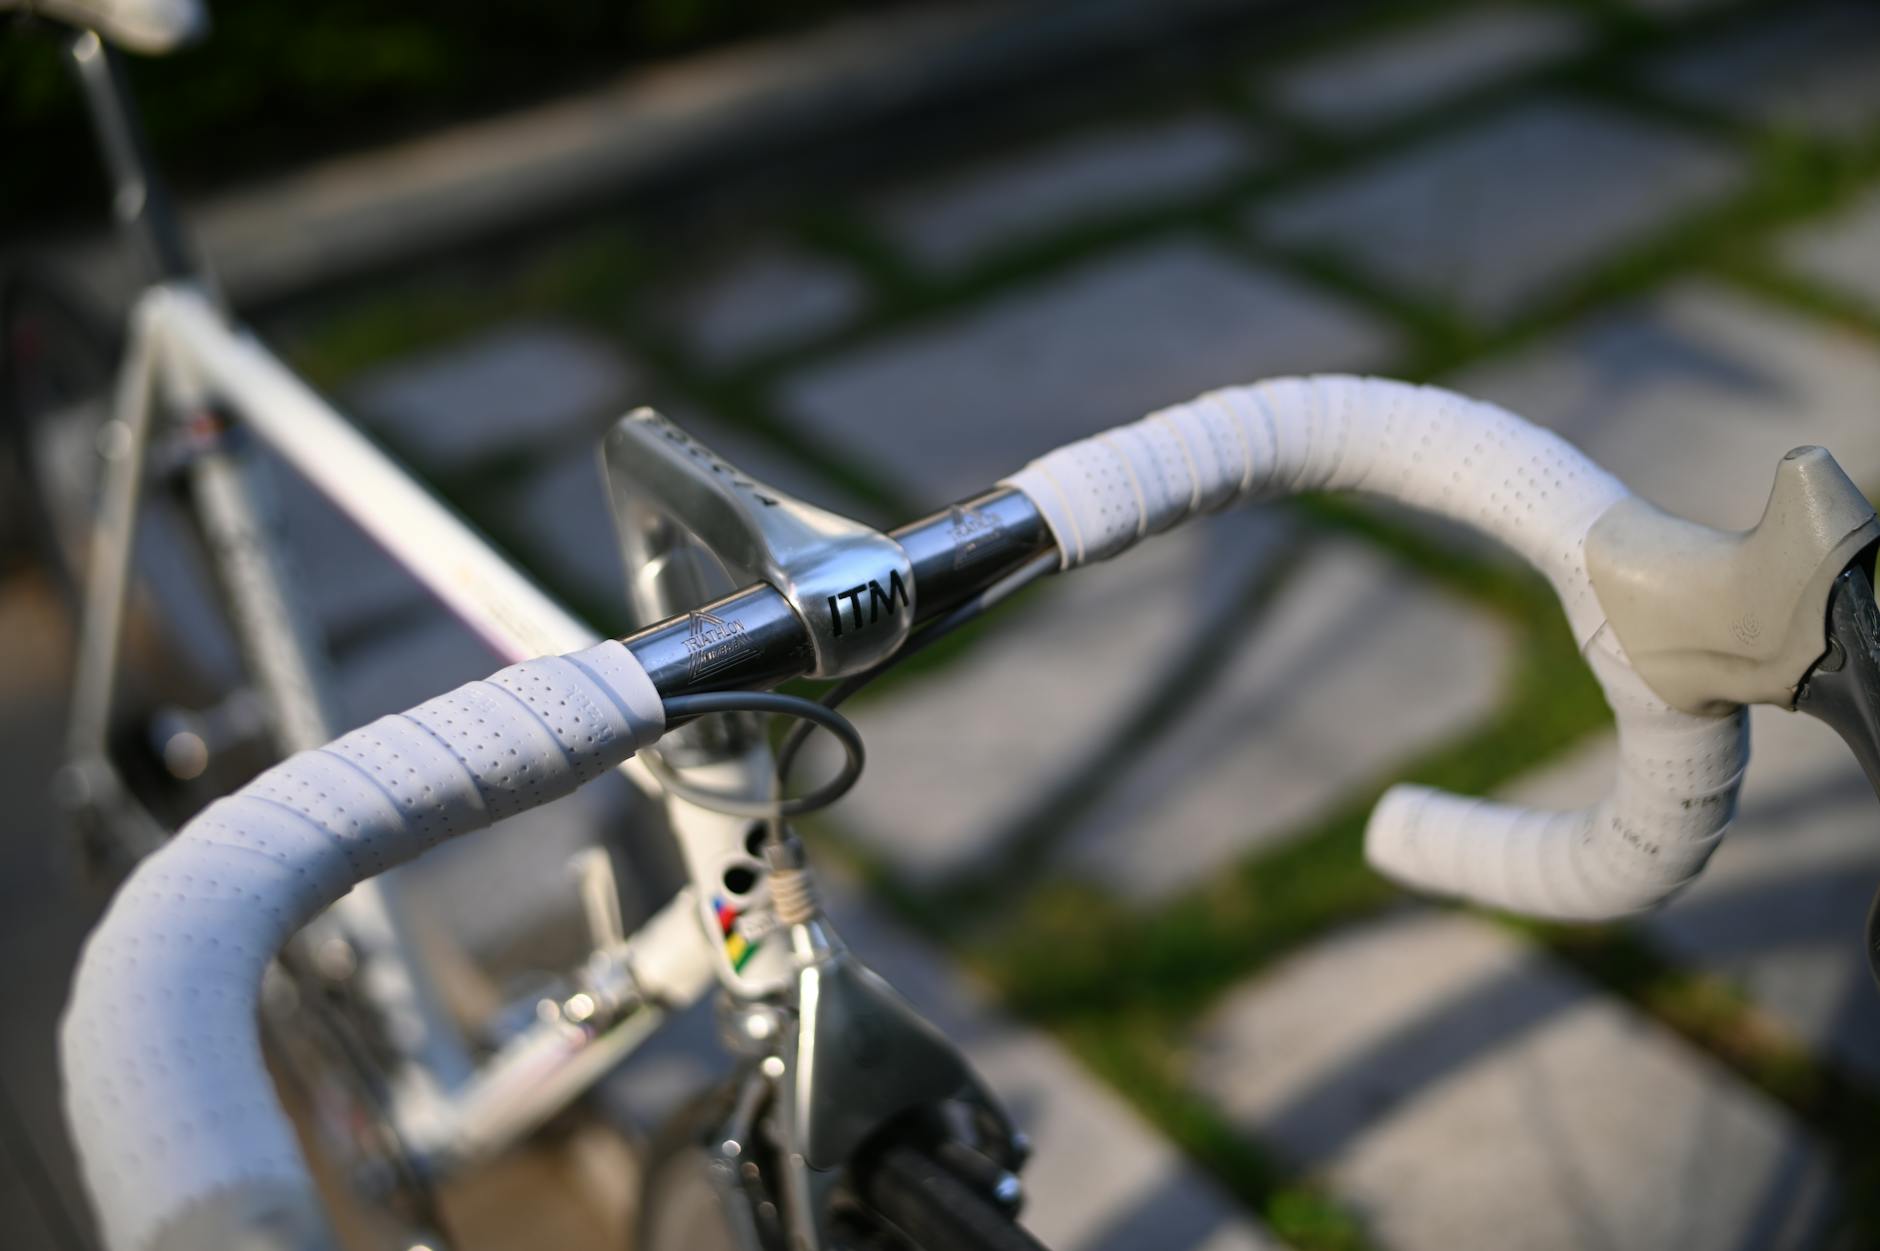
Brake Lever Position: The Overlooked Comfort Factor
Where you place your brake levers on the bars affects not just braking power but hand comfort, wrist angle, and how naturally your hands fall into position””yet many riders never adjust them from the shop’s default installation. Optimal lever position for gravel riding typically means the lever hoods sit parallel to the ground or angled very slightly upward when you’re in your normal riding position, which differs from road bikes where hoods often angle slightly downward for more aggressive postures. The rotational position of the levers on the curved portion of the bar matters just as much. For gravel use, rotating the levers 5-15 degrees outward from straight creates a more natural wrist angle and positions your fingers better for the brake levers when riding in the drops.
This slight outward rotation aligns with the flare found in most gravel-specific bars and prevents the uncomfortable inward wrist bend that causes fatigue and numbness on long rides. Lever reach””how far your fingers must travel to contact the brake lever””requires adjustment for many riders. Most hydraulic brake levers include a reach adjustment screw accessible without tools, and setting this so that your fingers contact the lever with a slight bend at the middle knuckle provides both comfort and maximum braking power. Riders with smaller hands should prioritize levers with significant reach adjustment, as some levers simply won’t adjust close enough for comfortable one-finger braking.

How Bar Tape and Grip Padding Reduce Hand Fatigue
The contact point between your hands and the handlebars absorbs vibration constantly on rough surfaces, and your choice of bar tape dramatically affects how much shock reaches your palms. Thick, cushioned bar tape (3mm or more) with gel inserts or silicone backing measurably reduces vibration transmission compared to thin race tape, though this comes at the cost of reduced bar feel and a slightly spongy sensation that some riders dislike for technical riding. Double-wrapping””applying two layers of standard bar tape””provides more cushioning than single-wrap thick tape for many riders because you can adjust the overlap and therefore the thickness along different portions of the bar. Concentrate extra padding where your hands rest most: the tops of the bars and the ramped portion leading to the hoods. The drops typically need less padding because you spend less time there and need better grip for technical descents. Gel pads designed to sit under bar tape concentrate cushioning exactly where you need it without adding bulk everywhere. These adhesive pads stick to the bar beneath your tape and absorb high-frequency vibration effectively. The downside: they can shift during aggressive riding if not carefully applied, creating uncomfortable lumps that develop gradually over time. Checking their position and replacing tape every season prevents this issue from developing.
## Common Cockpit Problems and How to Diagnose Them Hand numbness and tingling during or after rides indicates either too much pressure on the ulnar nerve from improper lever positioning or too much vibration transmission””sometimes both. If numbness concentrates in your ring and pinky fingers, your hands are likely rotated too far forward, placing the nerve against the hard edge of the bar or lever hood. Rotating your levers slightly outward and checking that you’re not supporting excessive weight on your hands (which may indicate your saddle is tilted forward) usually resolves this. Neck and shoulder pain points to a reach problem: either your stem is too long, creating an overstretched position that strains your neck as you crane to see the road, or your bars are too wide, forcing your shoulders into an unnatural position. Shortening your stem by 10-20mm or narrowing your bars often helps, but verify the issue first by riding briefly with your hands closer together on your current bars””if pain decreases, narrower bars or a shorter stem will help. Wrist pain, particularly on the outer edge of the wrist, frequently results from excessive bar flare combined with an inward wrist break during riding. If you’re running bars with substantial flare and experiencing this pain, try rotating your levers back toward parallel or consider bars with less flare. Not everyone adapts well to extreme flare angles, despite their popularity in the gravel market. Some riders’ wrist anatomy simply doesn’t suit positions that work well for others.
Cockpit Setup for Bikepacking and Long-Distance Events
Multi-day riding and bikepacking demand a more upright, relaxed cockpit than typical gravel setups because you’ll spend far more consecutive hours in the saddle. Raising your bars 10-20mm higher than your normal position through spacers, a higher-rise stem, or both reduces strain on your lower back and neck during long days. Many bikepackers also run slightly narrower bars than they would for technical day riding because they prioritize aerodynamics and leave room for frame bags and accessories.
The addition of handlebar bags and accessories changes your cockpit dynamics significantly. A 5-10 liter handlebar bag adds weight to your steering and can interfere with normal hand positions on the hoods. This is where bars with extended flat sections or additional mounting points prove their worth””they maintain comfortable hand positions even with bags attached. For example, the Salsa Cowchipper and similar designs include flattened tops that accommodate bags while preserving multiple grip options.

How to Prepare
- **Measure your current setup precisely.** Use a measuring tape to record your stem length, stem rise, bar width at hoods and drops, and the distance from saddle nose to the center of your bars””these baselines let you reverse changes if new adjustments don’t work.
- **Gather the correct tools.** Most cockpit adjustments require 4mm, 5mm, and 6mm hex keys; some stems use Torx bolts, and lever clamp bolts vary between manufacturers. Having a torque wrench prevents over-tightening carbon components.
- **Mark your current lever positions.** Use electrical tape or a white paint marker to indicate exactly where your levers currently sit on the bars, including their rotation angle””this lets you return to your starting point if experiments fail.
- **Clean all contact surfaces.** Remove old bar tape and clean the handlebars with isopropyl alcohol; clean the steerer tube and stem bore. Dirt and old grease affect torque readings and can cause components to slip.
- **Check component compatibility.** Verify that any new stem uses your steerer diameter (typically 28.6mm for threadless) and that your bars’ clamp area matches your stem’s clamp diameter (31.8mm is standard, but 35mm oversized bars exist).
How to Apply This
- **Loosen components in the correct order.** Start with bar tape removal if necessary, then loosen brake levers, then the stem faceplate bolts that clamp the bars, then stem steerer bolts. This sequence prevents scratching bars against stem edges or dropping partially loosened components.
- **Make adjustments in small increments.** When changing stem height, move spacers 5-10mm at a time. When rotating levers, adjust by 5 degrees maximum before testing. When raising or lowering lever position on the bar, move 5mm per adjustment.
- **Tighten using proper torque patterns.** For stem faceplates with four bolts, tighten in an X pattern, alternating between bolts and increasing torque gradually until reaching final spec. This prevents uneven clamping that can creak or damage bars.
- **Re-wrap bars with appropriate technique.** Begin at the bar ends, overlap each wrap by half the tape width, stretch the tape moderately and consistently, and pay particular attention to the lever clamp area where gaps commonly develop.
Expert Tips
- Invest in a fitting session before expensive component changes””many perceived cockpit issues actually stem from saddle position, and a fitter can diagnose the true source of discomfort before you spend money on new bars or stems.
- Do not assume that what works for professional gravel racers will work for you””they’re often optimizing for speed over an 8-hour race, while recreational riders need setups for comfort over months of riding.
- Consider dedicated winter and summer cockpit configurations””cold weather riding benefits from higher, more upright positions and thicker tape, while summer events may warrant lower, more aggressive setups.
- Test new hand positions on your current bars before buying new components””holding your hands in different spots during rides helps identify whether you need more or less flare, width, or drop.
- Replace bar tape annually at minimum, regardless of appearance””the cushioning materials compress and degrade over time, reducing their vibration-damping properties even when they look fine.
Conclusion
Achieving an optimal gravel bike cockpit requires balancing width, reach, and hand position to match both your body geometry and riding style. The combination of appropriately sized handlebars with suitable flare, a stem length that positions you comfortably without compromising handling, and brake levers set at ergonomic angles forms a system where each element affects the others. There is no universal perfect setup””a rider tackling technical singletrack needs different dimensions than someone grinding long gravel centuries, and your own preferences will evolve as your riding develops.
Start your optimization by identifying specific discomforts or handling issues in your current setup, then address them methodically with single changes rather than wholesale component swaps. Pay attention to how your position feels after an hour or more of riding, not just the first few minutes when everything feels new. The goal is a cockpit that disappears beneath you during long rides””where you forget about your hands, wrists, and shoulders because nothing hurts, and your bike responds predictably to every steering input on whatever surface you encounter.
Frequently Asked Questions
How long does it typically take to see results?
Results vary depending on individual circumstances, but most people begin to see meaningful progress within 4-8 weeks of consistent effort. Patience and persistence are key factors in achieving lasting outcomes.
Is this approach suitable for beginners?
Yes, this approach works well for beginners when implemented gradually. Starting with the fundamentals and building up over time leads to better long-term results than trying to do everything at once.
What are the most common mistakes to avoid?
The most common mistakes include rushing the process, skipping foundational steps, and failing to track progress. Taking a methodical approach and learning from both successes and setbacks leads to better outcomes.
How can I measure my progress effectively?
Set specific, measurable goals at the outset and track relevant metrics regularly. Keep a journal or log to document your journey, and periodically review your progress against your initial objectives.
When should I seek professional help?
Consider consulting a professional if you encounter persistent challenges, need specialized expertise, or want to accelerate your progress. Professional guidance can provide valuable insights and help you avoid costly mistakes.
What resources do you recommend for further learning?
Look for reputable sources in the field, including industry publications, expert blogs, and educational courses. Joining communities of practitioners can also provide valuable peer support and knowledge sharing.


