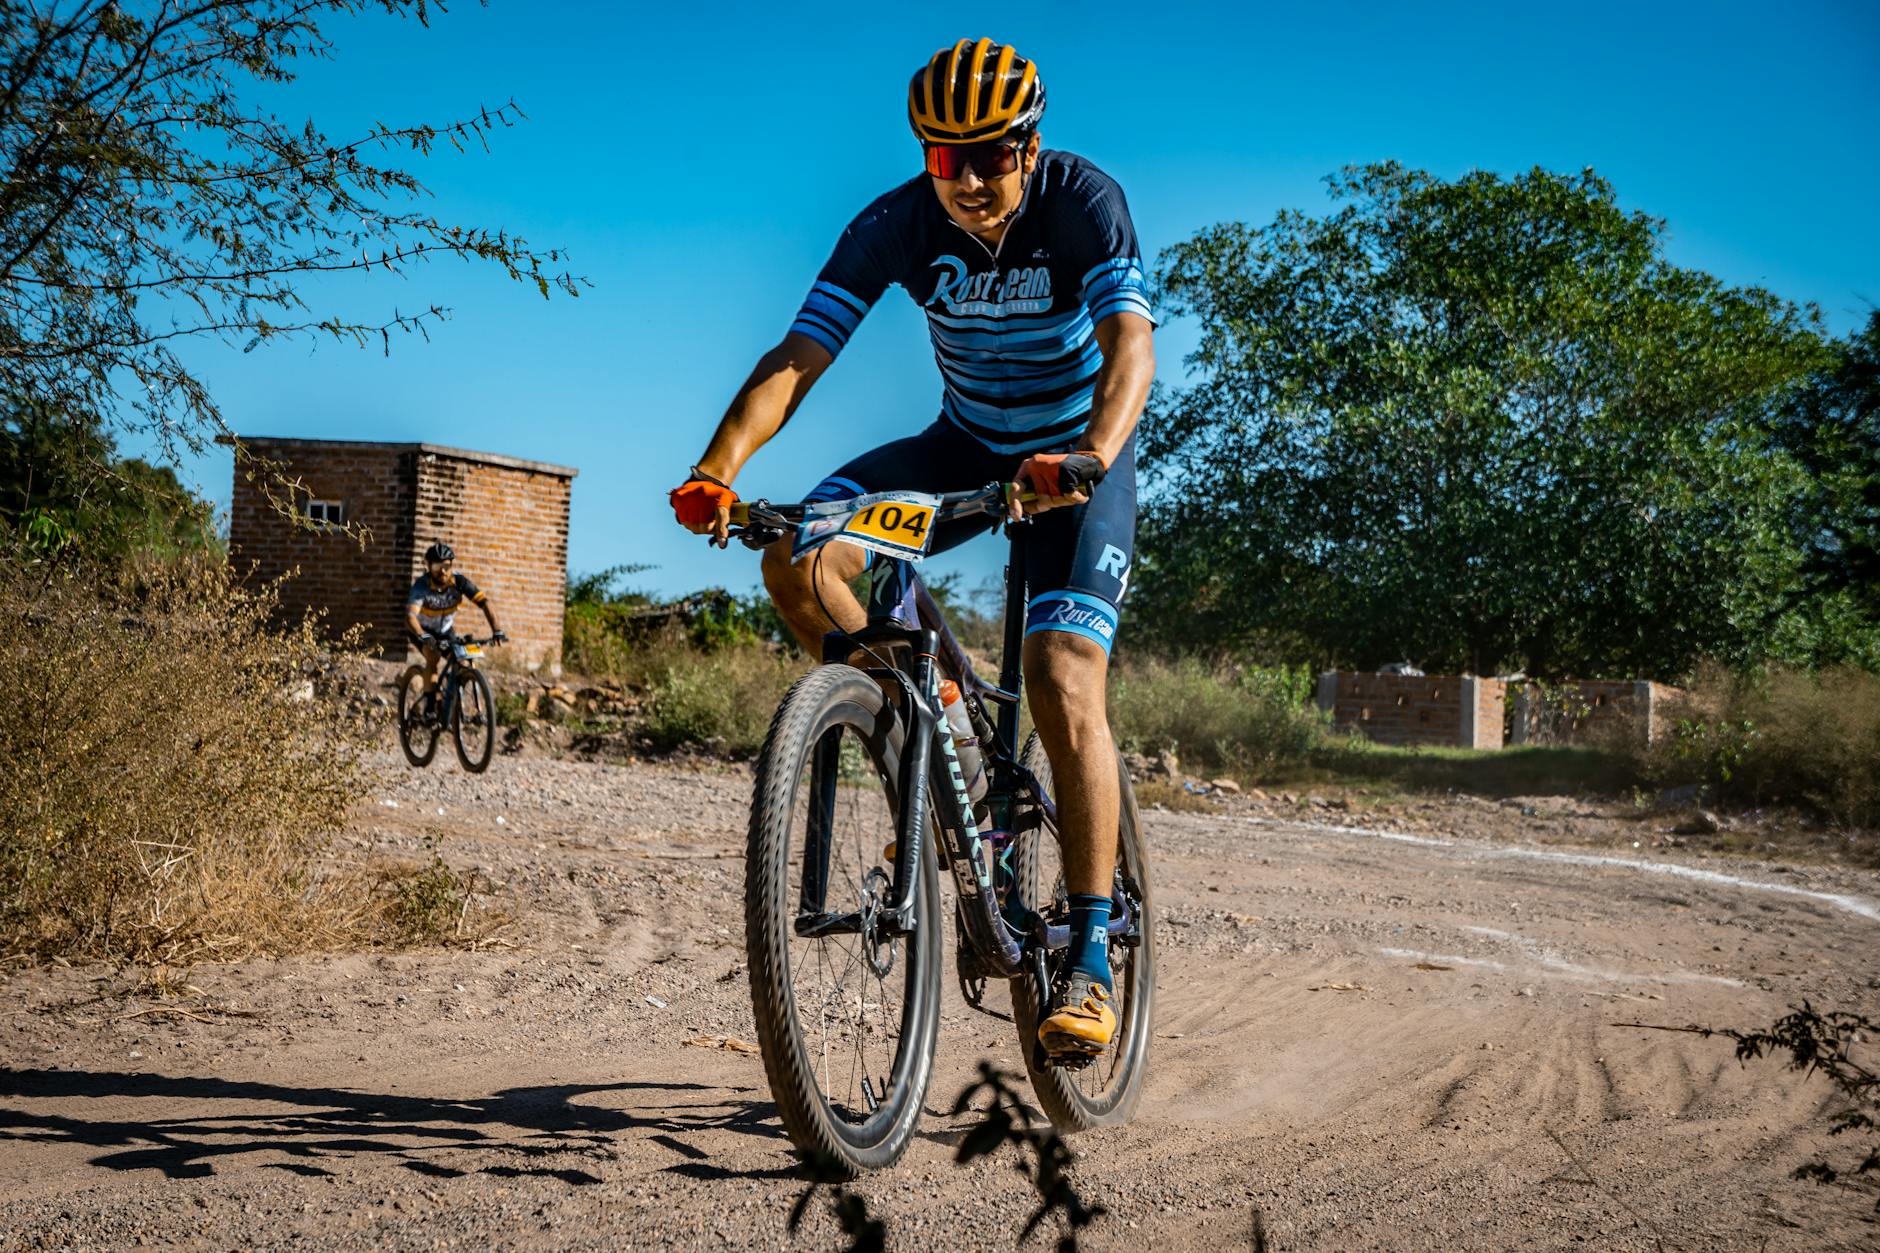
The best budget gravel bikes for riders on a tight budget typically fall in the $800 to $1,500 range, with standout options including the Poseidon Redwood, State Bicycle 4130 All-Road, and the Marin Gestalt series. These bikes deliver the essential gravel-riding experience””wide tire clearance, stable geometry, and capable braking””without the premium price tags that can push gravel bikes well past $3,000. For example, the Poseidon Redwood at around $900 gives you a steel frame, mechanical disc brakes, and clearance for 700x50mm tires, which is more than enough bike for most weekend gravel adventures and light bikepacking trips. What separates a genuinely good budget gravel bike from a cheap disappointment comes down to a few key factors: frame material and construction quality, the drivetrain’s reliability, brake performance, and tire clearance for versatility.
You don’t need a carbon frame or electronic shifting to enjoy gravel riding, but you do need components that won’t fail when you’re twenty miles from the nearest paved road. The bikes mentioned above hit that sweet spot where manufacturers have made smart compromises””typically opting for mechanical disc brakes instead of hydraulic, aluminum or steel frames instead of carbon, and simpler drivetrains that still get the job done. This article covers what makes a budget gravel bike worth buying, how to evaluate different options, the components that matter most at lower price points, and common pitfalls to avoid. We’ll also walk through how to prepare for your purchase and apply what you learn to find the right bike for your specific needs and riding style.
Table of Contents
- What Makes a Budget Gravel Bike Worth Buying?
- Key Components to Prioritize When Shopping Budget Gravel Bikes
- Understanding Gravel Bike Geometry for Budget Riders
- How Budget Gravel Bikes Handle Different Terrain Types
- Upgrades That Make Sense on Budget Gravel Bikes
- How to Prepare
- How to Apply This
- Expert Tips
- Conclusion
- Frequently Asked Questions
What Makes a Budget Gravel Bike Worth Buying?
A budget gravel bike earns its value when it can handle mixed terrain reliably without requiring constant maintenance or upgrades. The core requirements are straightforward: disc brakes for consistent stopping in mud and wet conditions, tire clearance of at least 40mm (preferably 45mm or more), and a frame geometry that balances stability on rough surfaces with reasonable efficiency on pavement. When a bike nails these fundamentals, the price becomes secondary to capability. The difference between an $800 gravel bike and a $3,000 one often comes down to weight and component refinement rather than fundamental capability. A Marin Gestalt 1 at around $1,200 weighs roughly 24 pounds and uses a Shimano Claris drivetrain. A high-end gravel bike might weigh 18 pounds and sport a SRAM Force AXS electronic groupset.
Both bikes can ride the same gravel roads, complete the same routes, and handle the same conditions. The expensive bike shifts more crisply and accelerates more easily, but the budget bike still gets you there. However, there’s a floor below which compromises become problems. Bikes under $600 often cut corners on wheels, brakes, and frame quality in ways that affect safety and durability. Entry-level mechanical disc brakes from reputable brands like Tektro work fine; no-name brakes with poor pad alignment and inconsistent modulation do not. The sweet spot for budget gravel bikes sits between $800 and $1,500, where manufacturers can include genuinely functional components without the premium materials and weights that drive prices upward.

Key Components to Prioritize When Shopping Budget Gravel Bikes
Frame material at budget prices typically means aluminum or steel, and both have genuine merit for gravel riding. Aluminum frames tend to be lighter and stiffer, making them feel more responsive on climbs and pavement sections. Steel frames offer a more forgiving ride quality that dampens vibration on rough surfaces, though they add weight. The State Bicycle 4130 All-Road uses a chromoly steel frame at around $900, delivering a comfortable ride feel that many riders prefer for all-day gravel adventures. Drivetrains at budget prices range from Shimano Claris (8-speed) through Shimano Sora (9-speed) and into Shimano Tiagra (10-speed) or their SRAM equivalents. The practical difference between these levels matters less than you might expect.
An 8-speed drivetrain with an 11-34 cassette provides a wide enough gear range for most gravel riding, and Claris-level components are durable and easily serviceable. Where budget drivetrains struggle is at the extremes””very steep climbs or high-speed descents where you might want a lower low gear or higher high gear. If your budget allows any flexibility, prioritize hydraulic disc brakes over mechanical ones. The difference in stopping power and modulation is significant, especially in wet or muddy conditions where mechanical brakes can struggle. However, if hydraulic brakes push you over budget, mechanical disc brakes from Tektro or Shimano work adequately””they just require more hand force and more frequent adjustment. Many riders complete multi-day gravel races on mechanical disc brakes without issue; they’re a compromise, not a failure.
Understanding Gravel Bike Geometry for Budget Riders
Gravel bike geometry sits between road bikes and mountain bikes, but budget models vary considerably in their positioning on that spectrum. Bikes with longer wheelbases and slacker head tube angles (around 70-71 degrees) prioritize stability on descents and rough terrain. Bikes with shorter wheelbases and steeper angles (72-73 degrees) feel more responsive and road-like but can be twitchy on loose surfaces. Checking geometry charts before purchasing helps ensure the bike matches your intended riding style. The Poseidon Redwood exemplifies the stable end of the spectrum, with geometry borrowed from touring and bikepacking traditions. It handles loaded riding well and feels planted on rough descents but won’t win any criterium races.
Conversely, the Giant Contend AR at around $1,200 sits closer to the road-bike end, making it faster on pavement but less confidence-inspiring on technical singletrack. Neither approach is wrong; they serve different purposes. Stack and reach numbers matter more than frame size labels, which vary wildly between manufacturers. A “medium” from one brand might fit like a “large” from another. Before purchasing, compare the stack (vertical height from bottom bracket to head tube top) and reach (horizontal distance from bottom bracket to head tube top) to a bike you know fits you well. Many budget gravel bikes only come in a few sizes, so finding an exact fit may require adjusting stem length or handlebar width after purchase.
How Budget Gravel Bikes Handle Different Terrain Types
Budget gravel bikes handle smooth gravel roads and packed dirt trails excellently””this is their natural environment. The wider tires absorb small bumps, the disc brakes stop reliably on loose surfaces, and the relaxed geometry keeps the bike stable when traction varies. Riding surfaces like crushed limestone paths, fire roads, and well-maintained gravel roads present no challenge for any properly functioning gravel bike regardless of price. Rougher terrain exposes the limitations of budget components more clearly. Technical singletrack with roots, rocks, and steep drops demands precise braking modulation and suspension””neither of which budget gravel bikes excel at. You can ride this terrain on a budget gravel bike, but you’ll be fighting the equipment rather than flowing with the trail. For example, the narrow handlebars typical of gravel bikes (around 42-44cm) provide less control leverage than mountain bike bars, and the rigid frame transmits every impact directly to your body. Pavement performance varies based on tire choice more than bike price. Most budget gravel bikes come with 40mm or wider tires that prioritize comfort and off-road grip over speed. Swapping to narrower, slick-tread tires transforms the road feel significantly. A bike like the Triban RC520 Gravel from Decathlon (around $1,100) can function as a reasonable road bike with narrower tires while still accommodating wider rubber for gravel days. This versatility makes budget gravel bikes appealing as do-everything machines for riders who can only afford one bike.
## Common Problems with Cheap Gravel Bikes and How to Avoid Them The most frequent issue with bottom-tier gravel bikes is poor wheel quality. Inexpensive wheels often have loose spokes, inconsistent spoke tension, and hubs with rough bearings. These problems manifest as wheels that go out of true quickly, spokes that break during normal riding, and bearings that wear out within a season. Before riding any budget gravel bike, check spoke tension by squeezing parallel spokes together””they should have similar resistance, and none should be noticeably loose. Brake rotor alignment causes persistent problems on many budget bikes. If the rotor rubs the brake pads, the bike feels sluggish and the pads wear prematurely. This issue often appears straight from the factory on cheaper bikes. Checking rotor alignment before purchase and knowing how to adjust it (or having a shop adjust it) saves frustration later. Most mechanical disc brakes require periodic adjustment as pads wear; this is maintenance, not malfunction. Drivetrain issues on budget bikes typically stem from improper derailleur adjustment rather than component failure. A rear derailleur that’s slightly misaligned causes poor shifting across all gears. Learning basic derailleur adjustment or having a shop set up the bike properly after purchase resolves most shifting complaints. Warning: avoid bikes with no-name derailleurs that lack adjustment barrel adjusters or use non-standard cable pull ratios””these create ongoing headaches that proper budget components like Shimano Tourney or Microshift don’t.
Upgrades That Make Sense on Budget Gravel Bikes
Tires represent the single most impactful upgrade for any gravel bike regardless of price. Stock tires on budget bikes often prioritize durability and cost over ride quality and grip. Upgrading to quality tires like the Panaracer GravelKing, WTB Riddler, or Teravail Cannonball immediately improves comfort, traction, and flat resistance. For around $80-120 for a pair, this upgrade transforms the ride feel more than any other change at that price point. Contact points””saddle, grips or bar tape, and pedals””make the next tier of worthwhile upgrades. Stock saddles rarely fit individual anatomy well, and spending $50-100 on a saddle that matches your sit bones prevents discomfort that can ruin long rides.
Quality bar tape with adequate cushioning reduces hand fatigue on rough surfaces. Clipless pedals improve power transfer and bike control once you’re comfortable with the system. Upgrading wheels makes sense only after you’ve exhausted other improvements and committed to keeping the bike long-term. Quality wheels cost $300-600 and represent a substantial percentage of a budget gravel bike’s price. However, good wheels transform how a bike accelerates, climbs, and handles. A bike like the Marin Nicasio with upgraded wheels can perform remarkably close to bikes costing twice as much, making this upgrade worthwhile for committed riders who want to maximize their existing frame.
How to Prepare
- **Define your primary riding terrain and distance.** Write down where you’ll actually ride most often””smooth gravel paths, rough fire roads, mixed pavement and gravel, or technical trails. Budget gravel bikes handle some of these better than others, and knowing your primary use case guides the selection.
- **Measure your current bike or get a professional fit.** Record the stack, reach, and saddle height of a bike that fits you well, or visit a local shop for a basic fit assessment. This data prevents purchasing a bike that’s fundamentally the wrong size.
- **Research specific models and read owner reviews.** Manufacturer specifications tell part of the story; owner reviews reveal real-world issues like poor wheel quality, brake problems, or sizing inconsistencies. Pay attention to reviews from riders who’ve used the bike for several months, not just first impressions.
- **Set a total budget including accessories.** A $1,000 bike budget becomes tight when you add pedals ($50-150), a helmet ($50-100), tools ($30-50), and potentially tire upgrades. Account for these costs upfront to avoid overspending on the bike itself.
- **Identify local dealers and service options.** Budget bikes from direct-to-consumer brands often cost less but require self-assembly and self-service. If you’re not comfortable with bike maintenance, factor in shop assembly costs or choose a brand with local dealer support.
How to Apply This
- **Test ride multiple bikes in your size if possible.** Even a brief parking lot ride reveals major fit problems and lets you feel the difference between geometry styles. Pay attention to how the bike handles while standing, cornering, and braking””these actions expose geometry differences more than straight-line riding.
- **Inspect the bike thoroughly before purchase.** Check wheel trueness by spinning each wheel and watching for wobble. Squeeze the brake levers to verify consistent engagement. Shift through all gears to confirm smooth drivetrain operation. On a new bike, any problems at this stage indicate poor quality control.
- **Negotiate or ask about included accessories.** Many dealers include free tune-ups, discounts on accessories, or assembly at no charge. Direct-to-consumer brands sometimes offer bundle deals on pedals, bags, or tools. Asking costs nothing and frequently saves money.
- **Document the purchase and register the warranty.** Keep receipts, record serial numbers, and complete any warranty registration the manufacturer requires. Budget bikes can have manufacturing defects that warranties cover, but only if you can prove purchase date and ownership.
Expert Tips
- Learn basic maintenance skills before buying””adjusting brakes, indexing derailleurs, and fixing flats saves money and prevents trail-side stranding. Budget components require more frequent adjustment than premium ones.
- Don’t upgrade components before riding the stock setup for at least a few hundred miles. Your initial impressions of what needs improvement often change as you adapt to the bike.
- Steel frames make more sense than aluminum if you plan to keep the bike for many years or use it for loaded touring. Steel can be repaired if damaged, while aluminum typically cannot.
- Avoid bikes with proprietary component standards that limit future upgrade options. Standard bottom brackets, headsets, and axle types ensure parts availability long-term.
- Don’t buy a budget gravel bike expecting it to perform like a mountain bike on technical terrain. Attempting trails beyond the bike’s capability leads to frustration and potential crashes.
Conclusion
Budget gravel bikes between $800 and $1,500 offer genuine capability for exploring mixed terrain without the financial commitment of premium options. Bikes like the Poseidon Redwood, State 4130 All-Road, Marin Gestalt, and Triban RC520 Gravel prove that enjoyable gravel riding doesn’t require a massive investment. The key is understanding what compromises you’re making at lower price points””typically weight, shifting precision, and brake modulation””and knowing that these compromises rarely affect fundamental capability.
Finding the right budget gravel bike requires honest assessment of your riding goals, careful research into specific models, and attention to fit and quality during purchase. Start with the terrain you’ll actually ride most, match geometry to that purpose, and prioritize reliable braking and adequate tire clearance over prestige components. Once riding, let experience guide any upgrades rather than assumptions about what you need. A well-chosen budget gravel bike provides years of riding enjoyment and often inspires deeper investment in the sport when riders are ready.
Frequently Asked Questions
How long does it typically take to see results?
Results vary depending on individual circumstances, but most people begin to see meaningful progress within 4-8 weeks of consistent effort. Patience and persistence are key factors in achieving lasting outcomes.
Is this approach suitable for beginners?
Yes, this approach works well for beginners when implemented gradually. Starting with the fundamentals and building up over time leads to better long-term results than trying to do everything at once.
What are the most common mistakes to avoid?
The most common mistakes include rushing the process, skipping foundational steps, and failing to track progress. Taking a methodical approach and learning from both successes and setbacks leads to better outcomes.
How can I measure my progress effectively?
Set specific, measurable goals at the outset and track relevant metrics regularly. Keep a journal or log to document your journey, and periodically review your progress against your initial objectives.
When should I seek professional help?
Consider consulting a professional if you encounter persistent challenges, need specialized expertise, or want to accelerate your progress. Professional guidance can provide valuable insights and help you avoid costly mistakes.
What resources do you recommend for further learning?
Look for reputable sources in the field, including industry publications, expert blogs, and educational courses. Joining communities of practitioners can also provide valuable peer support and knowledge sharing.


