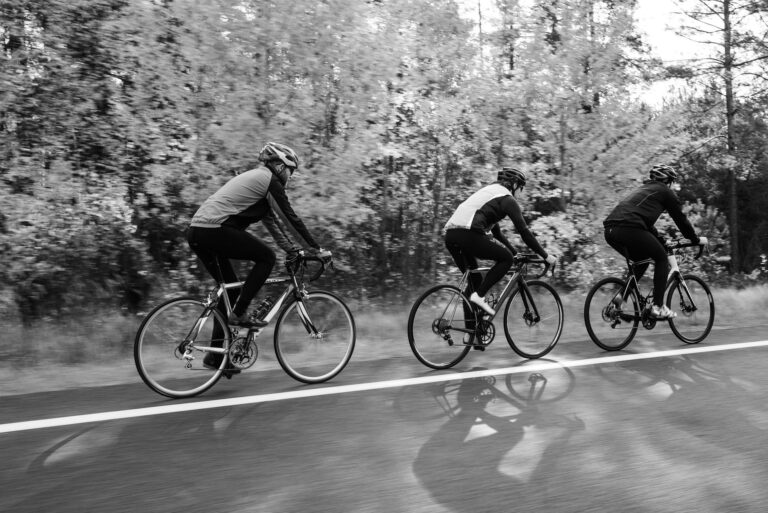
An all-road bike—a drop-bar bicycle set up for paved and rough roads—works best when tire clearance, braking, and drivetrain compatibility guide every decision. Start with a safety check, maintain wear parts early, and upgrade only after confirming that the parts work together. Versatility creates tradeoffs. Wider tires may improve rough-road capability but consume clearance; tubeless adds setup requirements; and drivetrain changes can force other component replacements.
Table of Contents
- Start with a complete safety check
- Will wider tires actually fit?
- Should you convert to tubeless?
- Maintain the drivetrain before wear spreads
- Plan brake and drivetrain upgrades as systems
Start with a complete safety check
Set the handlebar and saddle securely, then confirm both axles are fully seated. Inspect the wheels and tires for damage before every ride.
Trek's owner's manual says to fix or service any item that fails this check before riding in its pre-ride guidance. Use a repeatable scan: This check is especially important after transporting the bike, removing a wheel, or changing parts. A quick inspection can catch an installation problem before speed and rough ground amplify it.
- Check the bar and saddle for unwanted movement.
- Confirm that each axle is fully seated and secure.
- Inspect both wheels and tires for visible damage.
- Stop and investigate anything loose, damaged, or unusual.
Will wider tires actually fit?
Do not rely only on the size printed on a tire. Two tires with the same labeled size can measure differently after mounting, so install and fully inflate the proposed tire before assessing clearance. Trek specifies at least 4 mm of tire clearance for road bikes and 6 mm for other bikes; fenders require additional space according to its March 2026 manual.
Because "all-road" spans categories, use the bike maker's classification when deciding which minimum applies. Check the narrowest points around the fork, frame, and any fender rather than measuring only one convenient location. If the fit is marginal, a smaller tire is the practical choice because the mounted width—not the sidewall label—determines whether adequate space remains.
Should you convert to tubeless?
Tubeless can be a sensible setup choice only when the rim and tire combination is approved by the rim or tire maker. The conversion also needs suitable rim tape, valve cores, sealant, and tubeless tires. Inflation must stay within the lower of the rim's and tire's pressure limits.
A tire's higher printed limit does not override a lower rim limit, so both specifications matter. Treat tubeless as a complete system rather than a tire swap. If compatibility or pressure limits are unclear, keep the existing setup until the component maker's information resolves the uncertainty.
Maintain the drivetrain before wear spreads
Clean and lubricate the drivetrain regularly, with extra attention after muddy, dusty, or otherwise adverse rides. SRAM advises using a pH-neutral drivetrain cleaner, applying lubricant to every chain roller, and wiping away the excess. Measure chain wear instead of judging it by appearance.
For SRAM AXS drivetrains, the company calls for replacement at 0.8% elongation to help preserve the cassette and chainring; its manual also specifies monthly pad inspections, replacement at 3 mm total pad-and-backing thickness, rotor replacement below 1.55 mm, and brake bleeding at least annually in its maintenance instructions. Early chain replacement trades the cost of one wear part against accelerated wear elsewhere. Leaving excess lubricant on the chain creates another avoidable problem because it gives dirt more material to cling to.
Plan brake and drivetrain upgrades as systems
New disc pads and rotors need bedding-in before normal riding. SRAM prescribes about 20 firm stops from moderate speed, followed by 10 very firm stops from a faster speed and a cooling period; this creates a transfer layer for quieter, more consistent braking in its Road AXS and XPLR AXS procedure. Drivetrain upgrades require the same system-level thinking. Shimano GRX parts must retain the drivetrain's speed count: pair 10-speed with 10-speed and 11-speed with 11-speed.
A GRX 1x setup using an 11–40 or 11–42 cassette requires the long-cage GRX rear derailleur. GRX cranks place the chainline 2.5 mm farther outward to improve rear-tire clearance. That change also widens the Q-factor and means GRX 2×10 and 2×11 cranks require a GRX front derailleur. Before buying a crank or cassette, map every component that its chainline, capacity, and speed count could affect.