Spring is the perfect time for a bicycle inspection because your bike has likely spent months sitting idle in fluctuating temperatures, allowing lubricants to degrade, tires to slowly deflate, and cables to develop rust or corrosion at connection points. The transition from cold storage to active riding season creates an ideal window to catch problems before they strand you mid-ride or cause an accident. A bike that sat in a garage through winter may look fine but could have brake pads that hardened from cold exposure, chain links that seized from dried lubricant, or tire sidewalls that developed micro-cracks from temperature swings.
Consider a common scenario: a rider pulls their bike out on the first warm Saturday in April, pumps up the tires, and heads out for a 20-mile route. Three miles in, they discover their rear derailleur cable has corroded inside its housing and now refuses to shift into the lower gears needed for the hills ahead. A 15-minute spring inspection would have revealed the sticky shifting before it became a problem. This article covers the specific reasons why winter storage damages bicycles, what components require the most attention after cold months, how to conduct a thorough spring inspection yourself, and when it makes sense to bring your bike to a professional mechanic instead.
Table of Contents
- What Happens to Your Bicycle During Winter Storage That Makes Spring Inspection Critical?
- The Hidden Damage Winter Conditions Cause to Bicycle Components
- Why Spring Weather Creates Ideal Conditions for Bicycle Maintenance
- Essential Bicycle Components That Require Spring Inspection
- When Professional Bicycle Service Makes More Sense Than DIY Inspection
- How to Prepare
- How to Apply This
- Expert Tips
- Conclusion
- Frequently Asked Questions
What Happens to Your Bicycle During Winter Storage That Makes Spring Inspection Critical?
Winter storage subjects bicycles to conditions that gradually degrade critical components even without any riding. Temperature fluctuations cause metal parts to expand and contract repeatedly, which can loosen headset bearings, bottom bracket cups, and spoke nipples. Moisture in the air condenses on cold metal surfaces, initiating rust formation on chains, cables, and steel components that may not be visible without close inspection. Lubricants behave differently across temperature ranges. The grease in your hubs, headset, and bottom bracket thickens in cold temperatures and may not redistribute properly when riding resumes.
Chain lubricant, whether wet or dry formulation, tends to either harden or separate during extended storage, leaving metal-on-metal contact points vulnerable. A chain that felt smooth in October may have developed stiff links by March that cause skipping under load. Rubber components suffer particularly harsh treatment during winter months. Tires lose air pressure gradually, and when they sit deflated or under-inflated for weeks, the sidewalls can develop flat spots or cracking. Brake pads may harden, reducing their coefficient of friction and extending stopping distances. handlebar tape and grip compounds can become brittle, especially on bikes stored in unheated spaces where temperatures dropped below freezing.
The Hidden Damage Winter Conditions Cause to Bicycle Components
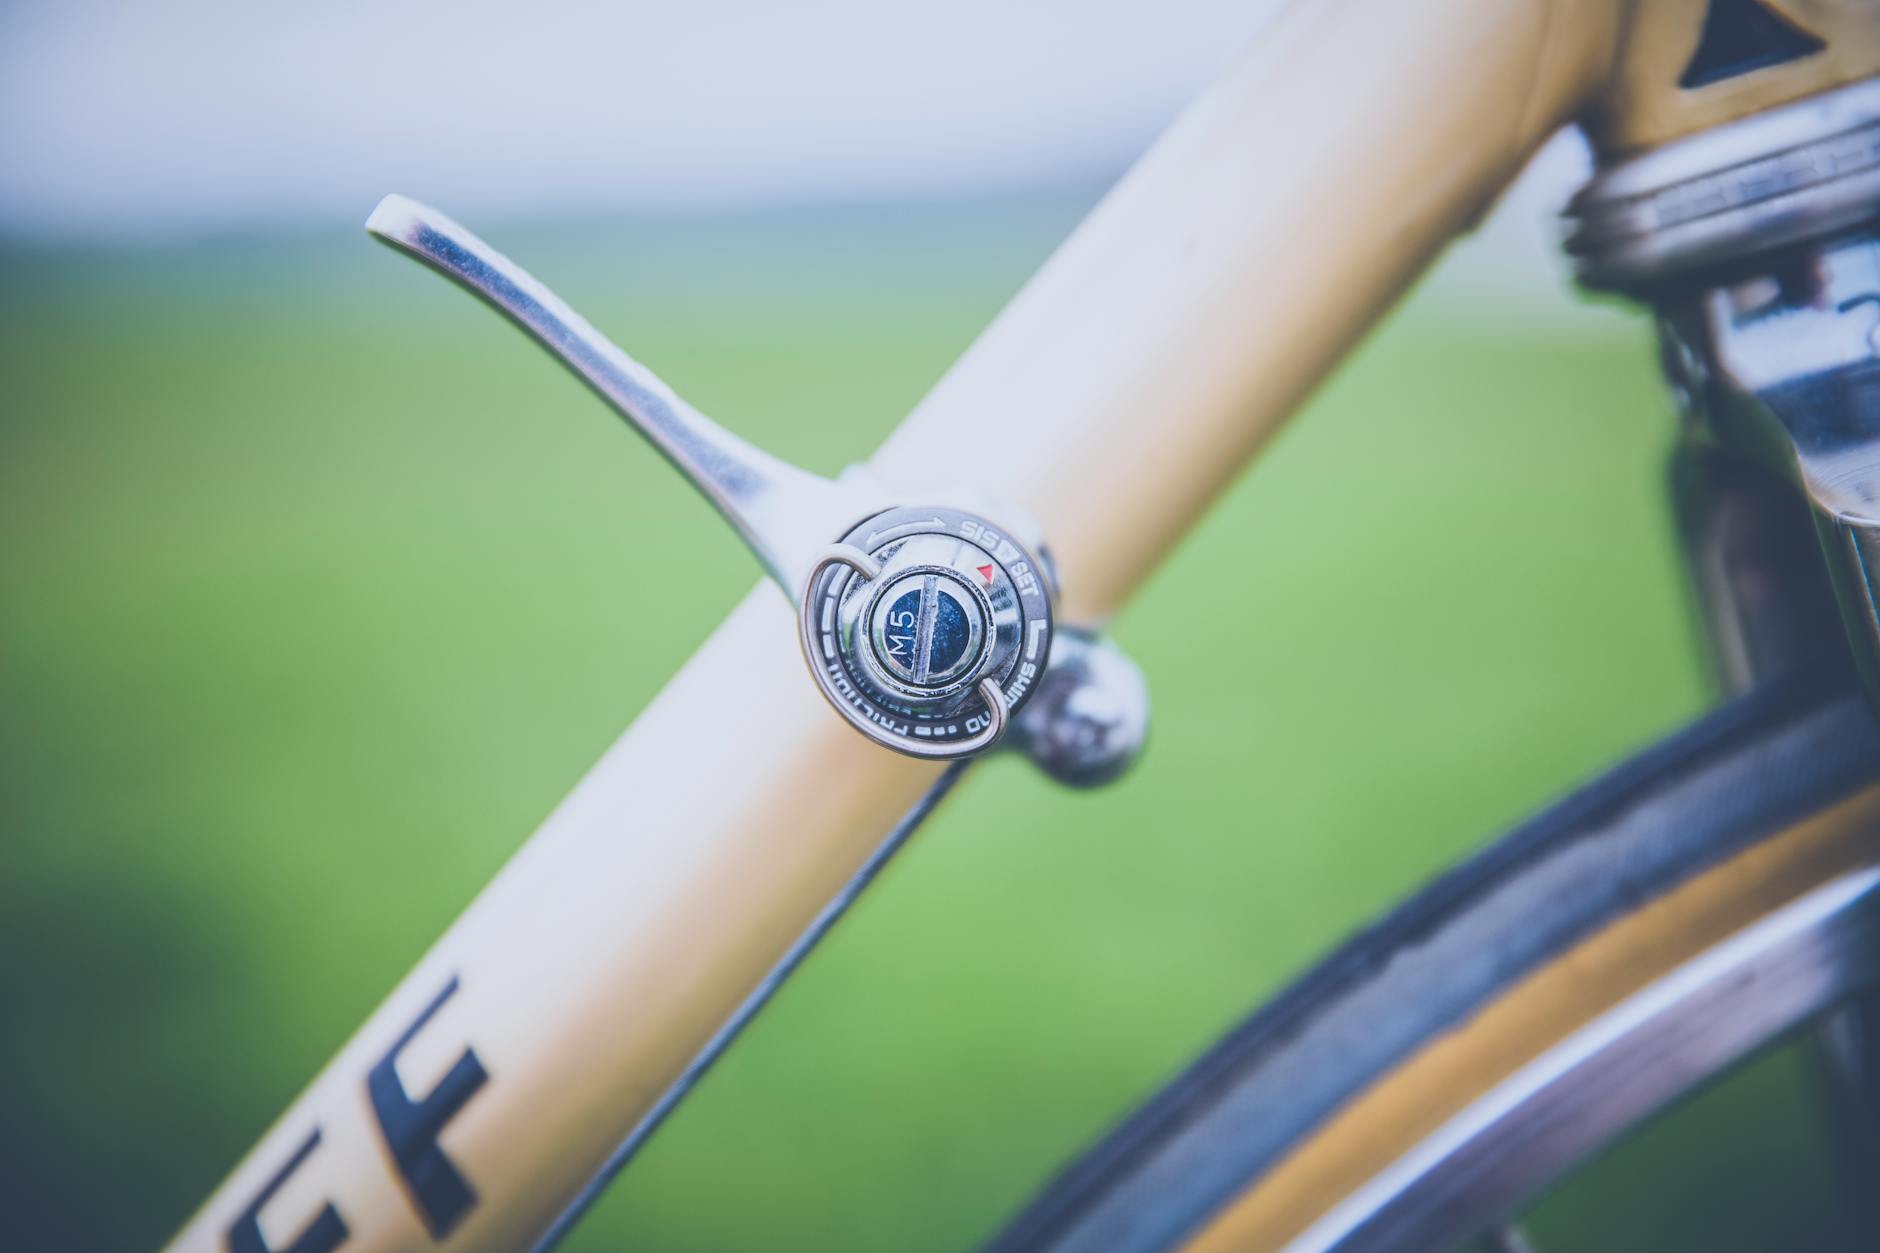
Beyond visible rust and flat tires, winter storage creates problems that only reveal themselves under riding stress. Hydraulic brake fluid absorbs moisture through microscopic pores in brake lines, lowering the fluid’s boiling point and potentially causing brake fade on long descents. This hygroscopic property means even a sealed system degrades over time, with winter humidity accelerating the process. Cable housing develops internal corrosion where moisture enters at the ends or through small cracks in the outer plastic coating. The cables themselves may appear fine externally while individual strands have frayed inside the housing.
Shift cables under tension can develop a permanent set, meaning they’ve stretched and now require adjustment to maintain proper indexing. Brake cables experience similar stretch, resulting in excessive lever travel before the pads contact the rim or rotor. However, if you stored your bicycle in a climate-controlled indoor space with consistent temperature and low humidity, many of these issues will be minimal or absent. A bike kept in a heated apartment at 65-70 degrees with normal household humidity levels experiences far less degradation than one stored in an unheated garage or shed. Riders in this situation can focus their spring inspection on tire pressure, brake pad wear, and chain lubrication rather than hunting for corrosion or seized components.
Why Spring Weather Creates Ideal Conditions for Bicycle Maintenance
The moderate temperatures of spring provide optimal conditions for performing bicycle maintenance tasks that don’t work well in extreme cold or heat. Lubricants flow and penetrate properly at temperatures between 50 and 75 degrees Fahrenheit, allowing chain oil to work into roller bushings and grease to spread evenly through bearing races. Attempting the same tasks in winter means dealing with viscous lubricants that don’t penetrate, while summer heat can cause thin lubricants to run off before they bond to metal surfaces. Tire mounting and tube installation also benefit from spring temperatures. Rubber becomes pliable enough to stretch over rims without excessive force, yet firm enough to resist pinching during installation.
Tubeless tire sealant, which requires agitation to coat the inner tire surface, flows better and seals small punctures more effectively when applied in moderate conditions. Riders who’ve struggled to seat tubeless tires in a freezing garage understand this principle intimately. Spring inspection timing also aligns with professional bike shop availability. The winter lull means mechanics have more time for thorough work, and parts are typically in stock before the summer rush depletes inventory. Booking a spring tune-up in March or early April often means shorter wait times and more attention to detail compared to bringing in a bike during the June backlog when everyone suddenly wants to ride.

Essential Bicycle Components That Require Spring Inspection
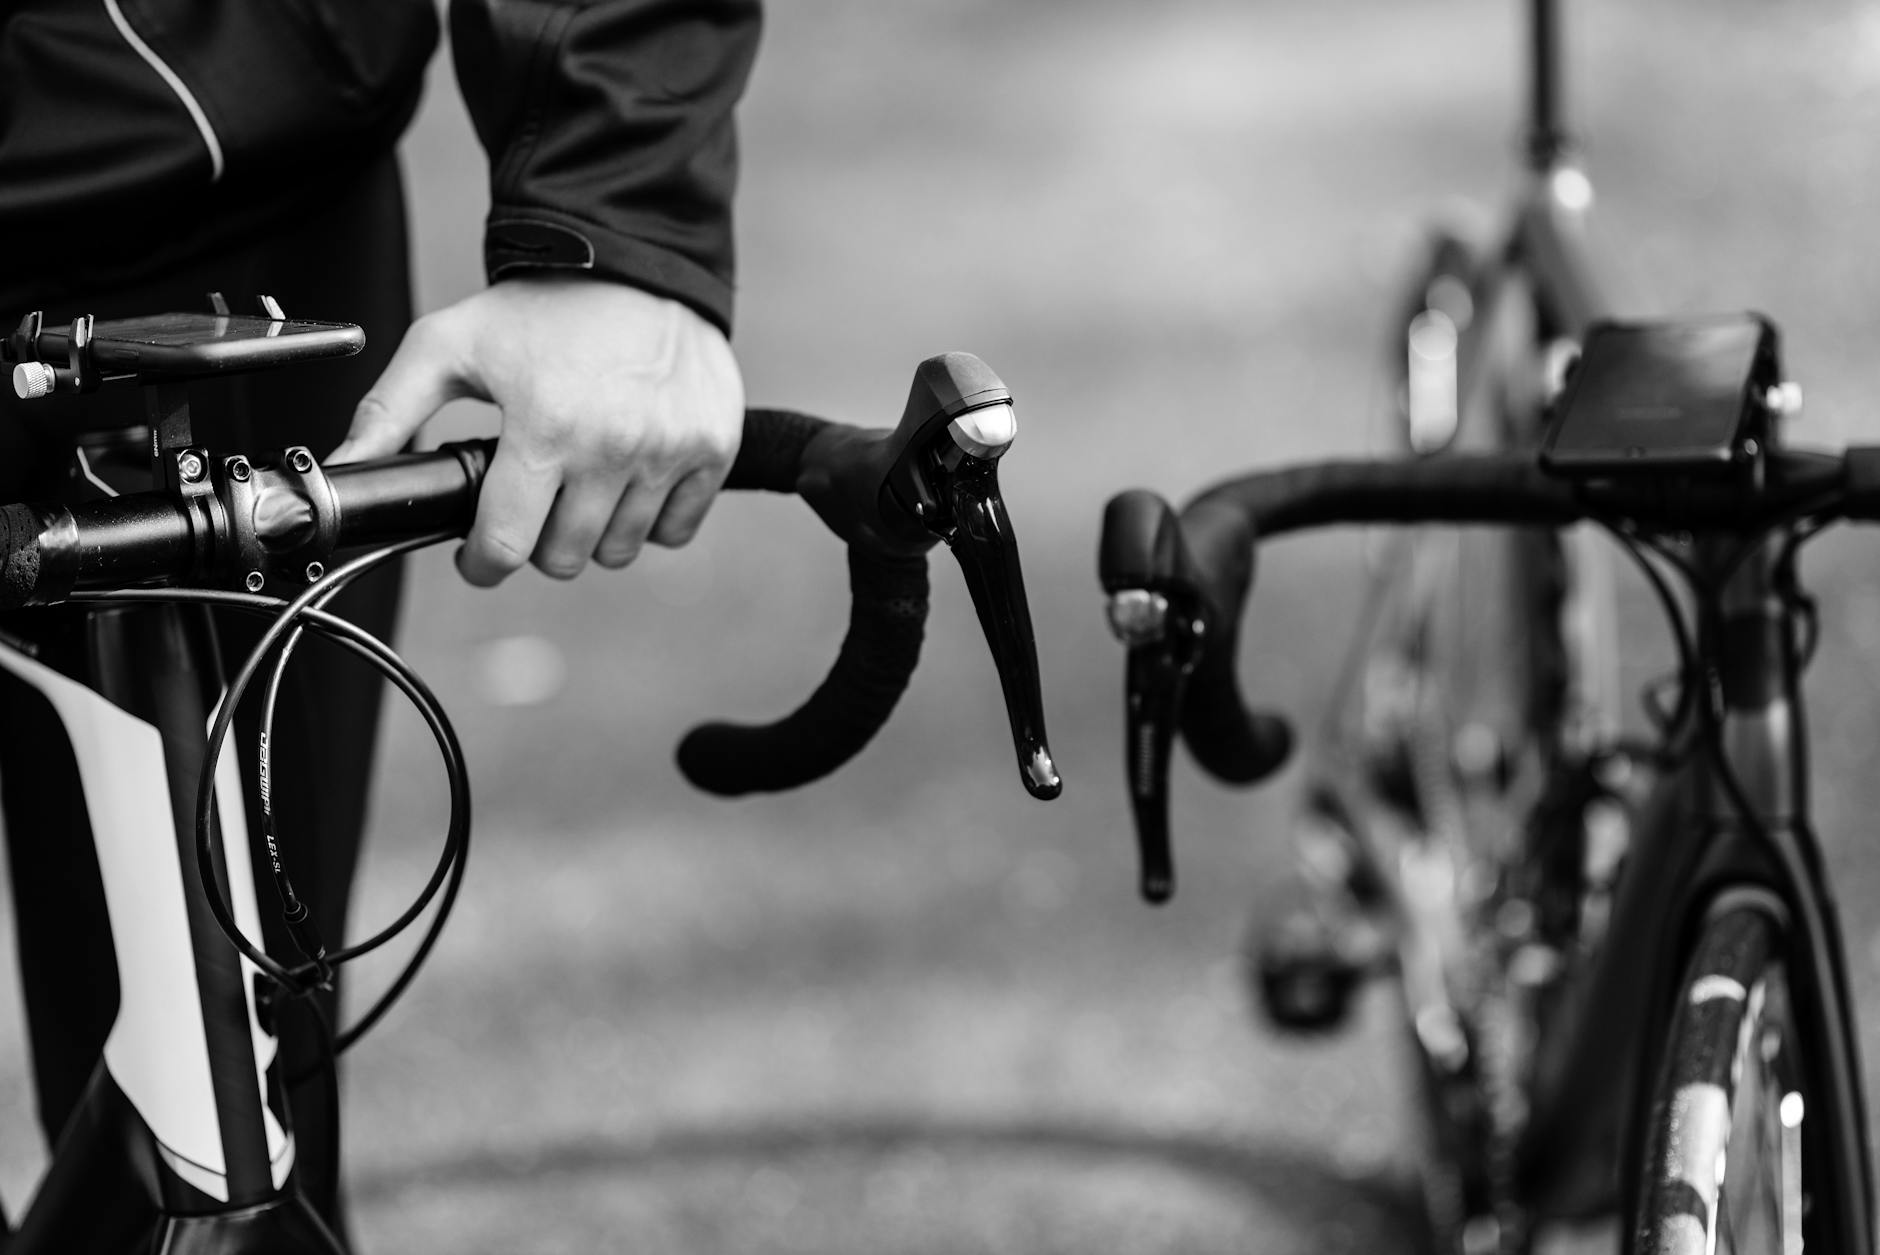
The drivetrain demands primary attention during any spring inspection because it experiences the most wear and suffers the most from storage degradation. Check the chain first using a chain wear tool, which measures elongation between pins. A chain at 0.5 percent wear should be replaced promptly to avoid accelerated cassette and chainring wear, while a chain at 0.75 percent or beyond has likely already damaged the rear cogs. Replacing a $30 chain is preferable to replacing a $30 chain plus a $100 cassette because you waited too long. Wheels require careful inspection for spoke tension, rim trueness, and bearing condition. Spin each wheel slowly while watching the gap between the brake pads and rim surface to identify lateral wobbles or hops. Squeeze pairs of spokes on opposite sides of the wheel to compare tension, noting any that feel significantly looser than their neighbors. Hubs should spin freely without grinding or roughness, and when you grip the tire and push laterally, there should be no play indicating loose bearings. Braking systems need inspection regardless of type. Rim brake pads should have visible wear indicator grooves and sit parallel to the rim surface without toe-in or toe-out misalignment.
Disc brake pads require removal for accurate assessment, as visual inspection through the caliper slot often underestimates wear. Hydraulic brake levers should engage firmly without pulling to the handlebar, while cable-actuated systems need cable tension adjustment and housing inspection at all contact points. ## Common Spring Bicycle Inspection Mistakes and How to Avoid Them The most frequent spring inspection error is checking only the components you can see while ignoring internal systems. Riders inflate tires, wipe down frames, and oil chains while neglecting headset bearings, bottom brackets, and hub internals. These sealed or semi-sealed components can function with significant wear or contamination before failing completely, but by then, the damage may require expensive replacement rather than simple service. Another common mistake involves rushing through the inspection process without actually riding the bike under load. A stationary test misses problems that only manifest during actual cycling, such as creaking bottom brackets, ghost shifting under power, or brake judder during hard stops. A proper spring inspection includes a short test ride where you deliberately stress each system: sprint to check drivetrain integrity, brake hard from moderate speed, ride out of the saddle to detect frame or component creaks, and shift through every gear combination. Warning: do not assume that a bike which sat unused is cleaner or in better condition than one ridden through autumn. Winter storage introduces different types of degradation that riding does not, and the false confidence of a “clean” stored bike leads riders to skip inspections they would perform on a visibly dirty machine. Corrosion and lubricant breakdown happen invisibly and can cause sudden failures that dirty but regularly maintained components would not experience.
When Professional Bicycle Service Makes More Sense Than DIY Inspection
While basic inspection tasks fall within most riders’ capabilities, certain components require specialized tools or expertise that justify professional service. Suspension forks and rear shocks need oil changes and seal replacement on manufacturer-specified intervals, typically every 50-100 hours of riding or annually. The required tools, including seal drivers, nitrogen charging equipment, and specific fluids, cost more than several years of professional service. Internal cable routing, common on modern road and gravel bikes, complicates brake and shift cable replacement beyond what many home mechanics can efficiently accomplish.
Routing new cables through frame tubes with multiple entry and exit ports often requires magnetic fishing tools and considerable patience. A shop mechanic who performs this task daily completes it in 15 minutes, while a first-time DIY attempt might consume an entire afternoon. For example, a carbon frame with a press-fit bottom bracket represents a service best left to professionals. The bearing removal and installation requires specific tools sized to each manufacturer’s standard, and improper technique can damage the carbon shell or result in creaking that plagues the bike thereafter. A headset press, crown race setter, and star nut installation tool represent additional investments that make sense for shop work but poor value for annual home use.
How to Prepare
- **Gather tools and supplies before starting.** At minimum, you need hex wrenches in 4mm, 5mm, and 6mm sizes, a chain wear checker, tire pressure gauge, and appropriate lubricant for your chain type. Have rags, degreaser, and a bucket of soapy water available for cleaning components that require inspection.
- **Clean the bicycle thoroughly first.** Dirt obscures problems and makes accurate assessment impossible. Pay particular attention to the drivetrain, brake surfaces, and areas where cables enter frame ports. A clean bike also prevents contaminating fresh lubricant with grit.
- **Create a checklist specific to your bicycle.** A road bike with rim brakes requires different inspection points than a mountain bike with hydraulic discs and suspension. Write down every component that needs checking before you begin so nothing gets skipped when you become focused on a particular problem.
- **Document current settings before adjustments.** Note your saddle height, handlebar angle, cleat position, and suspension settings. If you need to remove components for inspection, these measurements allow precise reassembly without extended trial-and-error repositioning.
- **Allow adequate time without rushing.** A thorough inspection takes one to two hours for a basic road bike and longer for bikes with suspension or hydraulic systems. Starting at 4 PM on a Sunday when you hope to ride at 5 PM guarantees a superficial inspection. Warning: the most common preparation mistake is underestimating time requirements, leading to skipped steps or reassembly errors.
How to Apply This
- **Categorize issues by urgency and safety impact.** A worn brake pad requires immediate replacement before any riding, while a slightly loose headset can be adjusted after one careful ride. Make three lists: must fix before riding, fix within one week, and address when convenient.
- **Order parts immediately for items requiring replacement.** Chains, brake pads, cables, and tires ship quickly from online retailers, but waiting creates the temptation to ride on marginal components. If your local shop stocks the needed parts, purchase them during inspection rather than planning a return trip.
- **Schedule professional service for tasks beyond your skills.** Call or book online during the same session as your inspection while motivation remains high. Placing your bike on the shop’s calendar prevents the drift toward riding another season on worn components because scheduling felt inconvenient.
- **Establish a mid-season checkpoint based on spring findings.** If your chain measured 0.25 percent wear in April, plan to recheck in July when accumulated miles may push it past the replacement threshold. Record spring measurements and their dates to enable meaningful comparison at subsequent inspections.
Expert Tips
- Check tire sidewalls for cracks or bulges by deflating the tire slightly and flexing the sidewall outward, exposing damage that remains hidden when fully inflated.
- Test quick-release and thru-axle engagement before riding by attempting to twist the wheel laterally while in the dropouts; any movement indicates improper closure that could cause wheel ejection.
- Do not lubricate cables without first confirming smooth movement; adding lubricant to corroded or frayed cables masks the symptom while the underlying problem worsens.
- Inspect frame welds and joints for cracks using a bright light at an oblique angle, which creates shadows revealing hairline fractures invisible under direct illumination.
- Replace handlebar tape if you can feel the handlebar edges through it, as compressed or hardened tape no longer absorbs vibration effectively and accelerates hand fatigue on longer rides.
Conclusion
Spring bicycle inspection deserves priority because it occurs at the intersection of accumulated storage damage and renewed riding activity. The cables, bearings, lubricants, and rubber components that degraded through winter will fail during spring and summer rides unless identified and addressed before those rides occur. A bike that passed through winter storage without inspection becomes a reliability and safety gamble where the odds worsen with each postponed maintenance session.
Approach your spring inspection as the foundation for your entire riding season rather than an optional ritual. Invest the time to check every system thoroughly, replace worn components promptly, and acknowledge when professional service exceeds your equipment or expertise. The riders who cover the most trouble-free miles are those who treat spring inspection as an essential element of cycling rather than an interruption to it.
Frequently Asked Questions
How long does it typically take to see results?
Results vary depending on individual circumstances, but most people begin to see meaningful progress within 4-8 weeks of consistent effort. Patience and persistence are key factors in achieving lasting outcomes.
Is this approach suitable for beginners?
Yes, this approach works well for beginners when implemented gradually. Starting with the fundamentals and building up over time leads to better long-term results than trying to do everything at once.
What are the most common mistakes to avoid?
The most common mistakes include rushing the process, skipping foundational steps, and failing to track progress. Taking a methodical approach and learning from both successes and setbacks leads to better outcomes.
How can I measure my progress effectively?
Set specific, measurable goals at the outset and track relevant metrics regularly. Keep a journal or log to document your journey, and periodically review your progress against your initial objectives.
When should I seek professional help?
Consider consulting a professional if you encounter persistent challenges, need specialized expertise, or want to accelerate your progress. Professional guidance can provide valuable insights and help you avoid costly mistakes.
What resources do you recommend for further learning?
Look for reputable sources in the field, including industry publications, expert blogs, and educational courses. Joining communities of practitioners can also provide valuable peer support and knowledge sharing.


