A rubbing disc brake is fixed by realigning the brake caliper so the rotor spins freely between the pads without contact. The most common method involves loosening the caliper mounting bolts, squeezing the brake lever to center the caliper over the rotor, then retightening the bolts while maintaining lever pressure. This simple adjustment resolves the majority of rubbing issues in under five minutes. For persistent rub, you may need to manually adjust pad position using the caliper’s adjustment dials, true a bent rotor, or address contaminated or worn pads that have swollen beyond their normal thickness.
Consider a typical scenario: you’ve transported your bike in a car, and upon your first ride, you hear that familiar metallic scraping with every wheel rotation. The caliper shifted slightly during transport, and now one pad drags against the rotor. Before you assume something is broken or head to a shop, this straightforward realignment procedure will likely solve the problem completely. This article covers the full diagnostic process for identifying what’s causing your brake rub, walks through both the quick-fix and more involved adjustment methods, explains when a bent rotor is the culprit, and addresses situations where new pads or professional service become necessary. You’ll also learn how to prevent rubbing from recurring and understand the differences between mechanical and hydraulic disc brake adjustments.
Table of Contents
- Why Does Your Disc Brake Rub and How Can You Diagnose the Cause?
- Realigning Your Brake Caliper: The Standard Fix
- Adjusting Mechanical Disc Brakes: A Different Approach
- Truing a Bent Rotor Without Special Tools
- When Brake Pads Cause the Rubbing Problem
- Understanding Rotor and Caliper Compatibility Issues
- Preventing Future Brake Rub: Maintenance Habits That Matter
- Conclusion
Why Does Your Disc Brake Rub and How Can You Diagnose the Cause?
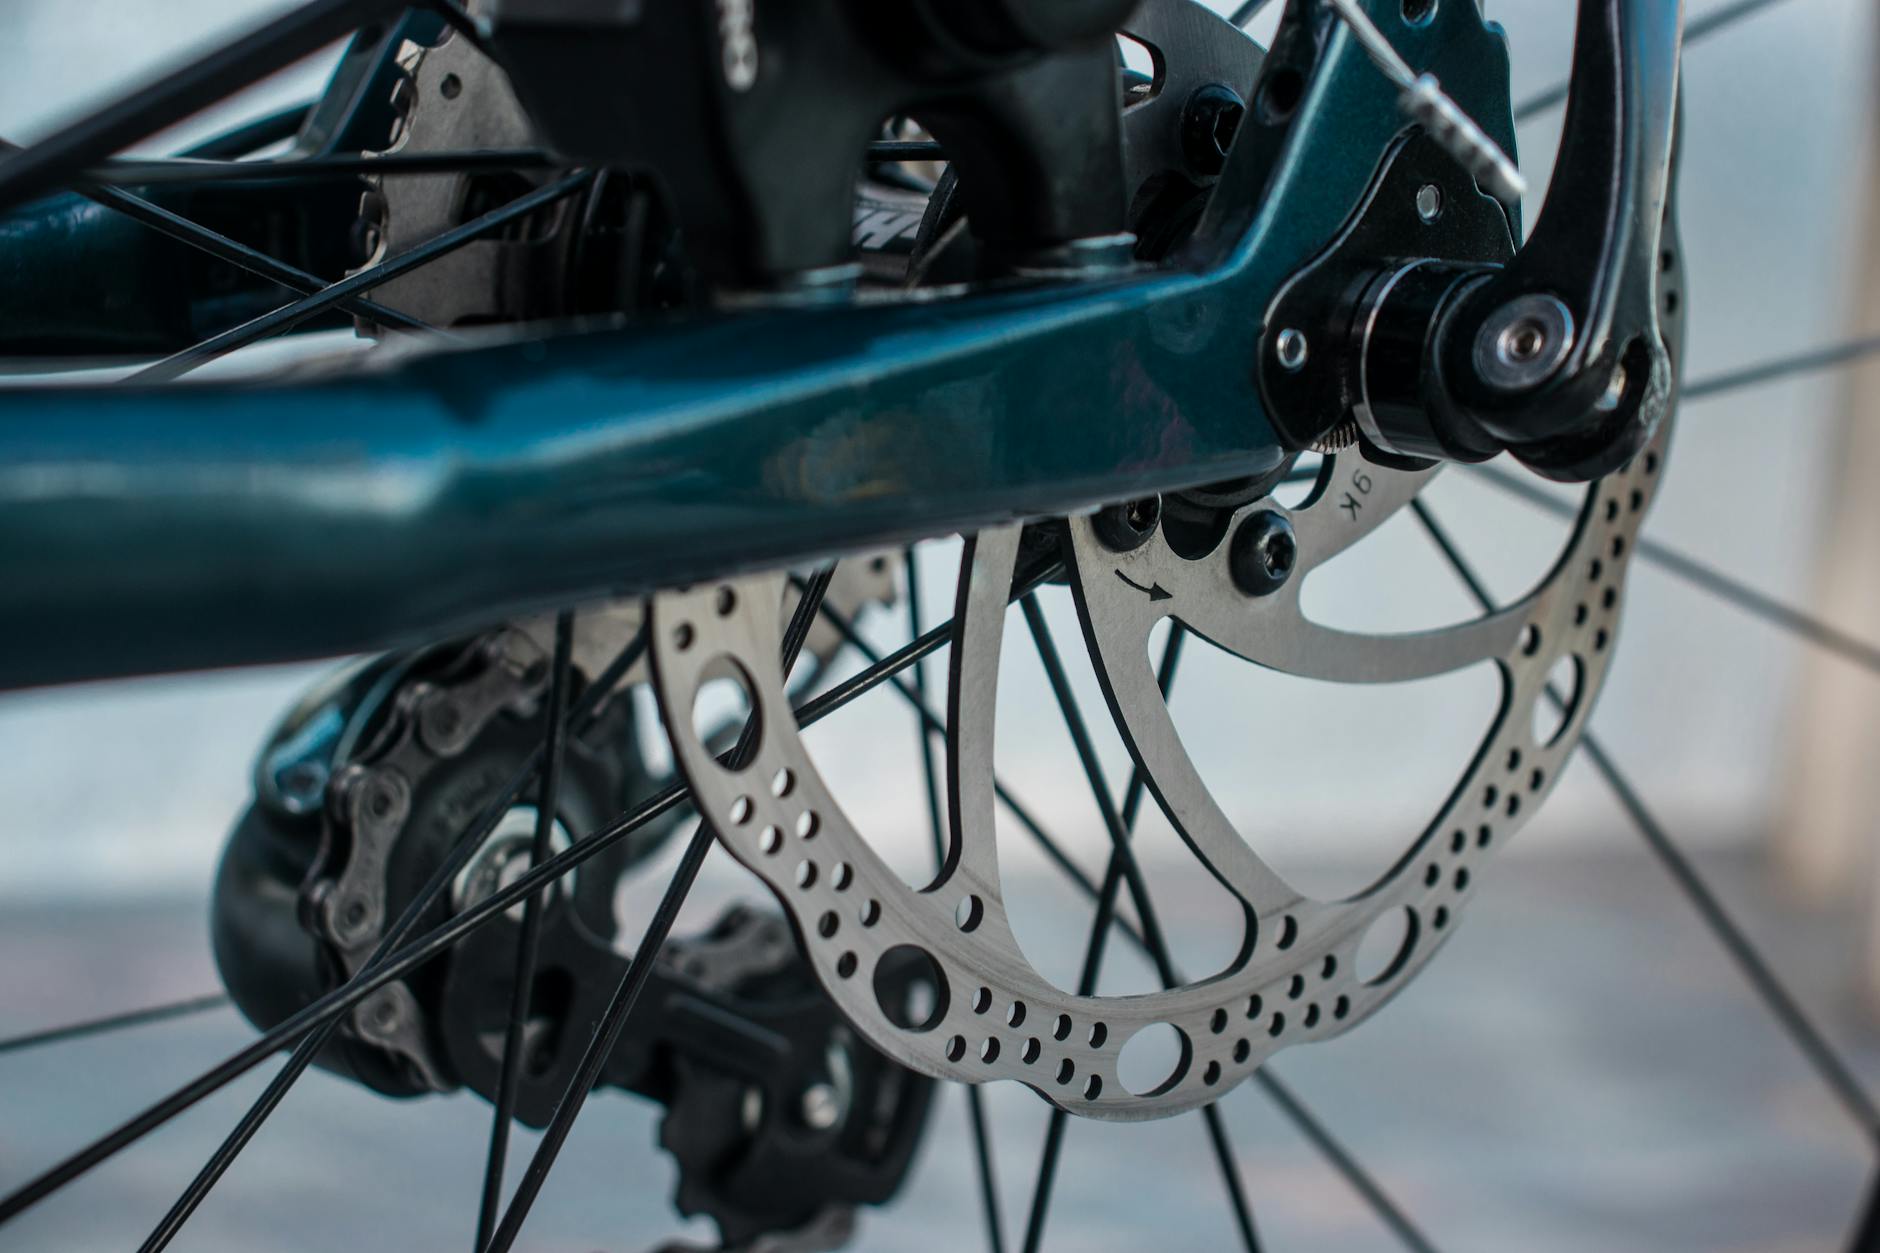
disc brake rub occurs when the brake rotor contacts one or both brake pads during wheel rotation without the lever being engaged. The clearance between a rotor and pad is remarkably small””typically 0.25 to 0.5 millimeters per side””so even minor misalignment creates audible and tactile friction. The four primary causes are caliper misalignment, a bent rotor, pad contamination or swelling, and a loose or improperly seated wheel. Diagnosis begins with isolating the source. Spin the wheel and observe where the rub occurs. If the scraping happens consistently throughout the rotation, the caliper is likely misaligned or the pads have expanded.
If the rub occurs only at specific points during rotation, the rotor itself is bent. You can confirm rotor trueness by sighting down the rotor as it spins””a bent section will visibly wobble toward one pad. For example, if you crashed recently or your bike fell over onto the disc side, rotor damage is the probable culprit. Before adjusting anything, verify your wheel is properly seated in the dropouts. Quick-release skewers or thru-axles that aren’t fully tightened allow the wheel to sit slightly off-center, creating false caliper misalignment. Remove the wheel completely, reinstall it while ensuring the axle seats fully, then check if the rub persists. This five-second check prevents unnecessary caliper adjustments that can actually create new problems.
Realigning Your Brake Caliper: The Standard Fix
The caliper realignment method works for both mechanical and hydraulic disc brakes, though the process differs slightly between them. For hydraulic brakes, loosen both caliper mounting bolts approximately one full turn””enough that the caliper can move laterally but won’t fall off. Squeeze the brake lever firmly and hold it, which forces the caliper to center itself over the rotor as hydraulic pressure pushes both pads equally against the disc. While maintaining lever pressure, retighten the mounting bolts evenly, alternating between them to prevent the caliper from shifting. Release the lever and spin the wheel. In most cases, the rub will be eliminated.
If slight rubbing remains, you may need to perform the procedure again or make fine adjustments. Some mechanics prefer loosening just one bolt at a time, adjusting that side, then repeating for the other bolt. This approach offers more control but requires a better eye for centering. However, if your hydraulic brake has air in the lines or inconsistent lever feel, this method may not work properly because uneven hydraulic pressure won’t center the pads correctly. You’ll need to bleed the brakes first before attempting caliper alignment. Similarly, if your caliper mounting bolts are seized with corrosion or cross-threaded, forcing them can strip the threads in your frame or fork””a costly repair that far exceeds any shop’s brake adjustment fee.
Adjusting Mechanical Disc Brakes: A Different Approach
Mechanical disc brakes require manual pad adjustment because they lack the self-centering hydraulic pressure. Most mechanical calipers have adjustment dials or bolts on one or both sides that move the pads closer to or farther from the rotor. The inboard pad (closest to the wheel) is typically adjusted by a dial on the caliper body, while the outboard pad moves via the cable barrel adjuster or a separate dial. Start by loosening the caliper mounting bolts and visually centering the caliper over the rotor, then snug the bolts. Next, turn the inboard pad adjuster until the pad just touches the rotor, then back it off one-quarter turn.
Do the same for the outboard pad if your caliper allows independent adjustment. The goal is equal clearance on both sides. Finally, adjust cable tension so the lever engages the brake at your preferred point in its travel. A specific example illustrates the challenge: the popular Avid BB7 mechanical caliper has independent adjustment for both pads, making precise setup possible but also doubling the variables when troubleshooting. In contrast, the TRP Spyre uses a dual-piston design where both pads move simultaneously, simplifying adjustment but limiting fine-tuning options. Knowing your specific caliper model and its adjustment mechanism is essential before beginning any work.
Truing a Bent Rotor Without Special Tools
A bent rotor causes intermittent rub that no amount of caliper adjustment will fix. The rotor passes through the caliper straight in some sections but deflects toward a pad in others. Minor bends are common after crashes, transport damage, or even aggressive wheel removal when the rotor catches on the caliper. You can straighten minor bends with an adjustable wrench or a dedicated rotor truing tool. Spin the wheel slowly and identify exactly where the rotor deflects””mark it with a piece of tape on the tire for reference.
Place the adjustable wrench over the bent section of the rotor, gripping it firmly but not so tight you’ll score the braking surface. Apply gentle, gradual pressure in the opposite direction of the bend. Check your progress frequently by spinning the wheel; overcorrection is easy and creates a new bend in the opposite direction. The limitation here is significant: rotors can only tolerate so much manipulation before metal fatigue causes cracking, and any truing reduces the rotor’s overall lifespan. If a rotor requires multiple truing sessions or has visible damage, replacement is the safer choice. Rotor prices range from fifteen to sixty dollars for most models, making replacement economically sensible compared to the consequences of brake failure from a fatigued rotor.
When Brake Pads Cause the Rubbing Problem
Brake pads can cause rubbing even with perfect caliper alignment and a true rotor. Contaminated pads””exposed to oil, brake fluid, or certain degreasers””often swell and expand beyond their normal thickness. This expansion eliminates the already-minimal clearance and creates constant drag. Glazed pads, which develop a hard, shiny surface from overheating, can also change dimension slightly while simultaneously losing braking power. Contaminated pads should be replaced rather than salvaged. While some riders attempt to sand contaminated pads and burn off surface contaminants with a torch, the results are inconsistent.
Contaminants often penetrate deep into the pad material, and the braking surface never fully recovers. Considering replacement pads cost between ten and thirty dollars, the risk of compromised stopping power isn’t worth the attempted savings. A warning about bedding-in new pads: fresh pads often rub slightly until properly bedded. This is normal and resolves after several moderate brake applications that transfer pad material to the rotor surface. However, aggressive bedding””locking the brakes at high speed””can glaze new pads immediately and create the very problem you’re trying to solve. Follow a proper bedding procedure: twenty moderate stops from fifteen miles per hour, allowing cooling between each application.
Understanding Rotor and Caliper Compatibility Issues
Not all rotors work with all calipers, and mismatched components can cause persistent rubbing that defies standard fixes. Rotor diameter must match your caliper’s designed range””a 180mm rotor on a caliper designed for 160mm positions the braking surface incorrectly and causes edge rubbing. Similarly, rotor thickness varies between manufacturers, and a rotor that’s too thick for your caliper’s pad spacing creates immediate rub.
For example, a Shimano rotor’s thickness measures 1.8mm when new, while some SRAM rotors start at 1.85mm. Installing the thicker rotor in a system calibrated for the thinner one reduces pad clearance from the start. As pads wear unevenly or the caliper experiences minor misalignment, the reduced tolerance manifests as rubbing that seems impossible to eliminate.
Preventing Future Brake Rub: Maintenance Habits That Matter
Preventing brake rub is simpler than repeatedly fixing it. When transporting your bike, use a rotor guard or remove the wheels entirely””rotors bent during car transport are among the most common causes of sudden rubbing. When removing wheels, avoid laying the bike on its disc side, and never squeeze the brake lever with the wheel out, as this advances the pistons and eliminates pad clearance.
Regular inspection catches problems before they cause rub. Check rotor trueness monthly by spinning each wheel and watching for wobble. Clean rotors with isopropyl alcohol periodically to prevent contamination buildup that transfers to pads. For hydraulic brakes, keep an eye on lever feel””a lever that gradually moves closer to the bar indicates air infiltration or pad wear, both of which affect caliper alignment and pad clearance.
Conclusion
Fixing a rubbing disc brake typically requires nothing more than caliper realignment””loosening the mounting bolts, squeezing the lever to center the caliper, and retightening while maintaining pressure. When this standard fix fails, the problem lies with bent rotors, contaminated pads, or mechanical brake systems requiring manual pad adjustment. Each cause has a straightforward solution accessible to home mechanics with basic tools.
The key to successful brake maintenance is accurate diagnosis before adjustment. Verify wheel seating first, distinguish between consistent rub and point-specific rub, and understand your specific caliper type before loosening any bolts. With these fundamentals, most brake rubbing issues resolve in minutes, keeping your rides quiet and your stopping power uncompromised.