Replacing a broken spoke requires removing the tire and rim tape, threading a new spoke of the correct length through the hub flange, weaving it through the existing spokes following the same pattern, attaching the nipple at the rim, and tensioning it to match the surrounding spokes before truing the wheel. The entire process takes about 20 to 45 minutes for someone with basic mechanical skills, and while it can be done trailside in an emergency, a proper repair at home with the right tools produces significantly better results. A rear wheel drive-side spoke, for instance, demands more precision because of the higher tension required on that side””rushing the job often leads to the wheel going out of true again within a few rides.
This guide walks through every step of spoke replacement, from diagnosing why the spoke broke in the first place to achieving proper tension and true. You’ll learn how to identify the correct spoke length, understand different lacing patterns, and recognize when a wheel has sustained enough damage that replacement makes more sense than repair. The article also covers the tools you’ll need, common mistakes that cause repeat failures, and how to decide whether to tackle the job yourself or hand it off to a shop.
Table of Contents
- Why Do Bike Spokes Break and When Should You Replace Them?
- Essential Tools and Materials for Spoke Replacement
- Step-by-Step Spoke Replacement Process
- Rear Wheel Spoke Replacement: Drive-Side Challenges
- When to Replace the Wheel Instead of Individual Spokes
- Preventing Future Spoke Breakage
- Building Confidence for DIY Spoke Repair
- Conclusion
Why Do Bike Spokes Break and When Should You Replace Them?
Spokes fail for several distinct reasons, and understanding the cause helps prevent future breaks. Fatigue failure is the most common culprit””metal spokes flex slightly with every wheel rotation, and after millions of cycles, they crack at stress concentration points, typically at the bend where the spoke exits the hub flange or at the thread near the nipple. A spoke that snaps cleanly at the elbow after thousands of miles of riding has simply reached the end of its fatigue life. Impact damage, by contrast, happens suddenly when a rock, pothole, or collision strikes the wheel hard enough to bend or break spokes immediately. Improper tension causes a different failure pattern. Spokes that are too loose flex more with each rotation, accelerating fatigue, while spokes tensioned unevenly create stress concentrations that weaken specific spokes prematurely.
A wheel built with inconsistent tension might break multiple spokes in the same area over several months. Corrosion also plays a role, particularly on bikes ridden in wet conditions or stored in humid environments””rust pits act as stress risers where cracks initiate. If you’re breaking spokes repeatedly on the same wheel, the problem likely isn’t bad luck but rather a systemic issue with tension, a damaged rim, or spokes that have collectively reached their fatigue limit. replacement timing matters beyond the obvious case of a completely snapped spoke. A spoke with visible cracks at the elbow, significant corrosion, or a permanent bend should be replaced before it fails on the road. Some riders inspect spokes during routine maintenance by running a finger along each one feeling for cracks or kinks. The cost of a single spoke runs between one and five dollars typically, making proactive replacement far cheaper than the rim damage or crash that a mid-ride failure can cause.
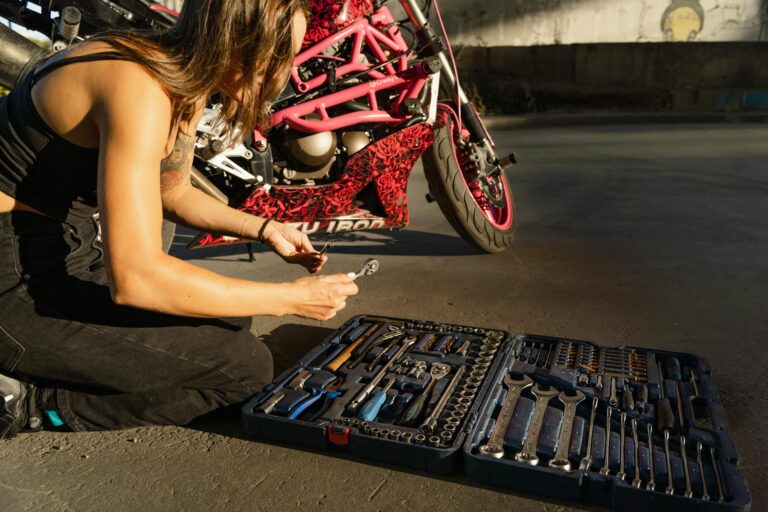
Essential Tools and Materials for Spoke Replacement
The spoke wrench is the single most important tool, and using the wrong size causes more damage than almost any other mistake. Spoke nipples come in several sizes””3.2mm, 3.3mm, 3.5mm, and others””and a wrench that doesn’t fit precisely will round off the nipple flats, making future adjustments impossible. Quality spoke wrenches from Park Tool, DT Swiss, or similar manufacturers cost around ten to fifteen dollars and grip the nipple securely. The cheap stamped-metal wrenches included in multi-tools work in emergencies but lack the precision needed for proper tensioning. Beyond the wrench, you’ll need a tire lever set to remove the tire, since the nipple sits inside the rim hidden by the rim tape. The rim tape itself may need replacement if it’s a fabric type that doesn’t reseat well””adhesive rim tape from manufacturers like Velox survives removal better than loose plastic strips.
A truing stand makes the job substantially easier by holding the wheel steady and providing reference points for lateral and radial true, though you can true a wheel adequately in the bike’s frame or fork using the brake pads as guides. A spoke tension meter like the Park Tool TM-1 removes guesswork from tensioning, though experienced mechanics can match tension reasonably well by comparing spoke pitch””plucking spokes and listening for consistent tone across the wheel. The replacement spoke must match the original in length, gauge, and ideally brand. Spoke length varies by several millimeters between front and rear wheels, between drive and non-drive sides, and between different hub and rim combinations. Using a spoke that’s too short means the threads won’t engage the nipple fully, while a spoke that’s too long may bottom out in the nipple or protrude through and puncture the tube. If you don’t know the spoke length, measuring an intact spoke from the same position on the wheel gives you the dimension, or you can use an online spoke calculator with your hub and rim measurements.
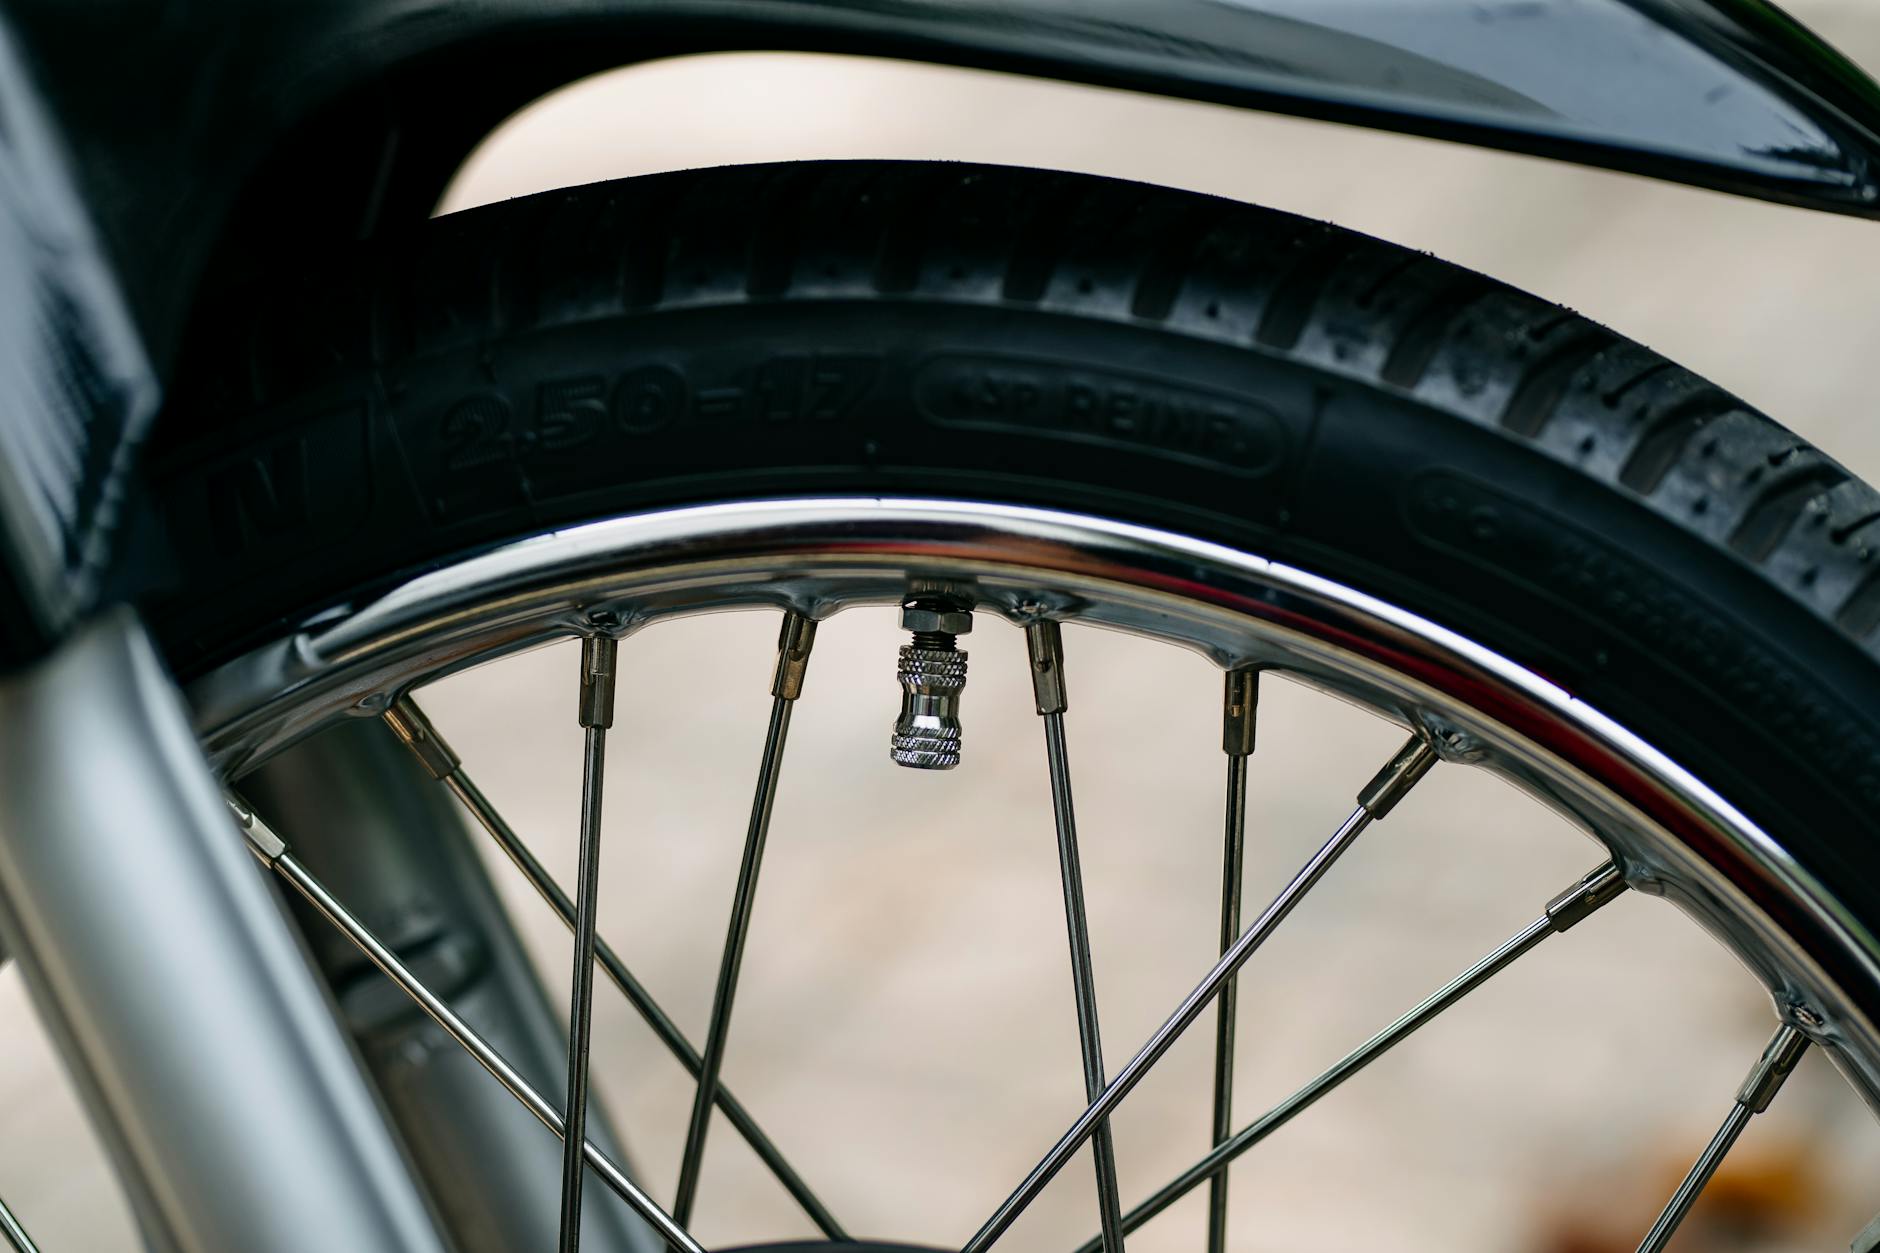
Step-by-Step Spoke Replacement Process
Begin by removing the wheel from the bike and deflating the tire completely. Strip off the tire and tube, then peel back the rim tape to expose the nipple hole where the broken spoke connects. If the old spoke is still partially attached at the hub, unscrew the nipple fully and pull the spoke out through the hub flange. Sometimes a broken spoke wraps around adjacent spokes and requires careful unwinding. Inspect the hub flange hole for any damage””burrs or cracks in the flange indicate more serious problems. Thread the new spoke through the hub flange from the correct side, matching the direction of the other spokes in that group. Spokes alternate heads-in and heads-out around the flange, and getting this wrong creates a spoke that won’t follow the correct lacing path. Weave the new spoke over and under the crossing spokes, replicating the pattern of adjacent spokes exactly. Most wheels use a three-cross pattern where each spoke crosses three others between hub and rim; some high-performance wheels use two-cross or radial lacing. If the spoke doesn’t naturally follow the path of its neighbors, you’ve likely threaded it through the flange incorrectly. Drop the nipple into the rim hole and thread it onto the spoke by hand, engaging at least three or four full threads before using the wrench. Tighten gradually, checking lateral true frequently””the goal is to bring the new spoke up to approximately the same tension as its neighbors without pulling the rim out of true. On rear wheels, remember that drive-side spokes run at significantly higher tension than non-drive-side spokes, sometimes nearly double.
Once the spoke reaches working tension, check radial true as well, looking for hops where the rim moves closer to or farther from the hub at specific points. ## How to Achieve Proper Spoke Tension and Wheel True Tension consistency matters more than hitting an exact tension number. A wheel with all spokes at moderate but uniform tension performs better and lasts longer than one with high but uneven tension. The replaced spoke should produce the same pitch when plucked as its neighbors on the same side of the wheel””a noticeably lower pitch indicates insufficient tension, while a higher pitch means overtightening. Tension meters provide numerical readings, with typical road bike rear drive-side tension running between 100 and 130 kilograms-force depending on the rim and spoke count. Truing proceeds in iterations rather than aggressive single adjustments. Turn the nipple a quarter-turn at a time, spinning the wheel after each adjustment to assess the effect. Tightening a spoke pulls the rim toward that spoke’s hub flange, so a section that wobbles left gets corrected by tightening right-side spokes or loosening left-side spokes in that area. Radial true””eliminating hops””requires adjusting spokes in pairs on opposite sides, tightening both to pull the rim inward or loosening both to let it move outward at that point. However, if the rim itself is bent, no amount of spoke adjustment produces a true wheel. A rim with a visible kink or crease, or one that requires wildly different spoke tensions in different sections to achieve true, has sustained damage beyond what spoke replacement can address. Similarly, a wheel that was already out of true before the spoke broke may need comprehensive retruing or rebuilding rather than just a single spoke replacement. Check the rim’s integrity by sighting along it before investing significant time in truing.
Rear Wheel Spoke Replacement: Drive-Side Challenges
Rear wheel drive-side spokes present unique difficulties because the cassette or freewheel blocks direct access to the hub flange. On many wheels, replacing a drive-side spoke requires removing the cassette first, which demands a chain whip and lockring tool. This adds ten to fifteen minutes and a layer of complexity to what’s otherwise a straightforward job. Some wheel manufacturers address this with two-piece spokes or specially designed flanges that allow spoke replacement without cassette removal, but these systems aren’t universal. The tension differential between drive and non-drive sides on rear wheels creates additional challenges.
Because the hub flanges aren’t centered in the rim””the drive side sits closer to the wheel’s centerline to accommodate the cassette””drive-side spokes run at a steeper angle and higher tension while non-drive-side spokes have a shallower angle and lower tension. This asymmetry, called dish, must be maintained during spoke replacement. A new drive-side spoke tensioned only to match non-drive-side tension will leave the wheel significantly out of dish. Checking dish requires either a dishing tool or flipping the wheel in the truing stand to compare rim position relative to the locknuts on both sides. The rim should be centered between the locknuts, not the flanges. If replacing a drive-side spoke throws off the dish, adjustment involves tightening all drive-side spokes slightly and loosening all non-drive-side spokes by a corresponding amount, a process that takes considerably more time than simple truing.
When to Replace the Wheel Instead of Individual Spokes
A single broken spoke on an otherwise healthy wheel calls for replacement. Two or three broken spokes in different locations over many months of riding still falls within normal spoke replacement territory. But when a wheel breaks multiple spokes in quick succession, particularly in the same region, the calculus changes. This pattern often indicates that the remaining spokes have reached their fatigue limit, and replacing spokes one by one becomes a game of whack-a-mole. Rim damage also tips the scales toward wheel replacement.
A rim with flat spots, cracks at the spoke holes, or worn brake tracks on rim-brake wheels compromises the entire wheel’s integrity regardless of spoke condition. Attempting to true a damaged rim stresses spokes unevenly and accelerates further failures. The cost comparison matters too: at five dollars per spoke including the shop labor, replacing five or six spokes approaches the cost of a basic replacement wheel, and rebuilding all spokes onto the existing hub and a new rim may cost more than buying a complete wheel. For example, a commuter with a budget aluminum wheel breaking its fourth spoke in two months should likely replace the wheel rather than continue repairs. The labor cost alone””typically fifteen to twenty-five dollars per spoke at a shop””adds up quickly. Conversely, a rider with a high-end wheelset featuring expensive hubs benefits more from rebuilding with new spokes and potentially a new rim, preserving the hub investment.
Preventing Future Spoke Breakage
Proper initial wheel building prevents most spoke failures. Wheels built with consistent tension and stress-relieved spokes last far longer than hastily assembled wheels. Stress relief involves flexing the spokes after building to settle the wind-up in the spoke and seat the spoke heads fully against the flange””a step that many factory wheels skip but quality wheelbuilders always include. If you’re buying a new wheel, machine-built options from reputable manufacturers undergo quality control that catches poor tension, while cheap no-name wheels often ship with significant tension inconsistencies. Routine tension checks catch developing problems before spokes break.
Every few months, or after any significant impact, squeeze parallel pairs of spokes around the wheel checking for any that feel notably looser than their neighbors. Loose spokes fatigue faster and also indicate the wheel may be going out of true. Retensioning a loose spoke costs nothing in parts and takes five minutes, while waiting for it to break means a more involved repair and possibly being stranded. Rider weight and riding style affect spoke longevity as well. Heavier riders or those carrying loads should consider wheels with higher spoke counts””32 or 36 spokes rather than 24 or 28″”since the load distributes across more spokes, reducing individual spoke stress. Aggressive riding over rough terrain similarly accelerates spoke fatigue compared to smooth-road riding at the same mileage.
Building Confidence for DIY Spoke Repair
Starting with front wheel non-drive-side spokes offers the gentlest learning curve for first-time spoke replacement. These spokes are easily accessible without removing any components, run at lower tension than rear spokes, and the front wheel’s symmetry simplifies truing. A rider who successfully replaces and trues a front spoke gains the skills and confidence to tackle the more challenging rear drive-side repair.
Practice wheels accelerate learning. Older wheels destined for recycling or inexpensive used wheels from a bike co-op let you practice lacing, tensioning, and truing without fear of damaging a wheel you depend on. Some cyclists even intentionally delace and relace a practice wheel multiple times to develop the muscle memory and eye for tension consistency that makes spoke replacement routine rather than stressful.
Conclusion
Replacing a broken spoke is well within the capability of any cyclist willing to learn the process and invest in basic tools. The key steps””matching the correct spoke length, threading through the hub and lacing correctly, tensioning to match adjacent spokes, and truing the wheel””follow a logical sequence that becomes faster with practice. Understanding why spokes break helps prevent future failures, whether the cause is fatigue, impact, improper tension, or corrosion.
For most riders, developing spoke replacement skills pays dividends in both savings and self-sufficiency. A broken spoke no longer means an interrupted ride or an expensive shop visit. That said, recognizing when a wheel’s problems exceed what spoke replacement can solve””damaged rims, repeated failures indicating systemic fatigue, or complex issues with high-end wheelsets””remains equally valuable knowledge. Start with a simple repair, build your skills, and you’ll have the judgment to know when to fix and when to replace.