Adjusting your bike brakes comes down to three fundamental steps: positioning the pads correctly relative to the braking surface, setting the proper cable tension or hydraulic fluid level, and ensuring both sides engage evenly. For rim brakes, the pads should contact the center of the rim without touching the tire or protruding over the rim lip, and they should engage when the lever reaches roughly 50% of its travel. For disc brakes, the rotor must pass through the caliper without rubbing, and the pads need adequate clearance while still providing strong stopping power when you pull the lever. A commuter riding daily through varied conditions might need to check and adjust their brakes every two to three weeks to maintain reliable performance.
This guide covers the complete adjustment process for both rim and disc brake systems, including the differences between mechanical and hydraulic disc setups. You’ll learn how to diagnose common problems like uneven pad wear, spongy lever feel, and brake rub. The article also details when components need replacement rather than adjustment””because no amount of tweaking will fix pads worn below minimum thickness or rotors that have become too thin. Beyond basic adjustment, we’ll cover the torque specifications that keep your brake components secure without damaging them, the tools you’ll need for different brake types, and the warning signs that indicate a problem beyond simple adjustment.
Table of Contents
- How Do You Know When Your Bike Brakes Need Adjustment?
- Rim Brake Pad Positioning and Cable Tension Basics
- Mechanical Disc Brake Adjustment: Cable and Caliper Alignment
- Hydraulic Disc Brake Maintenance and Bleeding
- Rotor Inspection and Minimum Thickness Standards
- Pad Wear Rates and Replacement Intervals
- Torque Specifications for Brake Component Security
- When Adjustment Isn’t Enough: Knowing When to Replace
- Conclusion
How Do You Know When Your Bike Brakes Need Adjustment?
The most obvious sign that your brakes need attention is reduced stopping power””you’re squeezing harder than usual or the bike takes longer to stop. But waiting until performance suffers that dramatically means you’ve already been riding with compromised safety. Better indicators include the brake lever pulling closer to the handlebar before the pads engage, a spongy or inconsistent feel at the lever, or visible gaps between pads and rim or rotor that have grown larger over time. For rim brakes, look at the wear indicator grooves molded into the pad surface. These grooves serve a specific purpose: when they disappear, the pad needs replacement regardless of how much material appears to remain.
The grooves also help channel water away from the braking surface, so worn grooves mean compromised wet-weather performance before the pad itself becomes dangerously thin. Disc brake pads require more direct inspection since they’re partially hidden inside the caliper. Most manufacturers, including Magura, specify replacement when less than 2.5mm of pad material remains, with 2mm being the general minimum threshold across the industry. New disc brake pads typically start at 3-4mm of friction material plus approximately 2mm of backing plate. A simple visual check through the caliper””or removing the wheel for a closer look””tells you whether adjustment will help or whether replacement is the real solution.
Rim Brake Pad Positioning and Cable Tension Basics
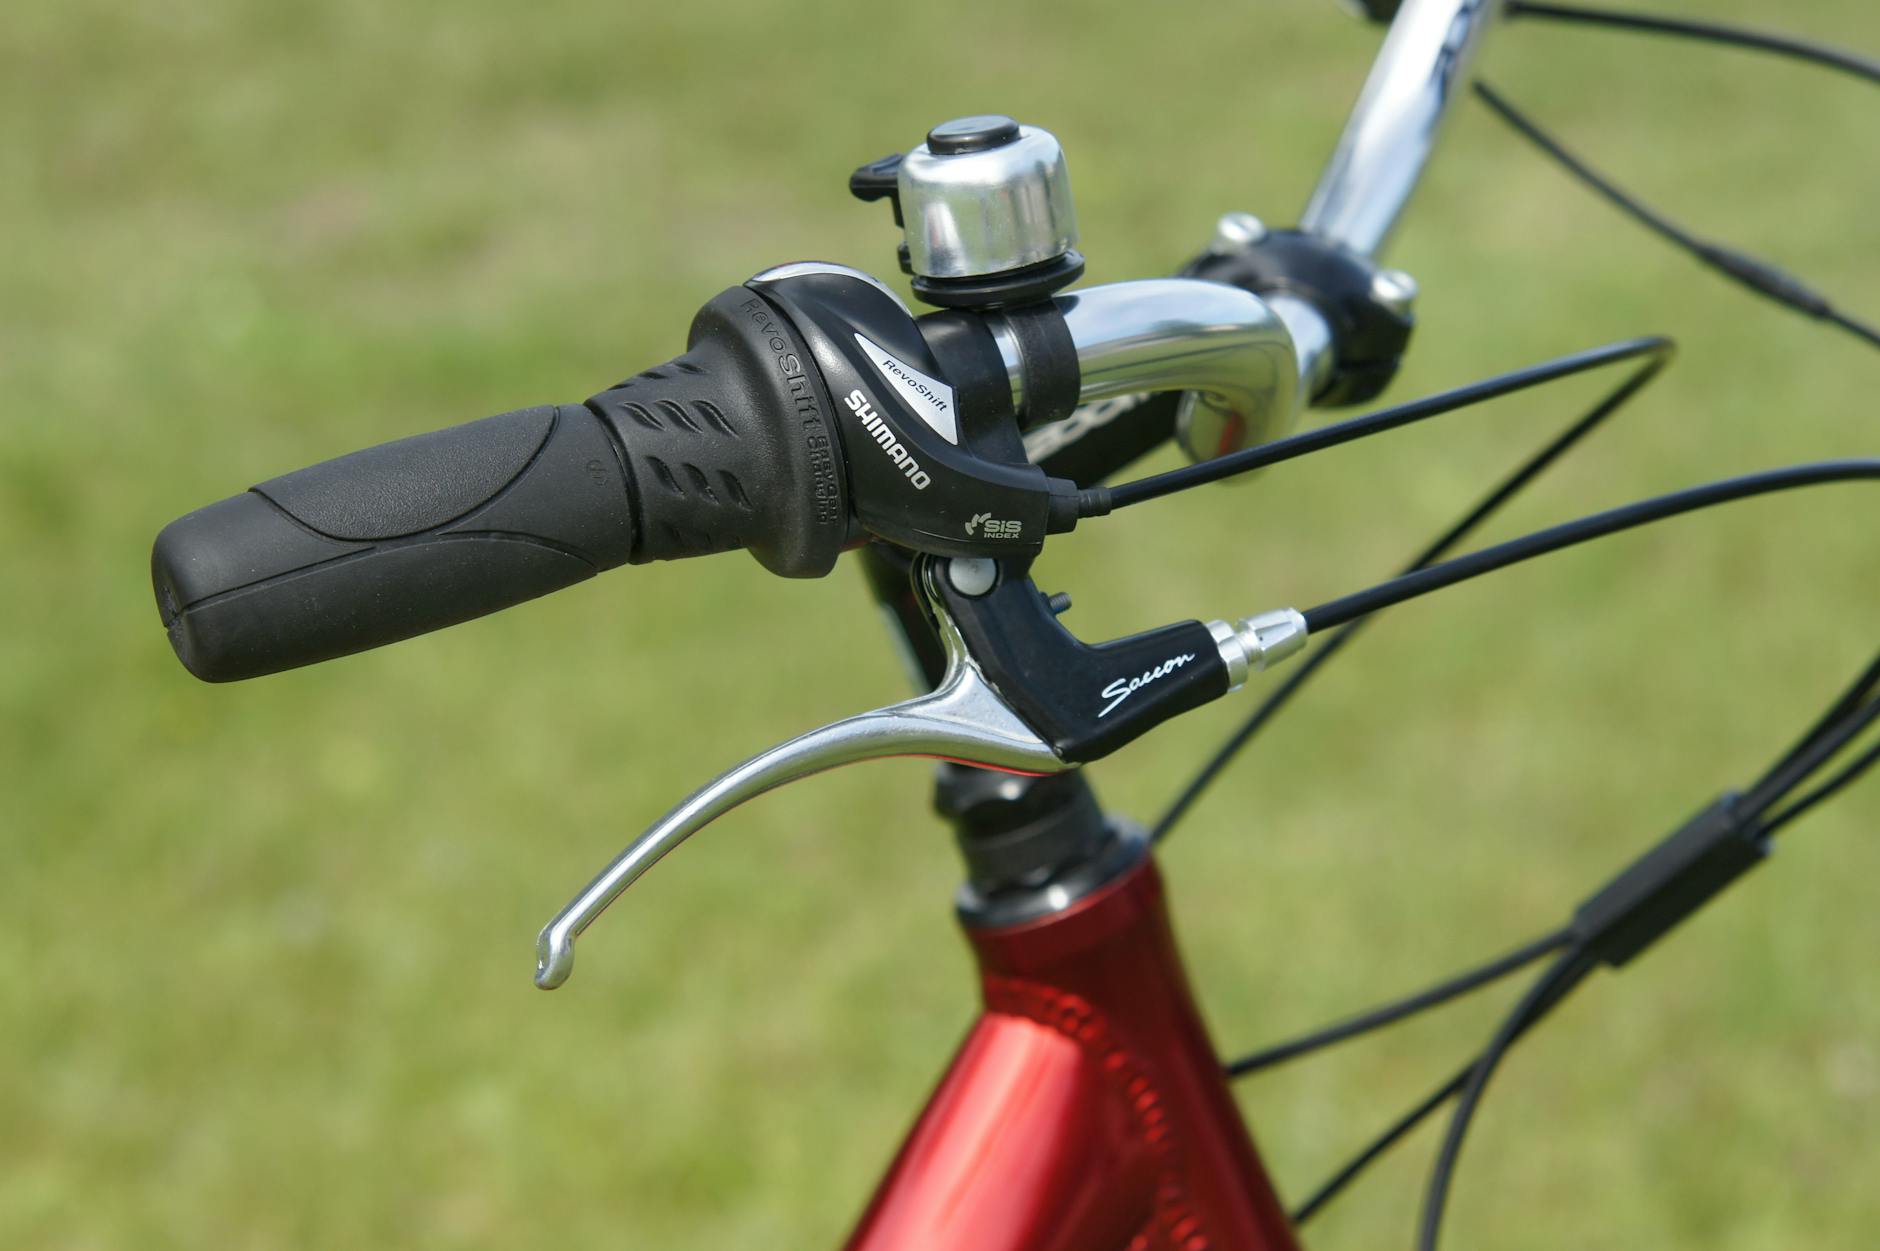
Proper rim brake pad alignment requires attention to multiple dimensions simultaneously. The pad must sit squarely against the rim’s braking surface, centered vertically so it doesn’t contact the tire above or slip below the rim edge. It should also be toed in slightly””the front edge of the pad touching the rim before the rear edge””which reduces squealing and improves modulation. Getting all these angles right while also positioning both pads equidistant from the rim is what makes brake adjustment an acquired skill. Cable tension controls how far the lever travels before the pads contact the rim.
The barrel adjuster on your brake lever or at the brake itself provides fine-tuning: turning it counter-clockwise moves the pads closer to the rim, while clockwise moves them away. For larger adjustments, you’ll need to loosen the cable anchor bolt, pull more or less cable through, and re-tighten. Shimano specifies 5.0-6.8 Nm for road brake cable anchor bolts, while SRAM recommends 4.0-5.1 Nm””a meaningful difference that matters if you’re using a torque wrench as you should be. However, if your brake pads are worn unevenly or your rim has developed wobbles, no amount of cable adjustment will produce consistent braking. You’ll get one pad dragging while the other barely contacts, or the brake will grab at certain points in the wheel’s rotation and release at others. Rim brake adjustment assumes reasonably true wheels and pads with enough remaining life to function properly.
Mechanical Disc Brake Adjustment: Cable and Caliper Alignment
Mechanical disc brakes use a cable-actuated system that works differently than most riders expect. In a typical design, only the outer pad moves when you pull the lever, while the inner pad remains stationary. The rotor actually flexes slightly toward the fixed pad during braking. This single-sided actuation means proper adjustment requires setting the inner pad close enough to the rotor for effective braking while leaving clearance for the rotor to spin freely. Park Tool’s guidance states that pads should contact when the lever reaches approximately 50% of its travel””the halfway point between resting position and touching the handlebar.
Achieving this requires balancing the caliper position, inner pad adjustment, and cable tension. Start by loosening the caliper mounting bolts, squeezing the brake lever to center the caliper on the rotor, and tightening the bolts while maintaining lever pressure. Then fine-tune the inner pad position using the adjustment dial or bolt on the caliper body, and set cable tension for the desired lever feel. The limitation of mechanical disc brakes compared to hydraulic systems is this single-sided pad wear. You’ll need to periodically readjust the inner pad inward as both pads wear, whereas hydraulic systems self-adjust to maintain consistent pad-to-rotor clearance. Riders who prefer mechanical systems for their simplicity and cable-based serviceability should expect more frequent adjustment intervals than hydraulic users.
Hydraulic Disc Brake Maintenance and Bleeding
Hydraulic disc brakes eliminate cables in favor of fluid-filled lines that transmit force from lever to caliper. The sealed system means no cable stretch and automatic pad adjustment as the pads wear””pistons simply extend further from the caliper body to maintain proper clearance. This self-adjusting nature makes hydraulic brakes lower maintenance in normal operation, but when problems develop, the solutions differ significantly from cable systems. A spongy or inconsistent lever feel typically indicates air in the hydraulic system, requiring a bleed procedure to remove the air and restore firm lever action. Bleeding involves pushing fresh brake fluid through the system to displace old fluid and any air bubbles.
The process varies by manufacturer and requires brand-specific bleed kits, making it more involved than cable adjustment. Some riders handle this at home, while others prefer shop service for the mess and precision involved. If your hydraulic brakes suddenly lose power or the lever pulls to the bar with little resistance, the problem may be contaminated pads rather than a hydraulic issue. Brake fluid, chain lubricant, or even certain cleaning products can contaminate the pad friction material, creating a glazed surface that won’t grip the rotor effectively. Contaminated pads require replacement””no cleaning method reliably restores braking performance once the friction material absorbs contaminants.
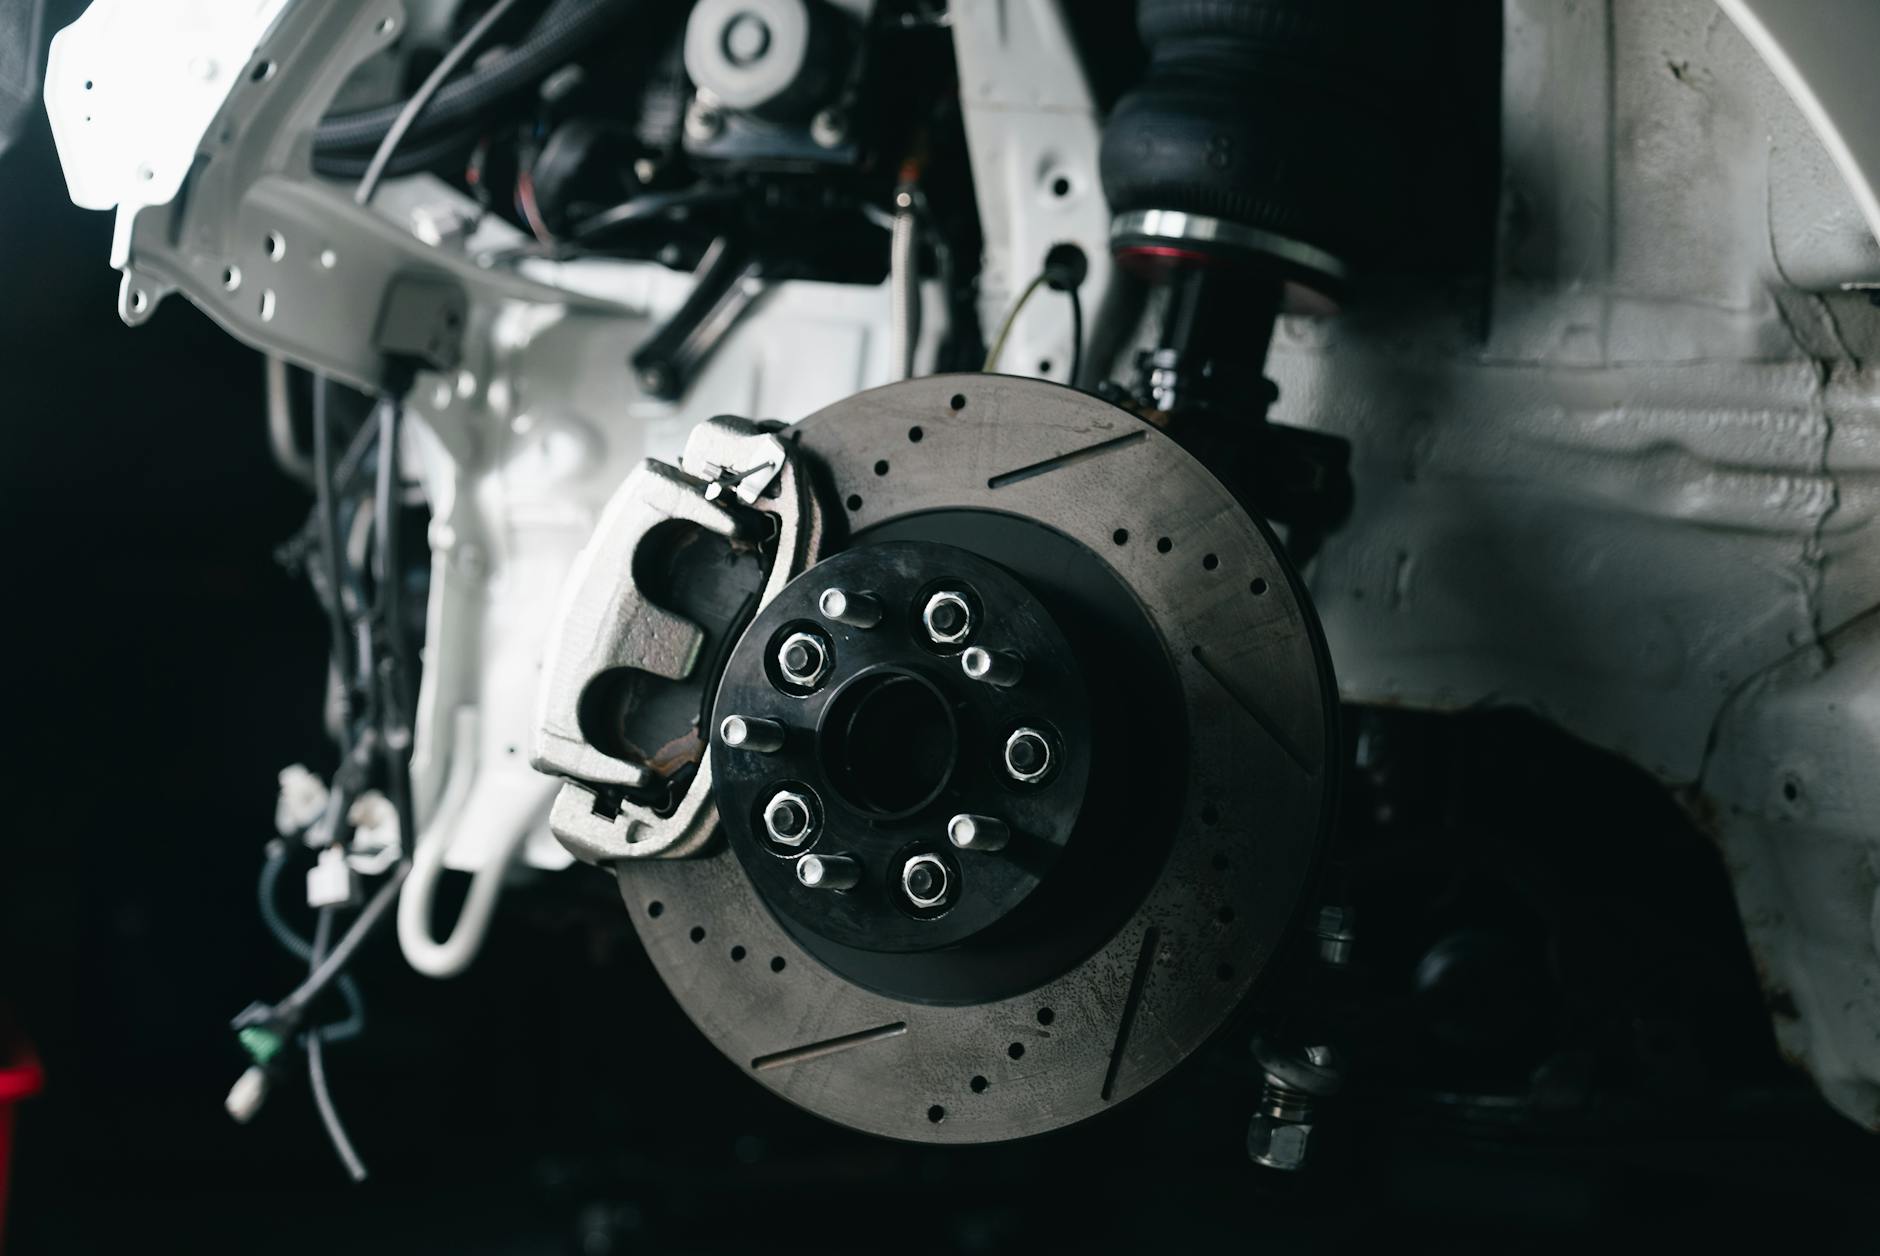
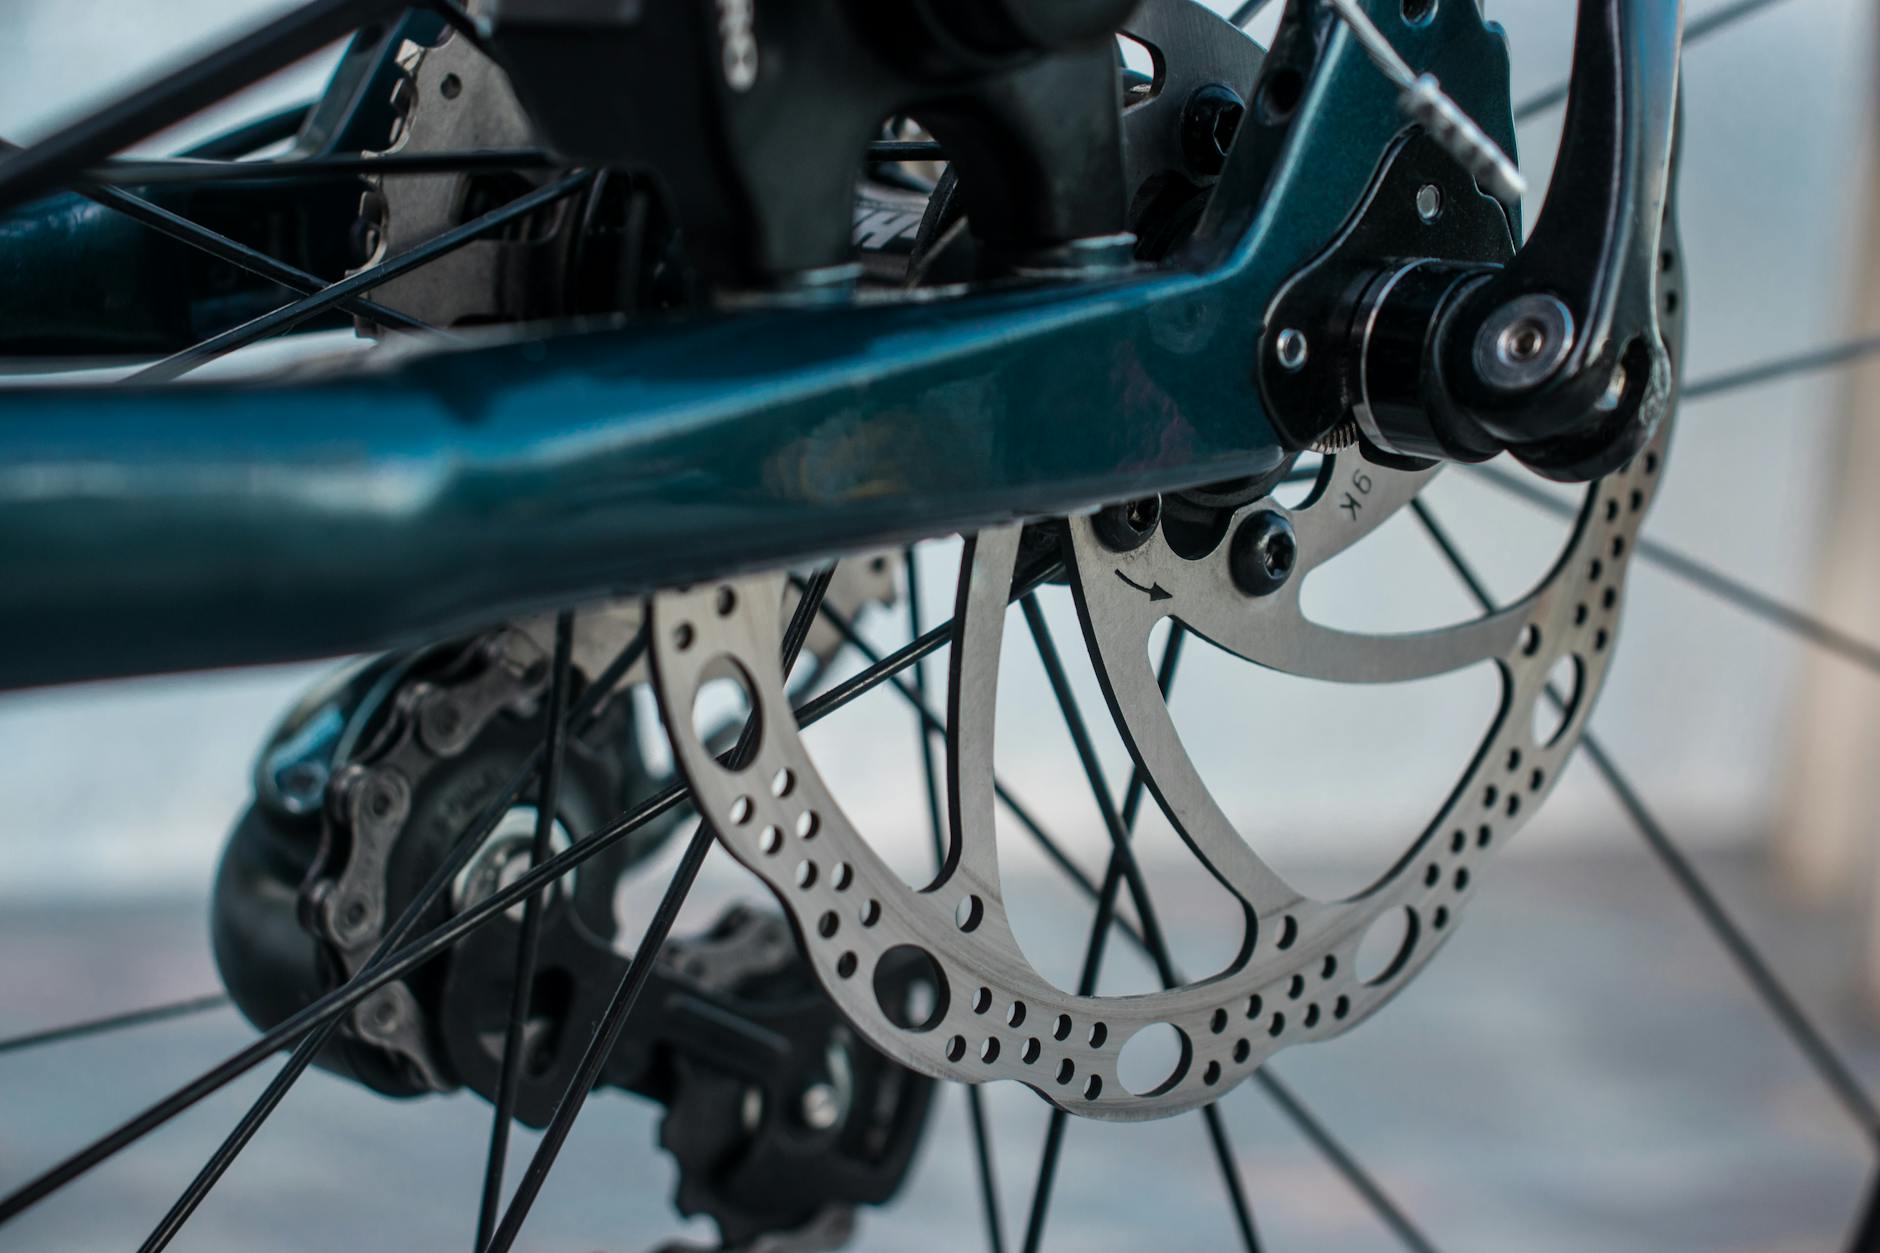
Rotor Inspection and Minimum Thickness Standards
Disc brake rotors wear with use, and manufacturers specify minimum thickness values that represent the safety limit for continued operation. Shimano rotors””which mark “Min. TH=1.5” directly on the rotor surface””must be replaced when they wear below 1.5mm. SRAM sets their minimum at 1.55mm, while Hayes specifies 1.52mm. These differences are small but meaningful: a rotor at 1.52mm is safe on a Hayes-equipped bike but past replacement threshold for Shimano.
New SRAM rotors measure 1.85mm thick for sizes between 140mm and 203mm, with the larger 220mm rotors starting at 2.00mm. The difference between new and minimum thickness represents the usable wear life””roughly 0.30mm of material that will be gradually removed by pad contact and environmental abrasion. Rotor wear rates vary dramatically based on riding conditions, pad compound, and braking habits, making visual inspection and periodic measurement more useful than mileage estimates. Measuring rotor thickness requires a micrometer or brake rotor gauge; ordinary calipers often lack the precision needed for measurements in tenths of millimeters. Check thickness at multiple points around the rotor, as wear may be uneven. Any point measuring below the manufacturer’s minimum means replacement is required””and if you discover significant thickness variation around the rotor’s circumference, that inconsistency itself affects braking feel and may indicate a rotor that should be replaced even if minimum thickness hasn’t been reached everywhere.
Pad Wear Rates and Replacement Intervals
Disc brake pads typically last between 1,000 and 3,000 miles depending on riding conditions, terrain, rider weight, and pad compound. Organic pads offer quieter operation and better initial bite but wear faster than metallic or sintered compounds. Metallic pads last longer and perform better when hot but can be noisier and take longer to bed in. The 1,000-3,000 mile range reflects this variability””a light rider using sintered pads in dry conditions will see the high end, while a heavier rider with organic pads in wet, gritty conditions may not reach 1,000 miles. Rim brake pads show even more variation, with estimates of 500-700 miles before replacement needed.
Rim brakes are more affected by wet and dirty conditions because the rim itself becomes the braking surface, and grit embedded in the pads can accelerate both pad and rim wear. Riders in consistently dry climates may far exceed these estimates, while those commuting through winter rain and road spray might need pads more frequently. These mileage figures should inform your inspection schedule rather than serve as replacement triggers. Check your pads regularly””every two to three weeks for daily commuters””and replace based on actual condition rather than odometer readings. Riding style matters enormously: a rider who brakes smoothly and anticipates stops will get dramatically more life from their pads than someone who repeatedly brakes hard at the last moment.
Torque Specifications for Brake Component Security
Using proper torque values when securing brake components prevents both loose bolts and damaged threads or components. The range for bicycle fasteners spans roughly 2-20 Nm depending on the component, with brake-specific fasteners falling within particular ranges by manufacturer and type. Shimano specifies 5.0-6.8 Nm for road brake cable anchor bolts and 5.9-7.8 Nm for linear pull brake cable anchors. Avid linear pull brakes share that 5.9-7.8 Nm specification, while SRAM road brake anchors use a lower 4.0-5.1 Nm range. A quality torque wrench isn’t optional for brake work””it’s essential.
Under-torqued bolts can work loose from vibration, potentially causing cable slippage or caliper movement mid-ride. Over-torqued bolts can strip threads, crack components, or crush cable housing ferrules. The relatively narrow torque windows for brake components leave little margin for error, and the consequences of getting it wrong involve your primary safety system. Keep in mind that these specifications assume clean, dry threads and properly matched hardware. Greased threads, thread-locking compounds, or corrosion all affect the relationship between applied torque and actual clamping force. When in doubt, clean threads thoroughly and apply fresh thread preparation as specified by the component manufacturer.
When Adjustment Isn’t Enough: Knowing When to Replace
The line between “needs adjustment” and “needs replacement” isn’t always obvious, but certain conditions clearly indicate parts have reached end of life. Rim brake pads with no visible wear indicator grooves need replacement regardless of remaining thickness. Disc brake pads below 2mm of friction material””about 4mm total including the backing plate””need replacement regardless of how recently they were installed. Rotors below manufacturer minimum thickness must be replaced immediately. Beyond these hard limits, subjective factors also indicate replacement.
Pads that have become contaminated with brake fluid or lubricant won’t recover their grip regardless of remaining thickness. Rotors with visible scoring, heat discoloration, or measurable warping affect braking consistency in ways adjustment cannot fix. Brake cables with frayed strands or kinked housing compromise both performance and safety even if the brakes technically still function. The cost of brake consumables is trivial compared to the consequences of brake failure. When inspection reveals components approaching end of life, replace them promptly rather than extracting the last few miles of marginal performance.
Conclusion
Effective brake adjustment requires understanding your specific brake type, having the right tools including a torque wrench, and inspecting components regularly enough to catch wear before it becomes dangerous. Rim brakes need pad alignment centered on the rim and cable tension set for proper lever engagement. Mechanical disc brakes require caliper centering and inner pad adjustment as pads wear.
Hydraulic disc brakes are largely self-adjusting but need periodic bleeding and vigilance against contamination. The technical specifications covered here””torque values, minimum thicknesses, wear indicators””exist because brakes are safety-critical components with little margin for error. Daily commuters should inspect their brakes every two to three weeks, measure rotor thickness periodically, and replace pads well before they reach minimum limits. Good brake maintenance is among the highest-return investments of time and attention you can make in cycling safety.