Adding fenders and racks to your hybrid bike requires identifying your frame’s mounting points, selecting compatible accessories, and installing them with basic hand tools””typically a process that takes under an hour for each component. Most hybrid bikes come equipped with threaded eyelets near the dropouts and sometimes on the fork or seatstays specifically designed for fender and rack attachment, making installation straightforward. If your bike lacks these mounting points, aftermarket solutions like P-clamps, seat collar mounts, and clip-on fenders can still get the job done, though with some compromises in stability and load capacity. Consider a rider who commutes year-round on a Trek FX 3: the stock bike handles beautifully but offers no protection from road spray and nowhere to carry a laptop bag.
By adding a set of full-coverage fenders and a rear rack with a pannier, that same bike transforms into a practical commuter capable of handling wet roads and hauling groceries without breaking a sweat. The key lies in choosing accessories that match your frame’s specifications and intended use. This article walks through the complete process of outfitting your hybrid with fenders and racks, from assessing your bike’s compatibility to selecting the right products and handling the installation. We’ll also cover common fitment challenges, weight considerations, and how to troubleshoot issues that arise after mounting your new accessories.
Table of Contents
- What Tools and Hardware Do You Need to Install Fenders and Racks on a Hybrid Bike?
- Choosing the Right Fenders for Your Hybrid Bike’s Wheel Size and Clearance
- Rack Compatibility: Understanding Weight Limits and Mounting Standards
- Step-by-Step Fender Installation Process
- Rear Rack Installation and Load Distribution Basics
- Maintaining Fenders and Racks Through the Seasons
- Conclusion
What Tools and Hardware Do You Need to Install Fenders and Racks on a Hybrid Bike?
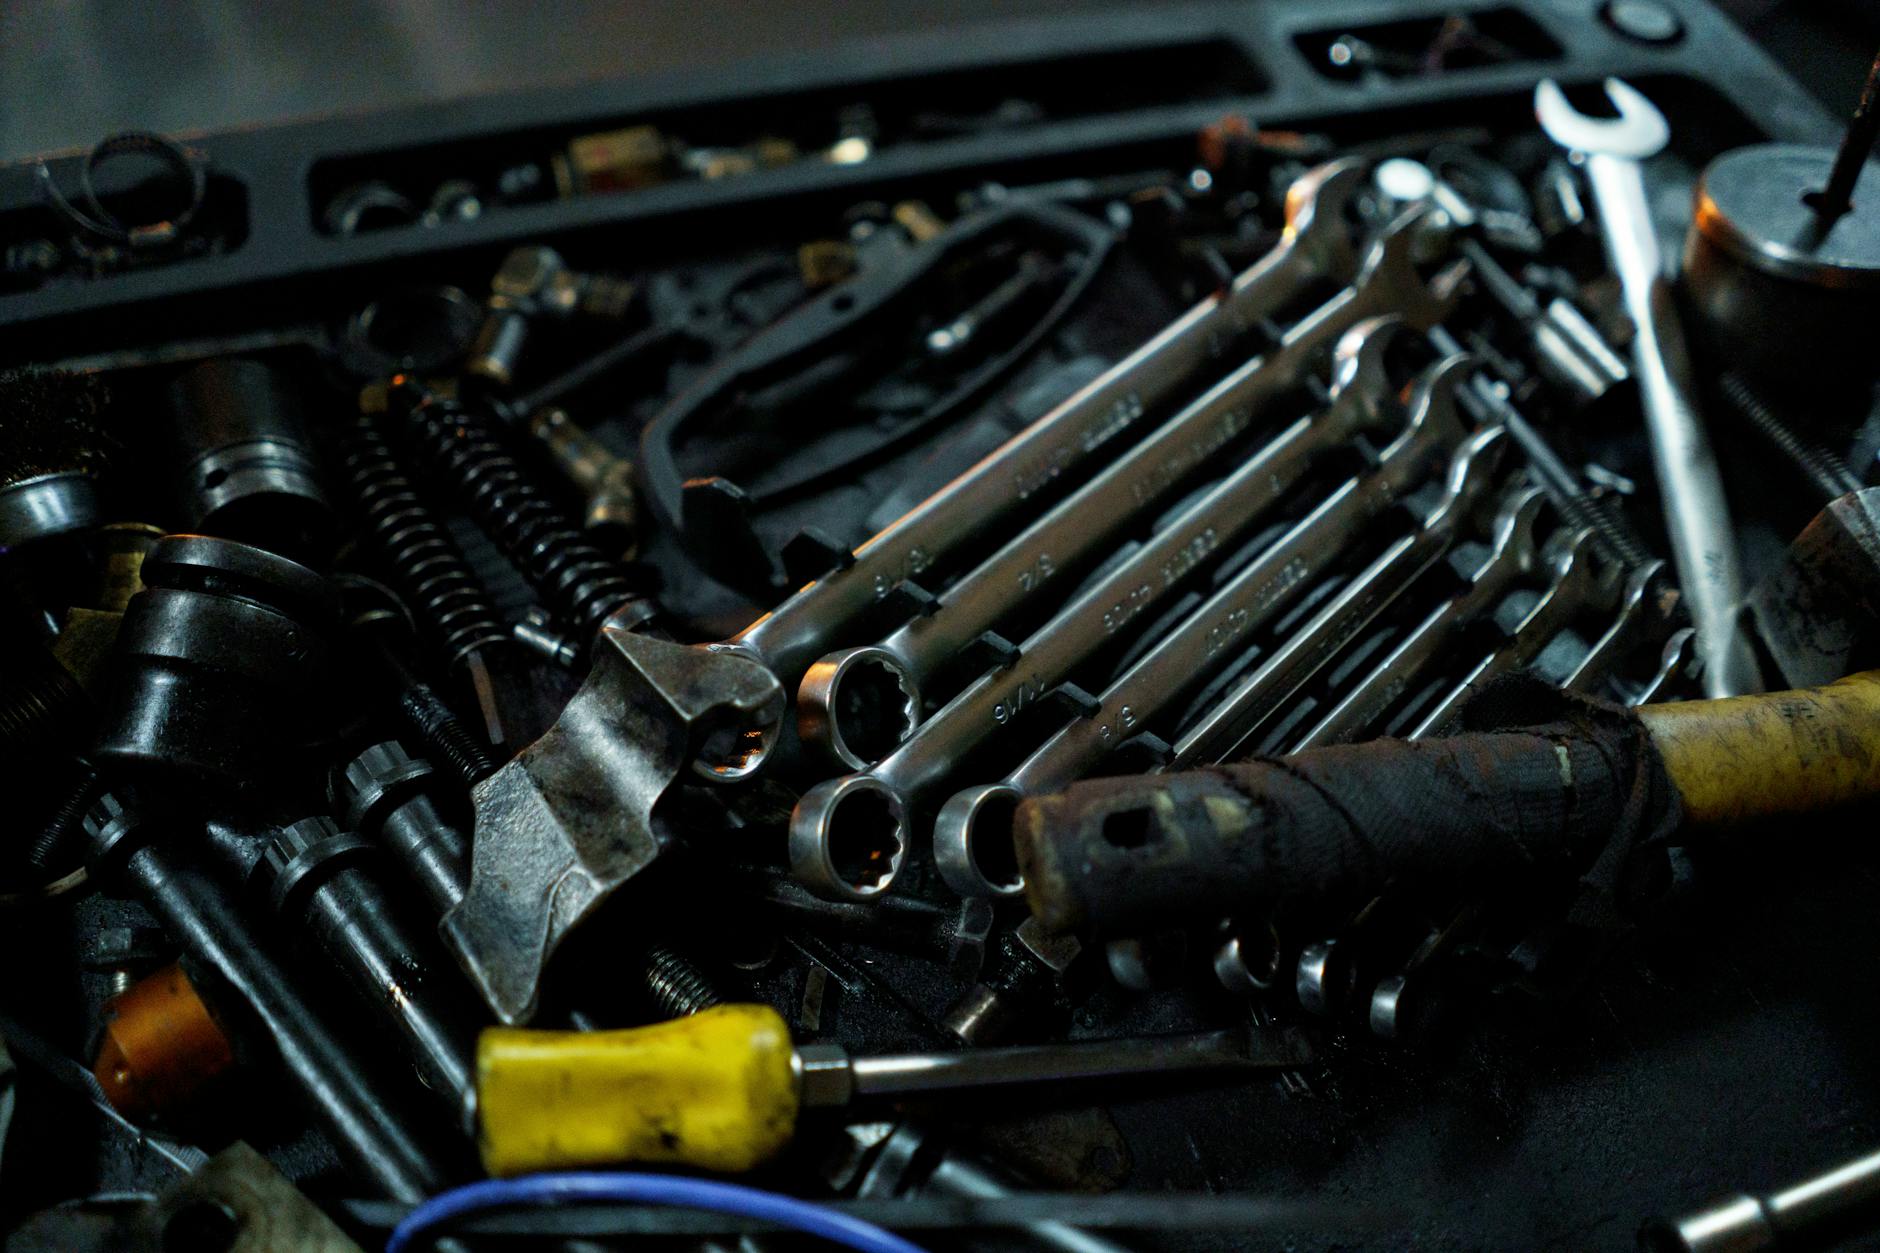
The basic toolkit for fender and rack installation includes a set of hex wrenches (4mm and 5mm cover most applications), a Phillips head screwdriver, and possibly a 10mm box wrench for certain rack mounting bolts. Fenders typically ship with their own hardware””stainless steel bolts, spacers, and L-brackets””but having spare washers and longer bolts on hand proves useful when dealing with frame variations. Racks usually include all necessary mounting hardware, though the quality varies significantly between budget and premium options. Beyond tools, you’ll want a workstand or at least a way to elevate the bike for easier access to mounting points. Working with the bike flipped upside down resting on handlebars and saddle works in a pinch but makes precise adjustments difficult.
A repair stand that holds the bike at waist height allows you to spin wheels freely while checking fender clearance””a critical step that’s nearly impossible to perform accurately with the bike on the ground. One often-overlooked item is thread preparation. A drop of grease on threaded bolts prevents seizing and corrosion, particularly important for steel hardware going into aluminum frame eyelets. Some mechanics prefer a light application of threadlocker on rack bolts to prevent loosening from road vibration, though this makes future removal more difficult. The choice depends on whether you anticipate removing the rack seasonally or leaving it permanently mounted.
Choosing the Right Fenders for Your Hybrid Bike’s Wheel Size and Clearance
Fender sizing depends on two primary factors: wheel diameter and tire width. hybrid bikes typically run 700c wheels with tires ranging from 28mm to 47mm, and your fenders need adequate width to cover the tire plus some margin on each side to catch spray effectively. A general guideline is selecting fenders at least 10mm wider than your tire””so a 38mm tire calls for fenders at minimum 48mm wide, though 52mm or 58mm provides better coverage. Full-length fenders with stays that attach at the dropouts offer superior protection compared to clip-on models that mount only to the fork crown and seatpost. Brands like SKS, Planet Bike, and Portland Design Works produce hybrid-specific fenders with coverage ratings indicating the tire width they accommodate.
The SKS Bluemels series, for instance, comes in 35mm, 45mm, 53mm, and 65mm widths to match different tire configurations. Choosing undersized fenders leaves gaps that defeat their purpose, while oversized fenders may rub against the chainstays or create an ungainly appearance. However, if your hybrid has particularly tight clearances””common on performance-oriented models with shorter chainstays””even properly sized fenders may not fit without modification. The critical measurement is the gap between your tire and the frame at the closest point, usually the brake bridge or chainstay junction. Less than 10mm of clearance there often means standard fenders won’t work, pushing you toward narrower tires or clip-on fender alternatives. Measuring before purchasing saves the frustration of returning incompatible products.
Rack Compatibility: Understanding Weight Limits and Mounting Standards
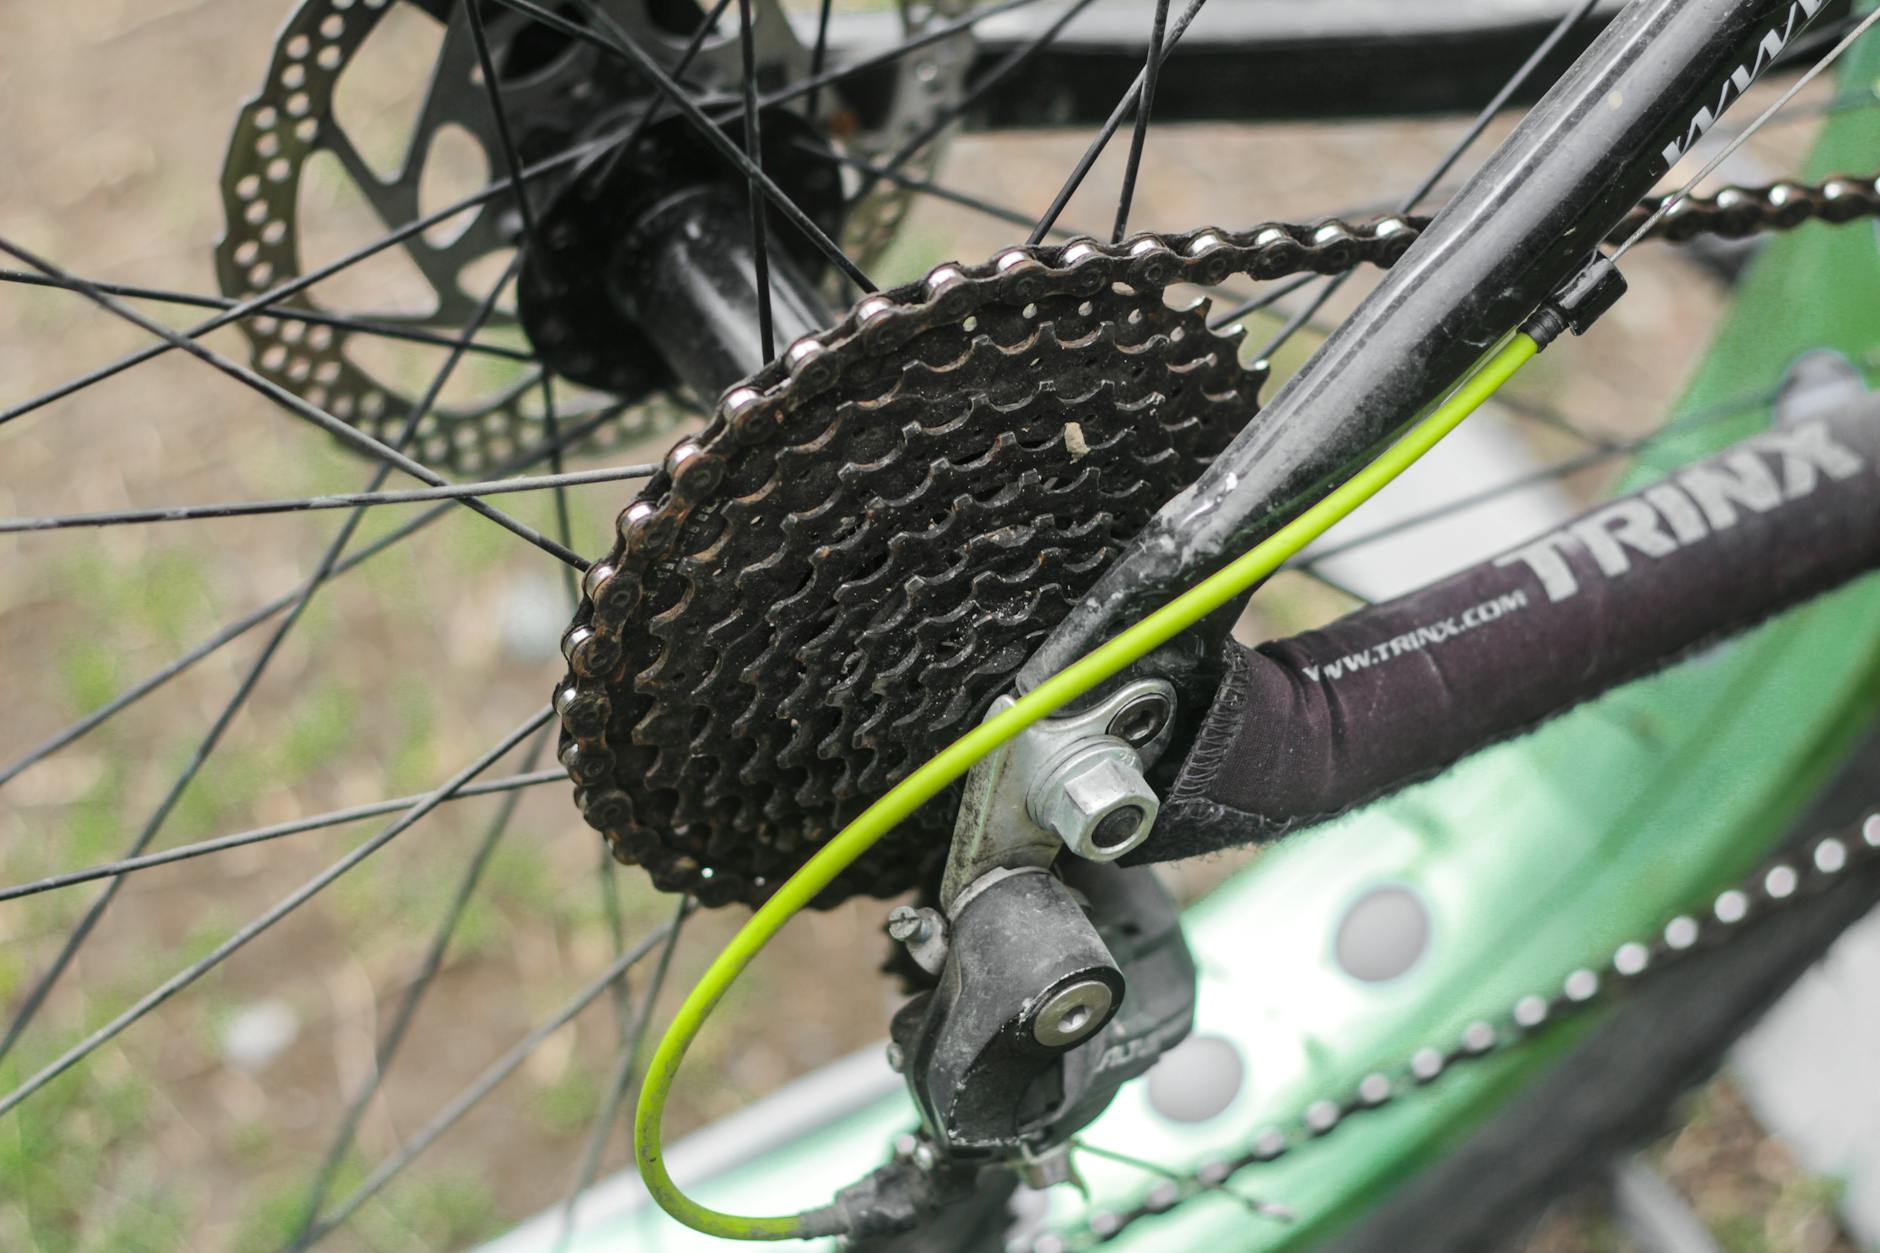
Rear racks for hybrid bikes come in two basic categories: those designed for mounting over the rear wheel via seatstay and dropout eyelets, and seatpost-mounted versions for frames lacking traditional attachment points. Eyelet-mounted racks handle substantially more weight””typically rated for 25 to 50 pounds””while seatpost racks max out around 10 to 15 pounds due to the leverage forces on a single mounting point. This difference matters enormously for anyone planning to carry panniers loaded with groceries or gear. The Tubus Logo Evo represents the premium end of rack engineering: a German-made chromoly steel rack weighing just over a pound yet rated for 40 pounds of cargo. At the other end sits the ubiquitous Topeak Explorer, an aluminum rack with an integrated sliding platform for trunk bags and a 25-pound limit adequate for light commuting loads.
Between these extremes, dozens of options exist at various price points, with the primary tradeoffs being weight, load capacity, material durability, and compatibility features like disc brake clearance or lowrider mounting for front panniers. Disc brakes introduce a complication absent on rim-brake bikes: the caliper and rotor occupy space traditionally used for rack stays. Most modern racks address this with offset stays or disc-specific models, but older or budget racks may not accommodate the geometry. Before purchasing, verify that your chosen rack explicitly states disc brake compatibility if your hybrid uses discs. Installing an incompatible rack risks interference with braking function, a safety issue with potentially serious consequences.

Step-by-Step Fender Installation Process
Begin by loosely attaching the front fender to the fork crown bolt or dedicated fender mount, letting the fender hang freely while you position it relative to the tire. The fender should be centered over the tire with roughly equal clearance on each side””typically 5 to 8mm between fender edge and tire sidewall. Once centered, attach the fender stays to the front dropout eyelets using the provided hardware, adjusting stay length so the fender maintains consistent clearance from the crown to near the axle. The rear fender installation follows a similar pattern but involves more attachment points. Most rear fenders use a bridge mount near the brake, a seatstay mount via a bracket, and stays running to the rear dropouts. The challenge lies in coordinating all these points so the fender neither rubs the tire nor sits crooked. Professional mechanics often install all bolts finger-tight first, make positioning adjustments, then tighten in sequence starting from the main mount point and working outward to the stays. A specific technique that prevents rattling: after tightening all hardware, spin the wheel and listen for any contact between fender and tire. Even slight rubbing will cause rapid wear and annoying noise. Adjustment usually involves tweaking stay length or bending metal stays slightly to alter fender position. Plastic fenders with flexible stays allow more margin for error than rigid aluminum or stainless steel options, making them more forgiving for first-time installers.
## Common Fender Fitment Problems and How to Solve Them The most frequent installation headache involves insufficient clearance at the fork crown or rear brake bridge. When standard fenders won’t fit, several workarounds exist: the Daruma hardware system allows mounting fenders with as little as 5mm of clearance by using a low-profile front bracket. Another option involves bending metal fender mounting tabs to create additional offset, though this requires care to avoid cracking the fender material. Fender stays often prove too long or short for particular frame geometries, a problem addressed by cutting stays to length or using stay extensions. Quality fender sets like the Honjo or VO Zeppelin include extra-long stays specifically for this reason. Budget fenders sometimes ship with barely adequate stay length, leaving no room for adjustment on frames with unusual dropout positions. Measuring the distance from your dropouts to intended fender mounting height before purchasing helps avoid this problem. One limitation worth noting: fenders increase your bike’s vulnerability to trail debris and road detritus becoming lodged between fender and tire. This rarely presents issues on paved surfaces but can cause sudden stops when a stick or debris jams the wheel during off-road riding. Some cyclists who mix pavement and gravel riding choose to run only rear fenders, accepting some front spray in exchange for eliminating this risk. Others install fenders with quick-release mounts allowing rapid removal before venturing onto unpaved surfaces.
Rear Rack Installation and Load Distribution Basics
Rack installation begins with the lower mounting points at the rear dropouts. Insert the rack’s mounting tabs between the axle and dropout, or use the dedicated rack eyelet if present, ensuring the rack sits level when viewed from behind. The upper stays then attach to seatstay eyelets or a clamp around the seatpost. Most racks include multiple holes in their stays to accommodate different frame geometries””trial fitting different hole combinations helps achieve the most level and secure mounting. For example, installing a Blackburn Local rack on a Specialized Sirrus involves using the middle mounting hole on each stay for the seatstay attachment, while the dropout connection uses the innermost position to clear the disc brake caliper. A different frame might require entirely different hole selections.
The universal nature of rack hardware means some experimentation is normal, and achieving proper fitment sometimes takes multiple attempts. Load distribution fundamentally affects handling. Weight carried high on a rack (in a trunk bag) raises the center of gravity, making the bike feel less stable at speed. Panniers hanging at axle level lower the center of gravity and improve stability but add width that requires attention in traffic. The tradeoff favors panniers for heavier loads and trunk bags for lighter, frequently-accessed items. Many commuters use both simultaneously, placing heavy items in panniers and lunch or rain gear in a trunk bag.
Maintaining Fenders and Racks Through the Seasons
Metal fenders””whether aluminum, stainless, or chromoly””hold up well with minimal maintenance beyond occasional cleaning and bolt checks. Plastic fenders eventually become brittle from UV exposure, particularly budget models using lower-grade polymers. Expect three to five years from quality plastic fenders before cracking becomes an issue, less if stored outdoors in direct sunlight. Periodic waxing with automotive spray wax provides some UV protection and keeps plastic fenders looking fresh. Rack maintenance primarily involves monitoring for loose hardware and cracked welds. Check all mounting bolts monthly during regular use, more frequently when carrying heavy loads over rough surfaces.
Aluminum racks occasionally develop fatigue cracks at weld joints after years of use””inspect these areas closely if your rack is more than five years old or has carried heavy loads extensively. A cracking rack that fails while loaded can cause a dangerous loss of control. Looking ahead, the cycling industry continues developing lighter, stronger materials for both fenders and racks. Carbon fiber racks exist but remain expensive and relatively fragile. More promising are advances in aluminum alloy formulations that achieve steel-like strength at lower weights. The next generation of hybrid bikes may incorporate integrated mounting systems that eliminate compatibility concerns entirely, much as some gravel bikes now include hidden fender mounts designed into the frame and fork from the start.
Conclusion
Equipping your hybrid bike with fenders and racks transforms it from a fair-weather recreational vehicle into a practical year-round transportation tool. The process requires attention to compatibility””wheel size, tire width, brake type, and frame mounting provisions””but rewards that attention with accessories that fit securely and perform reliably. Most hybrid bikes accept standard fenders and racks without modification, while those lacking mounting points can still be equipped using aftermarket adapters.
The investment in quality fenders and a properly rated rack pays dividends over years of use, protecting both rider and cargo from the elements while enabling car-free errands and commuting. Start by inventorying your bike’s mounting points and measuring clearances, then select accessories rated for your intended loads. With basic tools and an afternoon’s work, you’ll have a significantly more capable bicycle.


