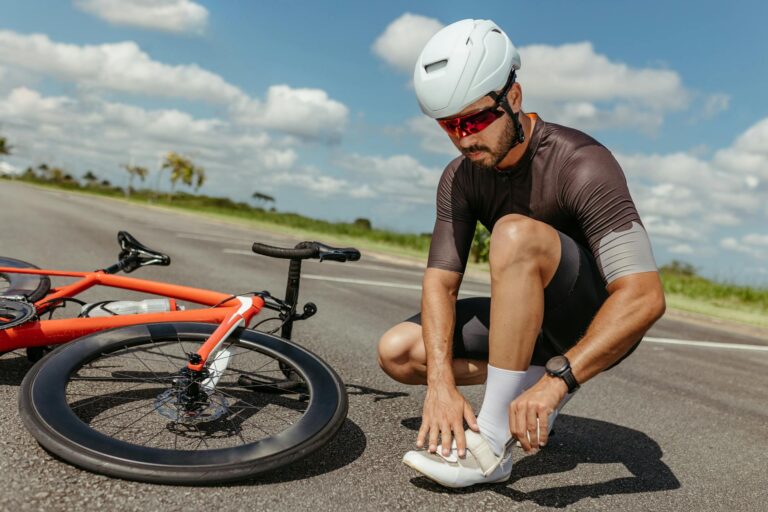
Finding the best gravel bike bags for carrying gear on adventures can transform a simple ride into a multi-day expedition or turn your daily commute into an opportunity for spontaneous exploration. Gravel riding has exploded in popularity over the past decade, and with it, the demand for purpose-built storage solutions that can handle rough terrain, variable weather, and the unique geometry of gravel bikes. Unlike road cycling, where minimalism reigns supreme, gravel riding embraces self-sufficiency””and that requires carrying tools, food, spare layers, and sometimes camping equipment across unpaved roads and trails. The challenge lies in balancing capacity with aerodynamics, accessibility with security, and weight with durability.
Traditional panniers designed for touring bikes often feel cumbersome on nimble gravel machines, while road-oriented saddle bags lack the volume needed for longer adventures. This gap has spawned an entire category of bikepacking bags specifically engineered for the demands of mixed-terrain riding. Frame bags, handlebar rolls, seat packs, and top tube bags each serve distinct purposes, and understanding how they work together as a system is essential for any rider looking to venture beyond cell service. By the end of this article, readers will understand the different types of gravel bike bags available, how to select the right combination for specific adventure styles, and what features separate mediocre bags from genuinely useful gear. Whether planning a weekend gravel camping trip, a one-day epic, or simply wanting to carry enough supplies for mechanical emergencies, the information here provides a foundation for making informed decisions about bikepacking storage.
Table of Contents
- What Types of Bike Bags Work Best for Gravel Adventures?
- Essential Features in High-Quality Gravel Bikepacking Bags
- Weight Distribution and Bike Handling Considerations
- Choosing the Right Gravel Bike Bag Configuration for Your Adventure Style
- Common Problems with Gravel Bike Bags and How to Avoid Them
- Emerging Innovations in Gravel Bikepacking Bag Design
- How to Prepare
- How to Apply This
- Expert Tips
- Conclusion
- Frequently Asked Questions
What Types of Bike Bags Work Best for Gravel Adventures?
The bikepacking bag ecosystem has evolved significantly since early adopters started strapping dry bags to their frames with voile straps. Modern gravel bike bags fall into five primary categories, each occupying a specific position on the bike and serving particular storage needs. Frame bags fit within the main triangle of the bike frame, utilizing space that would otherwise go unused. Handlebar bags or rolls mount to the handlebars and can accommodate bulky, lightweight items like sleeping bags or spare clothing. Seat packs attach beneath the saddle and extend rearward, offering substantial volume without requiring a rack. Top tube bags provide quick-access storage for snacks and small items.
Finally, fork-mounted cargo cages and bags take advantage of the space on either side of the front wheel. Each bag type presents trade-offs worth considering. Frame bags offer excellent weight distribution since they keep mass low and centered, but they can interfere with water bottle placement and limit the use of standard bottle cages. Handlebar bags provide generous capacity but may affect steering feel and limit hand positions on drop bars. Seat packs can carry significant loads but may sway on rough terrain if not properly secured, and they raise the bike’s center of gravity. Understanding these dynamics helps riders choose configurations that match their riding style and terrain preferences.
- **Frame bags** range from small half-frame designs to full-frame options that maximize interior space, typically offering 3 to 14 liters of capacity
- **Handlebar rolls** commonly hold 8 to 15 liters and work best for compressible items that do not need frequent access
- **Seat packs** vary dramatically in size, from compact 5-liter options to massive 16-liter bags suited for extended expeditions
- **Top tube bags** typically hold 0.5 to 1.5 liters and serve as cockpit storage for nutrition, phone, or tools
- **Fork bags** add 2 to 5 liters per side and help distribute weight across the bike

Essential Features in High-Quality Gravel Bikepacking Bags
Material selection fundamentally determines how well a gravel bike bag performs over time. Most premium bags use some variation of ripstop nylon or laminated fabrics with waterproof coatings, typically rated between 210 and 840 denier. Higher denier numbers indicate thicker, more abrasion-resistant material, though they also add weight. Welded seams and roll-top closures provide superior water protection compared to zippers alone, which matters when riding through creek crossings or unexpected rainstorms. Some manufacturers use VX21 or similar sailcloth-derived materials that combine low weight with exceptional tear resistance.
Mounting systems deserve equal scrutiny. The best gravel bike bags feature multiple attachment points with adjustable straps that prevent shifting during rough descents. Velcro straps offer quick installation but can slip under load; buckle-based systems provide more security but take longer to adjust. Many frame bags now include hypalon or rubber-backed panels that grip the frame without scratching paint. For seat packs, dual-rail mounting that secures to both saddle rails and the seatpost provides stability that single-point attachments cannot match.
- **Waterproofing ratings** matter: look for bags rated IPX4 or higher for reliable protection against sustained rain
- **Reflective elements** or attachment points for lights improve visibility during dawn, dusk, or overcast conditions
- **Internal organization** pockets help separate tools from food and prevent small items from migrating to inaccessible corners
- **Compression straps** allow bags to maintain a streamlined profile whether fully loaded or nearly empty
- **Color choices** beyond black help locate bags in low-light tent situations and reduce heat absorption in direct sun
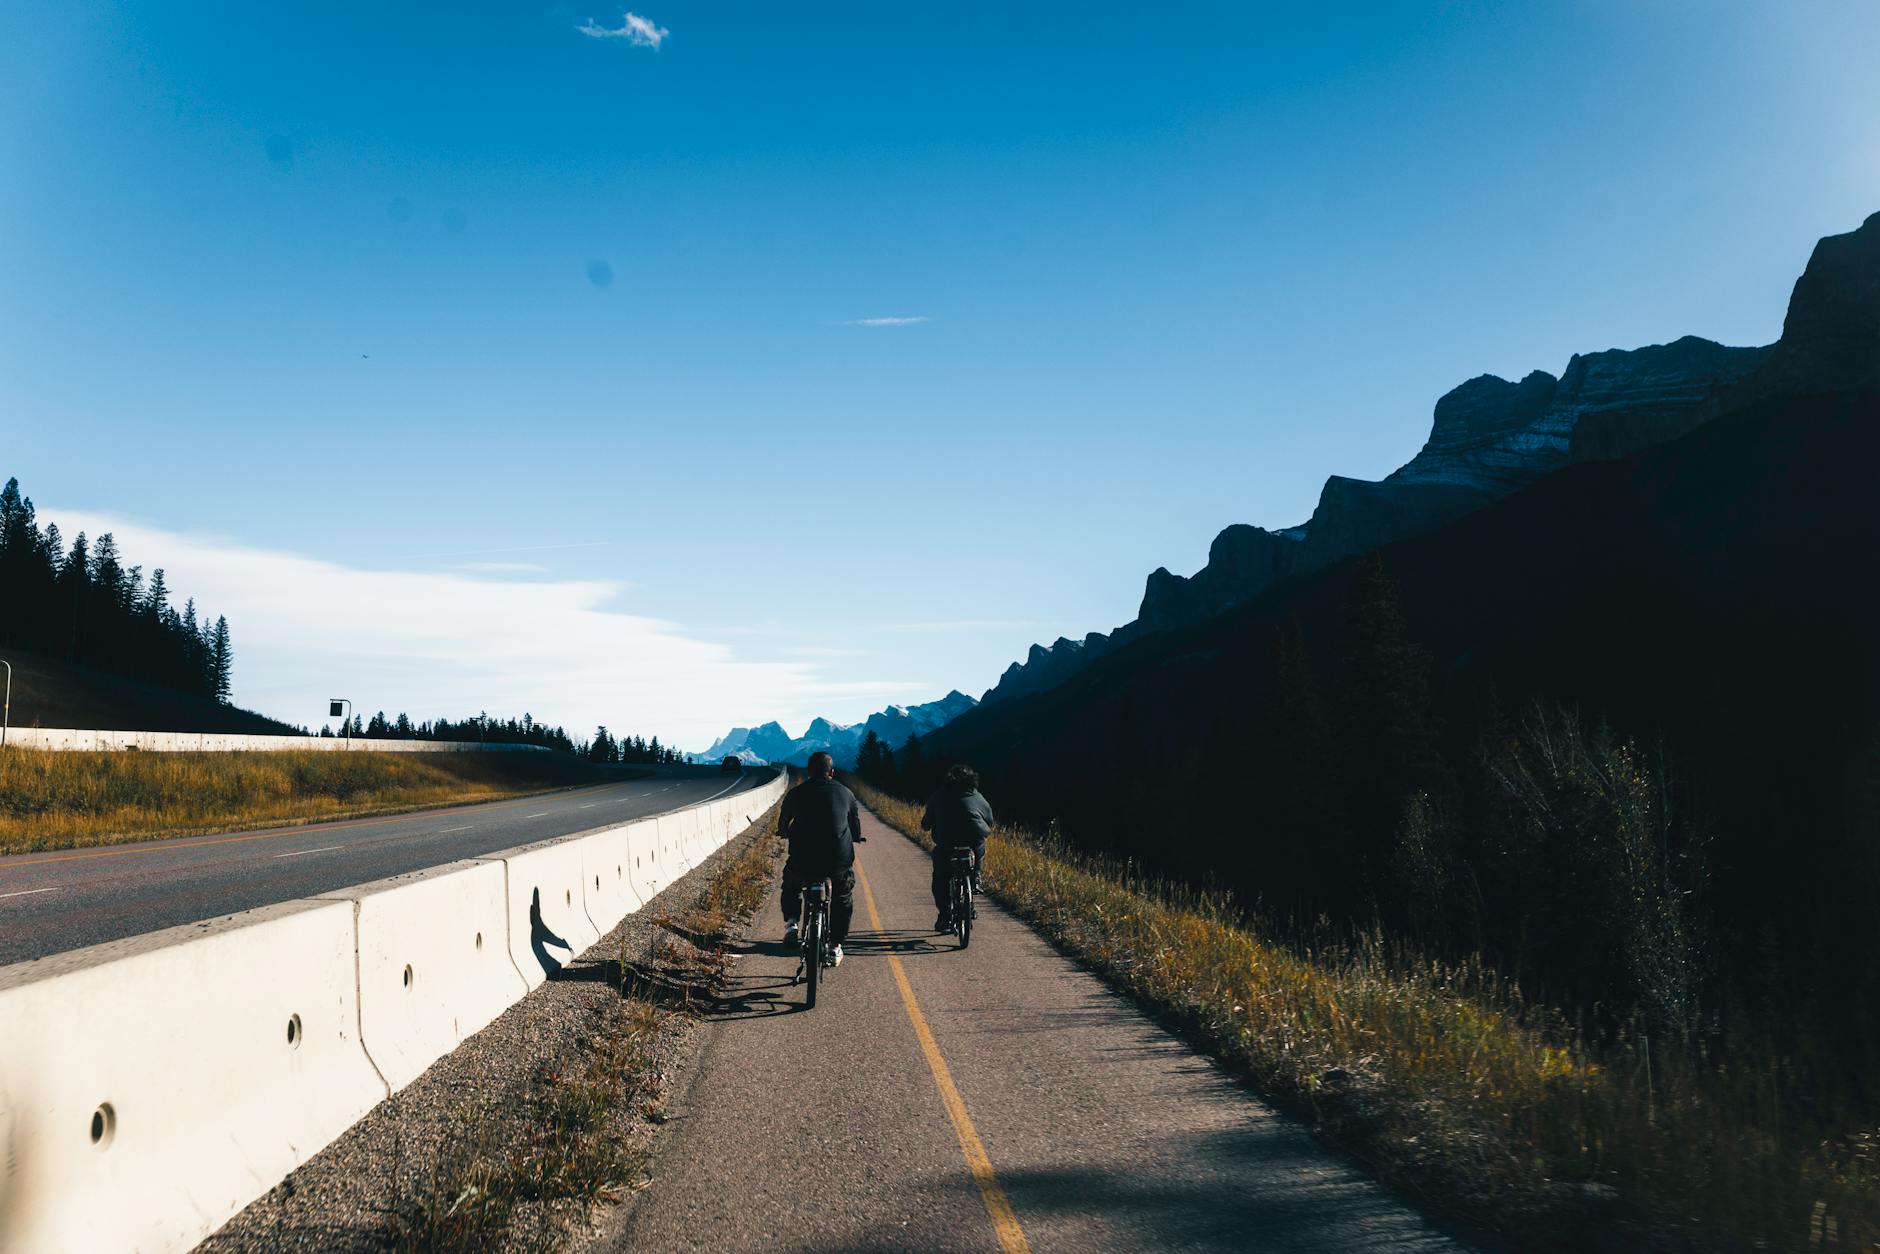
Weight Distribution and Bike Handling Considerations
How weight is distributed across a gravel bike dramatically affects handling, comfort, and fatigue over long distances. The fundamental principle is keeping heavy items low and centered whenever possible. Frame bags excel at this, placing mass near the bike’s natural balance point between the wheels. Handlebar bags shift weight forward, which can stabilize steering at high speeds but make slow-speed maneuvering feel heavy.
Rear-mounted seat packs raise the center of gravity and can create a pendulum effect on technical terrain if overloaded. Experienced bikepackers often recommend a 60/40 or 50/50 weight distribution between front and rear. Loading too much weight on the rear wheel can cause the front end to feel vague during climbing and increase the likelihood of rear tire punctures. Conversely, excessive front weight makes descending feel nervous and can overwhelm the front tire’s grip in loose conditions. Testing different configurations on familiar trails before committing to a multi-day route helps riders develop intuition for their preferred setup.
- Front-loading systems using handlebar bags and fork cages work well for riders who prioritize descending stability
- Rear-focused setups suit those who prefer lighter steering but must account for increased rear-wheel stress
- Splitting weight evenly often provides the most neutral handling characteristics for varied terrain
Choosing the Right Gravel Bike Bag Configuration for Your Adventure Style
Single-day gravel rides demand different storage solutions than multi-day expeditions, and matching bag selection to adventure duration prevents both overpacking and underpreparedness. For rides under six hours, a combination of a small frame bag and a top tube bag typically provides sufficient capacity for tools, food, and an emergency layer without noticeably affecting bike handling. This minimal setup keeps weight low and preserves the responsive feel that makes gravel bikes enjoyable on flowing singletrack and fast gravel roads.
Overnight adventures require significantly more capacity, typically 15 to 25 liters total depending on climate and whether accommodations involve camping or indoor lodging. A medium frame bag, handlebar roll, and modest seat pack can accommodate a bivy sack or ultralight tent, sleeping quilt, minimal cooking gear, and spare clothing. Weight becomes more critical in this range, as every additional kilogram compounds fatigue over hundreds of kilometers. Investing in lighter bags pays dividends through reduced effort on climbs and improved handling throughout the journey.
- **Day rides (2-6 hours)**: 3-6 liters total capacity covering tools, nutrition, phone, and emergency layer
- **Long day rides (6-12 hours)**: 6-12 liters including additional food, lighting, and warmer layers
- **Overnight trips**: 15-25 liters with shelter, sleep system, and cooking capability
- **Multi-day expeditions**: 25-40+ liters adding food resupply capacity and contingency gear
- **Ultralight racing**: Strict minimalism with sub-10 liter setups focusing on self-supported speed
Common Problems with Gravel Bike Bags and How to Avoid Them
Bag sway ranks among the most frustrating issues gravel riders encounter, particularly with seat packs on rough terrain. This oscillating motion occurs when bags are either overpacked, improperly secured, or designed with insufficient structure. Prevention starts with selecting bags that feature internal stiffeners or semi-rigid panels, then packing heavy items low and toward the mounting point rather than at the bag’s extremity. Tightening compression straps and using all available attachment points eliminates most sway, though some designs simply perform better than others on technical trails.
Frame rub creates another persistent challenge, especially for riders who did not verify bag dimensions against their specific frame geometry before purchasing. The constant vibration of gravel riding can wear through paint, carbon fiber, and eventually the frame itself if bags contact the same spot repeatedly. Protective frame tape applied before installing bags prevents this damage, and periodic inspection helps catch developing wear before it becomes serious. Some frame bags include built-in protection strips, but supplementing these with additional tape on high-contact areas provides extra insurance.
- **Mounting hardware failure** can strand gear mid-ride; carry spare straps or cord as backup
- **Water intrusion** often occurs through zippers rather than fabric; test waterproofing at home before trusting it on a wet ride
- **Accessibility compromises** happen when packing order does not match access needs; items needed frequently should remain reachable without unpacking everything
Emerging Innovations in Gravel Bikepacking Bag Design
The gravel bag market continues evolving as manufacturers respond to rider feedback and explore new materials. Dyneema composite fabrics have emerged in premium offerings, providing exceptional strength-to-weight ratios that allow larger bags without proportional weight penalties. Some brands now offer modular systems where bags connect to standardized mounting plates, enabling quick swaps between different configurations without adjusting straps each time.
Quick-release mechanisms borrowed from photography and outdoor industries allow riders to remove and reattach bags in seconds rather than minutes. Sustainability has also entered the conversation, with several manufacturers introducing bags made from recycled materials or designed for repairability rather than replacement. Given that quality bikepacking bags represent significant investments””often comparable to components like wheels or drivetrains””longevity and serviceability matter to environmentally conscious consumers. The trend toward made-to-order production in smaller workshops also allows for custom sizing that maximizes storage within specific frame dimensions, eliminating the compromises inherent in one-size-fits-all designs.
How to Prepare
- **Measure your bike frame dimensions** using a tape measure or manufacturer specifications, recording the main triangle height, seat tube length, top tube clearance, and fork blade spacing. These measurements determine which bags will fit without interference.
- **Inventory your essential gear** for the planned adventure type, grouping items by access frequency: constant (nutrition, phone), occasional (tools, layers), and camp-only (shelter, sleep system). This grouping informs which items go in which bag locations.
- **Test fit bags at home** with representative loads before committing to a route. Mount everything, fill bags with appropriate weight, and ride technical terrain if possible. Note any rubbing, sway, or handling issues.
- **Apply frame protection tape** to all contact points including the top tube, down tube near the headset, and seat tube. Use automotive-grade clear film that resists abrasion without leaving residue.
- **Develop a consistent packing system** that places items in the same locations every time. Muscle memory for finding tools or food without looking becomes valuable when fatigue sets in or conditions deteriorate.
How to Apply This
- **Start with your frame bag** when packing, placing heavy and dense items like tools, spare tubes, and repair kits low and centered. Fill gaps with flexible items like food or clothing.
- **Pack handlebar rolls loosely** at first, then compress using integrated straps. Overstuffing before rolling creates bulging shapes that affect aerodynamics and may interfere with brake cables.
- **Load seat packs from the mounting point outward**, with heaviest items nearest the saddle. This approach minimizes the lever arm that causes sway and keeps mass as close to the bike as possible.
- **Reserve top tube bags** for items needed while riding: energy gels, phone, small camera, or navigation devices. Avoid overfilling to the point where they contact knees during pedaling.
Expert Tips
- **Weigh your packed bags before departure** using a luggage scale. Many riders underestimate their total load, and knowing actual numbers helps troubleshoot handling issues and plan appropriate pacing.
- **Waterproof individual items** rather than relying solely on bag waterproofing. A dry bag inside a “waterproof” seat pack ensures electronics and down insulation stay dry even if seams eventually fail.
- **Photograph your packed bags** after achieving a successful configuration. When repacking mid-trip or months later, reference photos prevent the frustration of forgetting what worked.
- **Carry one redundant mounting strap** regardless of bag quality. A single broken strap at mile fifty of a hundred-mile route without backup creates serious problems.
- **Match bag colors to visibility needs** rather than aesthetic preferences. Bright or reflective bags improve driver visibility on road sections and help locate dropped items in vegetation.
Conclusion
Selecting the best gravel bike bags for adventures requires balancing numerous factors: capacity needs, weight sensitivity, terrain demands, and personal preferences for handling characteristics. The optimal setup varies not just between riders but between trips, with day rides calling for minimal configurations and multi-day expeditions requiring thoughtful systems that distribute weight appropriately. Understanding the strengths and limitations of each bag type””frame bags for centered weight, handlebar rolls for bulky items, seat packs for volume, and accessories for organization””enables riders to build configurations matched to their specific needs.
The investment in quality bikepacking bags typically returns value through years of reliable service on countless adventures. Unlike components that wear out through normal use, well-made bags from reputable manufacturers can last a decade or more with appropriate care. Taking time to research options, verify compatibility with specific frame geometries, and test configurations before important trips prevents the frustration of equipment failures in remote locations. With the right bags properly packed and secured, the focus returns to where it belongs: the trails, the scenery, and the satisfaction of self-supported travel through beautiful landscapes.
Frequently Asked Questions
How long does it typically take to see results?
Results vary depending on individual circumstances, but most people begin to see meaningful progress within 4-8 weeks of consistent effort. Patience and persistence are key factors in achieving lasting outcomes.
Is this approach suitable for beginners?
Yes, this approach works well for beginners when implemented gradually. Starting with the fundamentals and building up over time leads to better long-term results than trying to do everything at once.
What are the most common mistakes to avoid?
The most common mistakes include rushing the process, skipping foundational steps, and failing to track progress. Taking a methodical approach and learning from both successes and setbacks leads to better outcomes.
How can I measure my progress effectively?
Set specific, measurable goals at the outset and track relevant metrics regularly. Keep a journal or log to document your journey, and periodically review your progress against your initial objectives.
When should I seek professional help?
Consider consulting a professional if you encounter persistent challenges, need specialized expertise, or want to accelerate your progress. Professional guidance can provide valuable insights and help you avoid costly mistakes.
What resources do you recommend for further learning?
Look for reputable sources in the field, including industry publications, expert blogs, and educational courses. Joining communities of practitioners can also provide valuable peer support and knowledge sharing.